Pergola
Why did I want one. I blame Dave it's his fault. I had a pasion flower growing over the bars on my workshop window inoder to detract from the harsh appearance of the bars. It dropped fruit everywhere and was a proper pain. (I did not plant it it was there when I bought the place.) Dave said "You could have a Pergola and grow grape vines over it, It'd look good and you could have your Barbies under it" 18 month went by and then one day I found myself out side with a spade moving the compost from the various composters before I rotovated it. I had cleared under the window (where the composters were) and just kept digging. I had started with out actually meaning to.
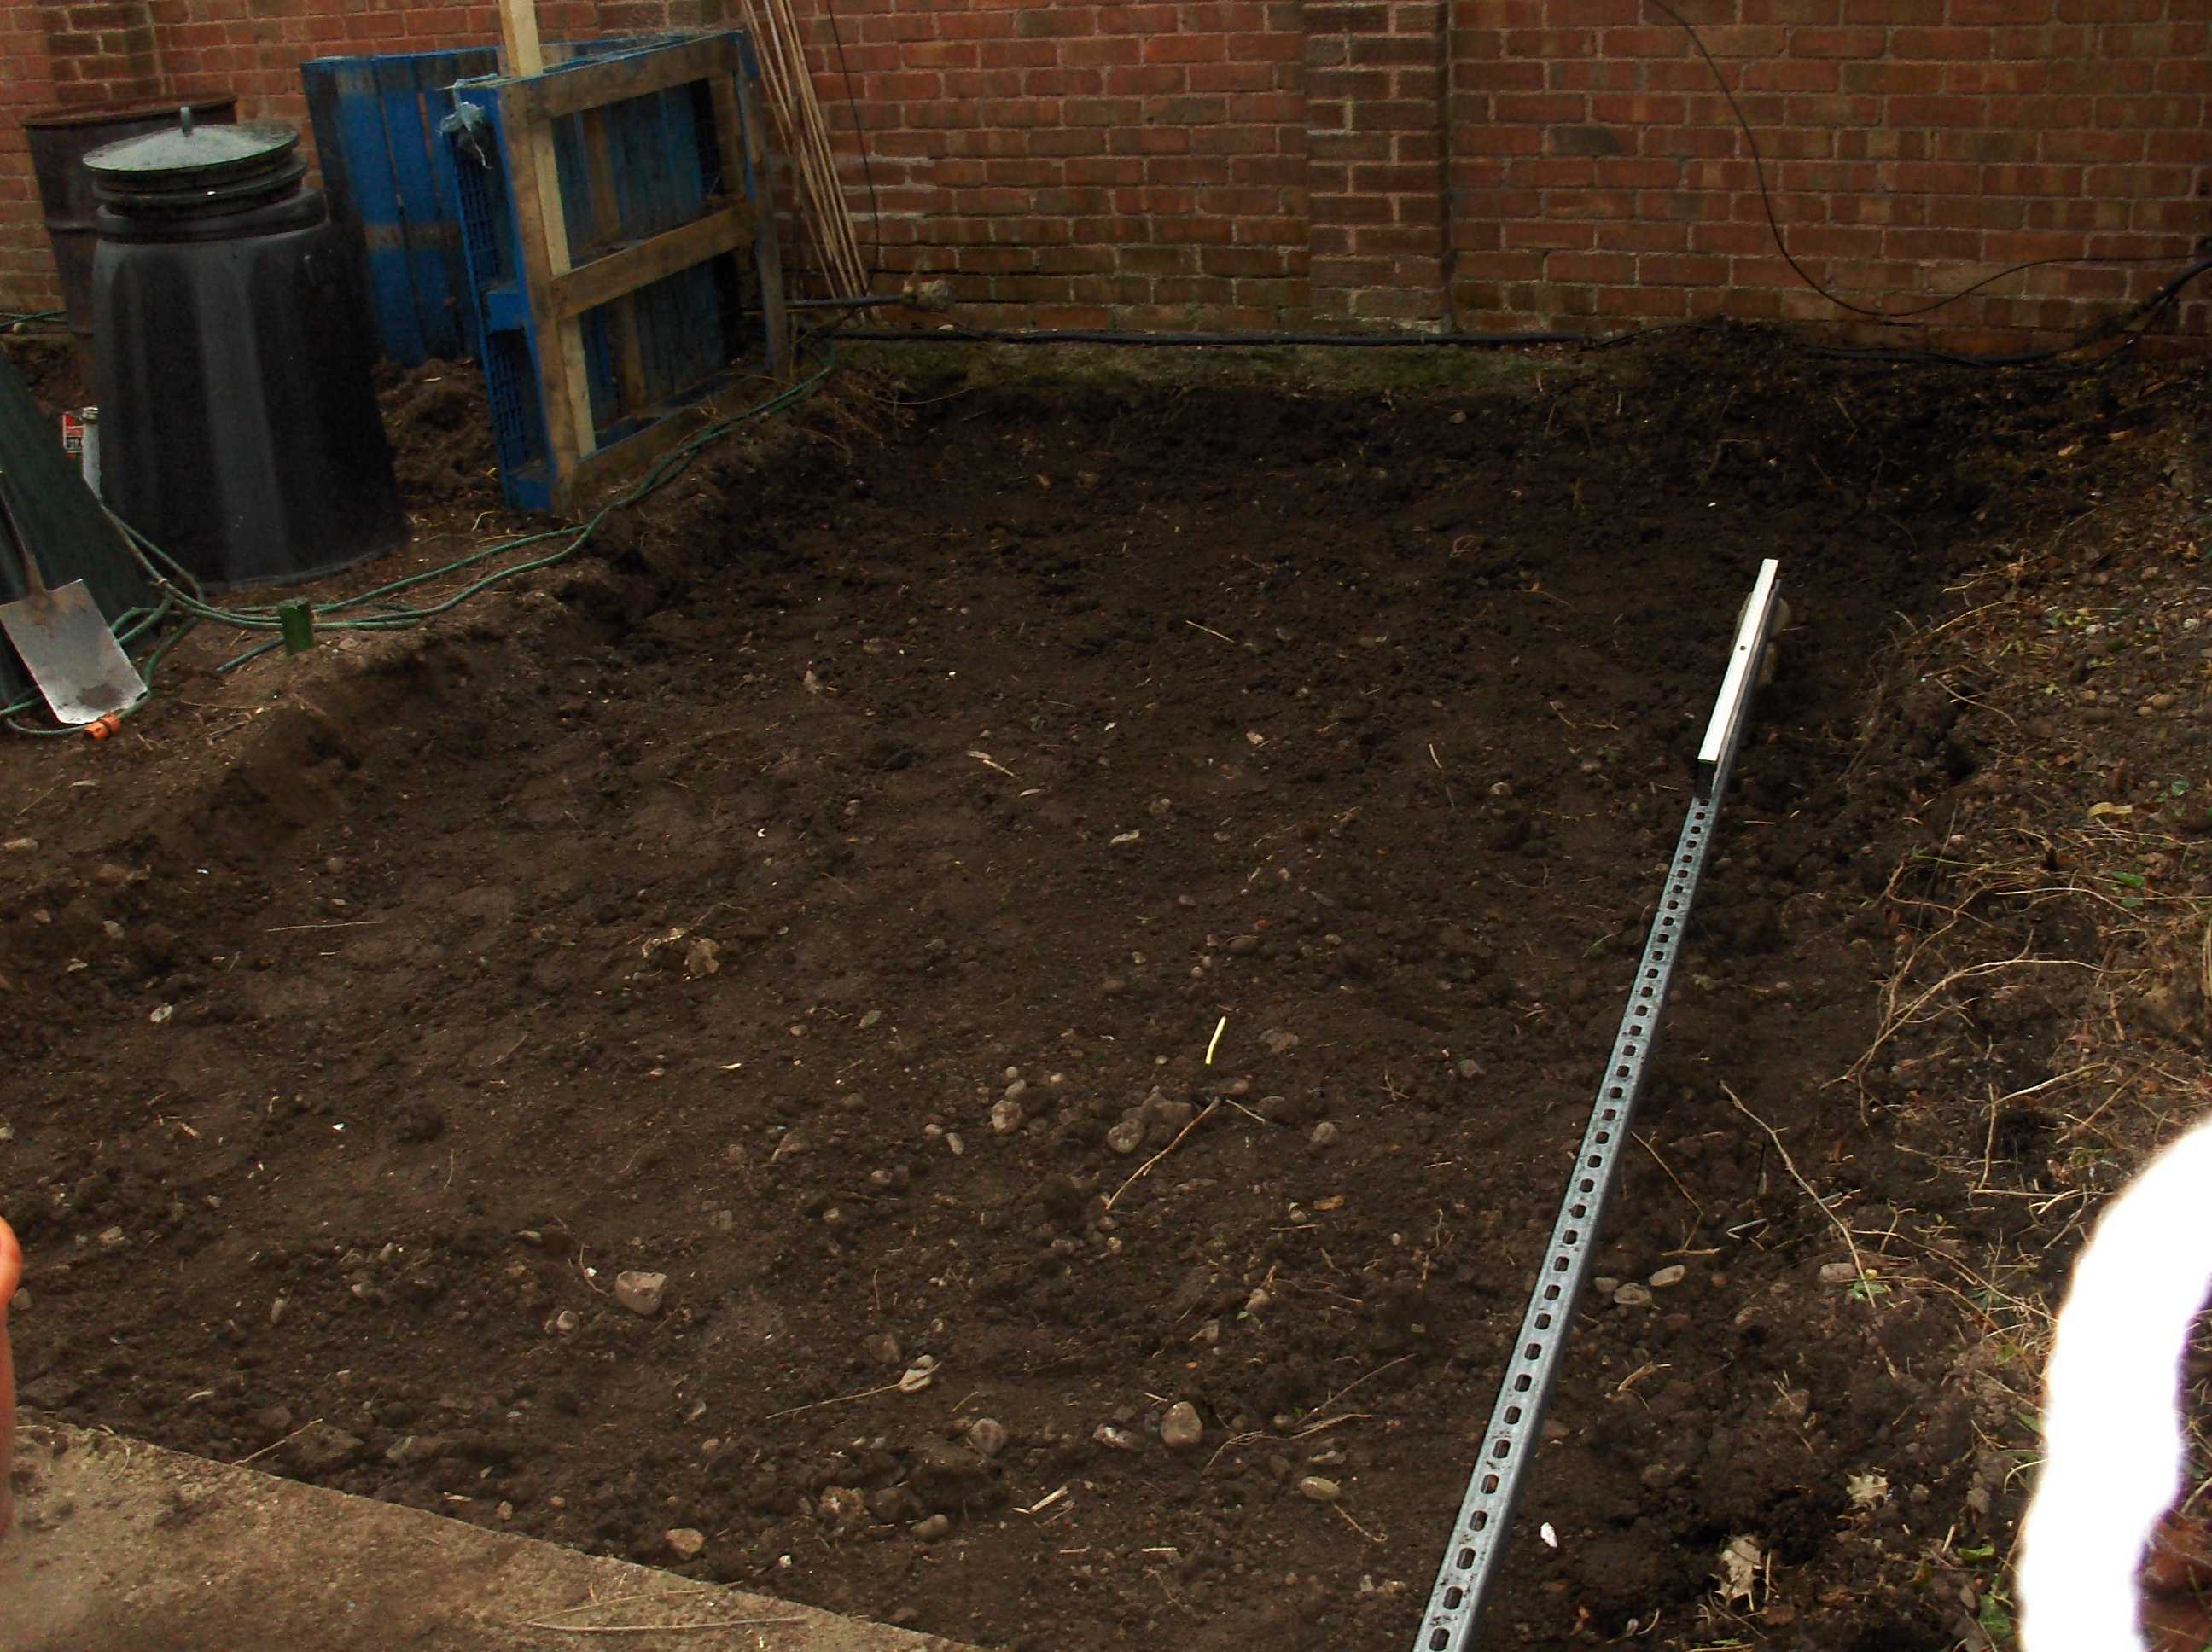
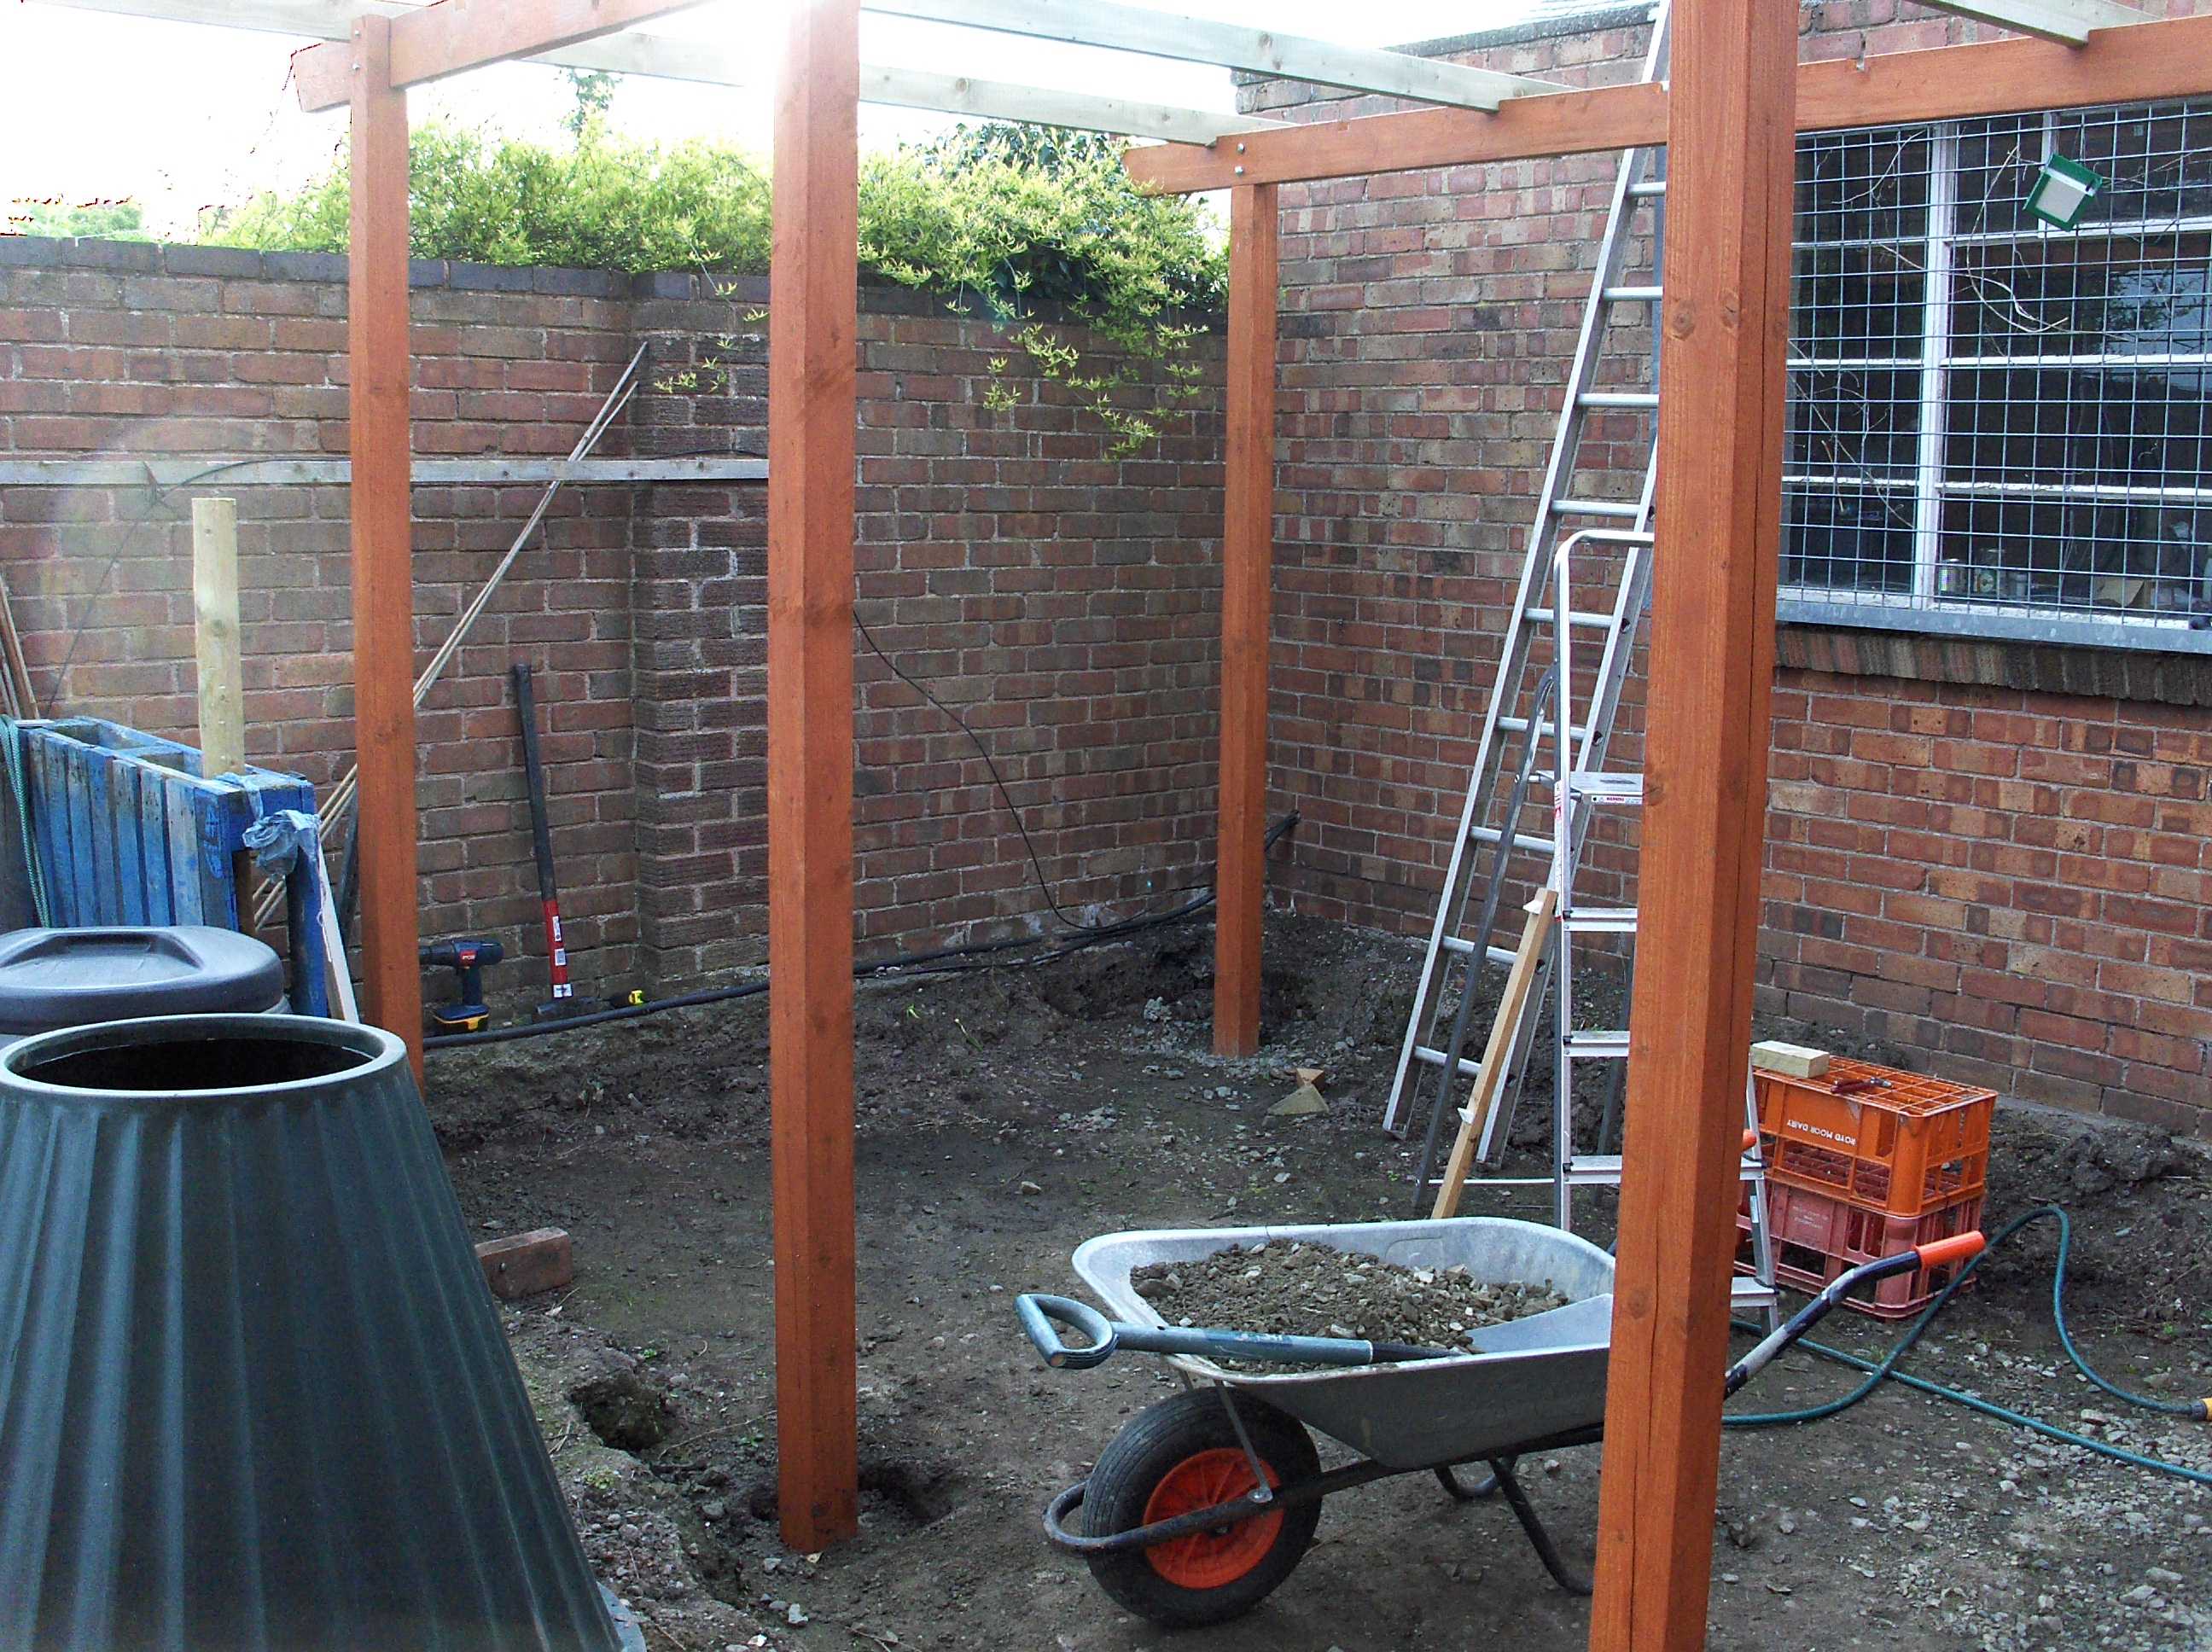
I shifted the composters over and Dug out the footings for what would be the patio under the pergola.
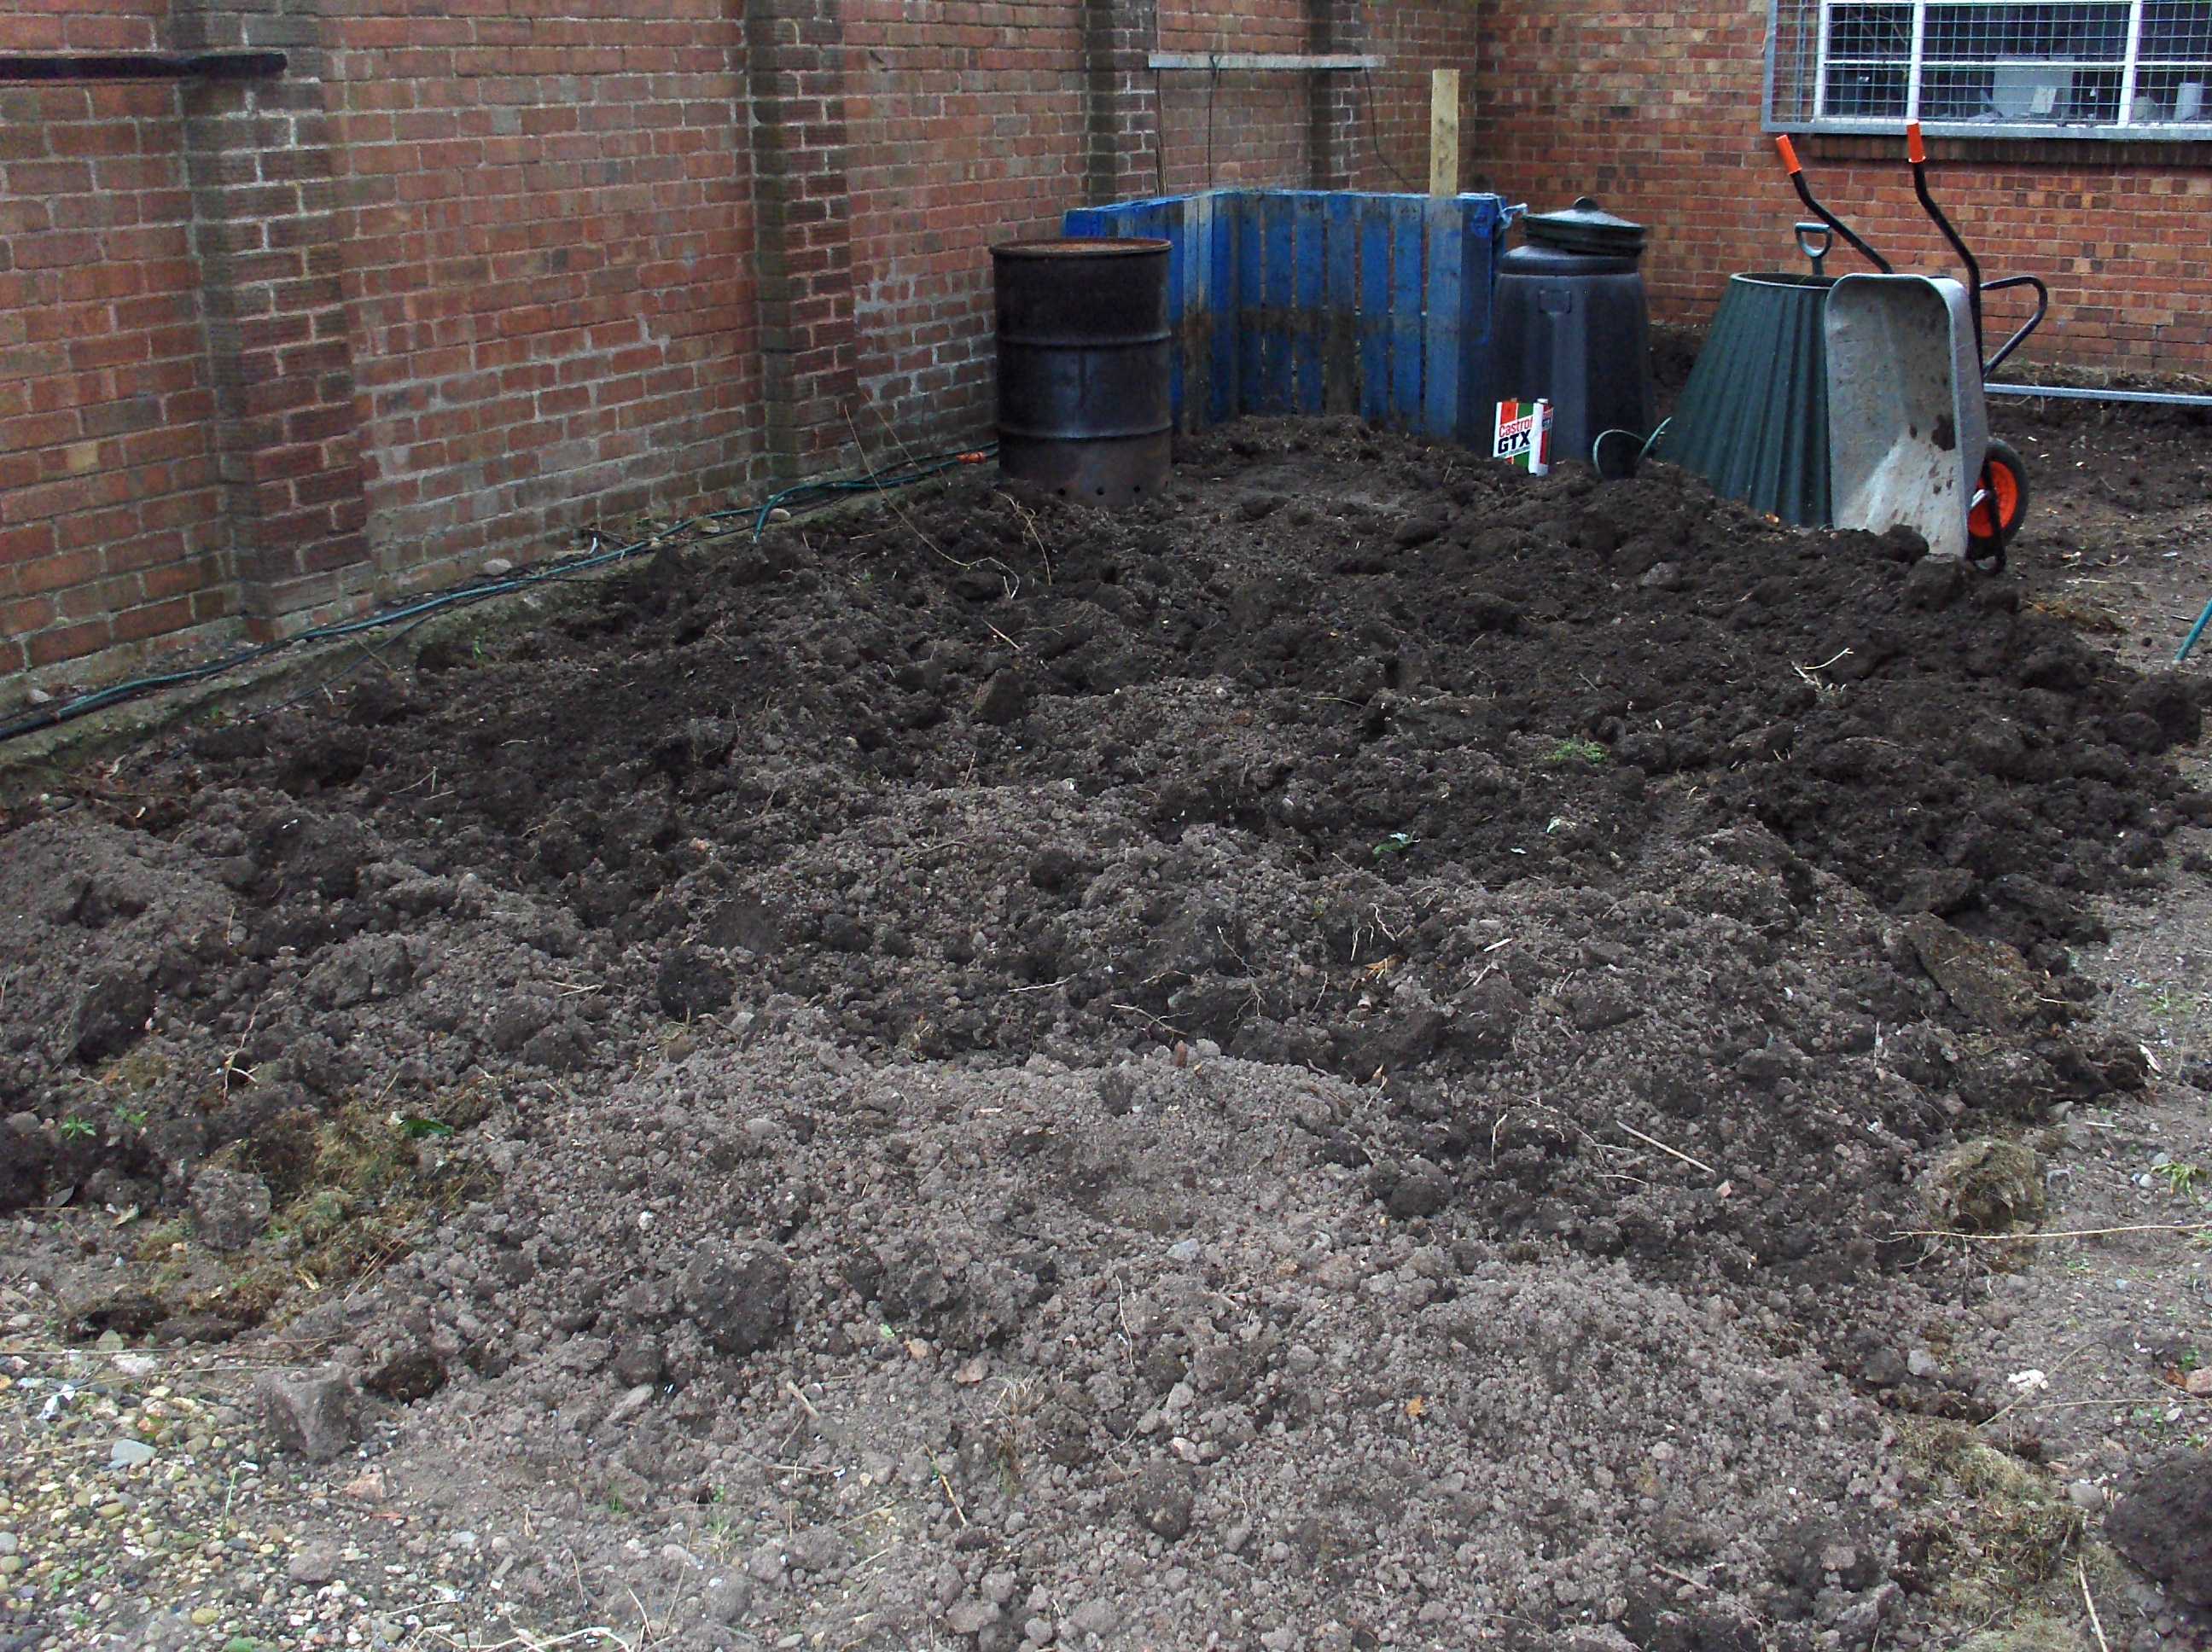
I dumped the spoil on the garden as it was all topsoil and had been under the composters so was good stuff.
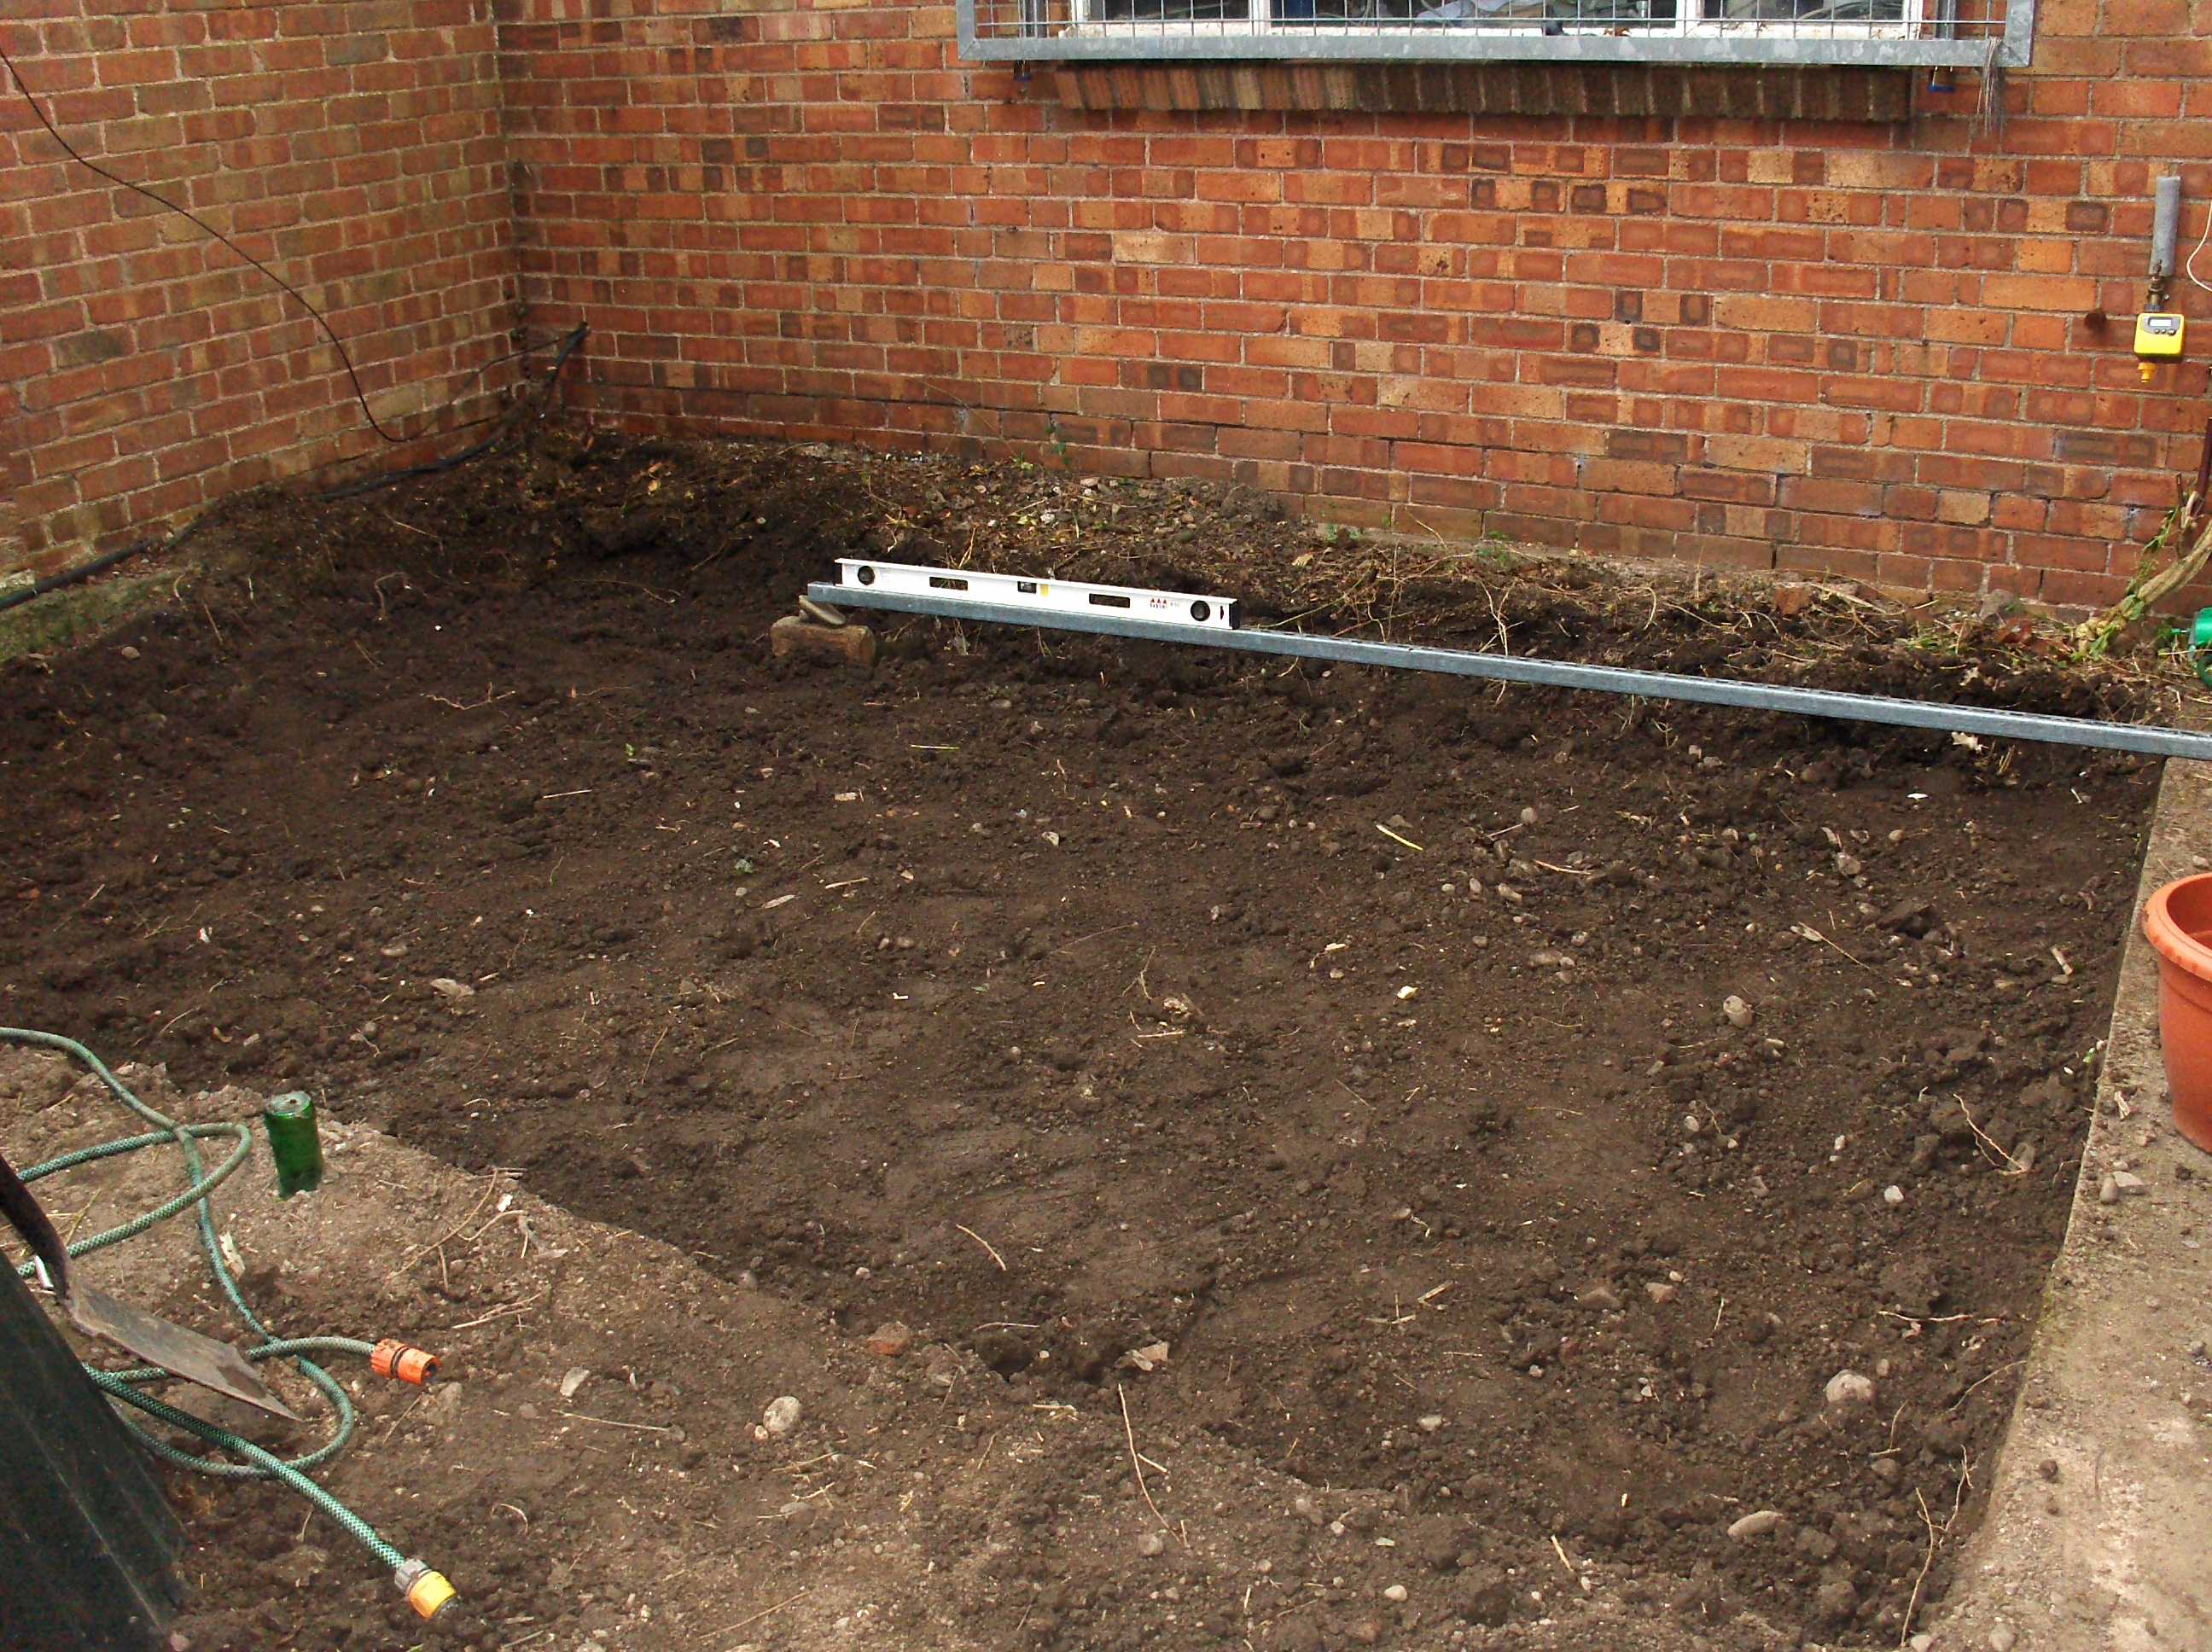
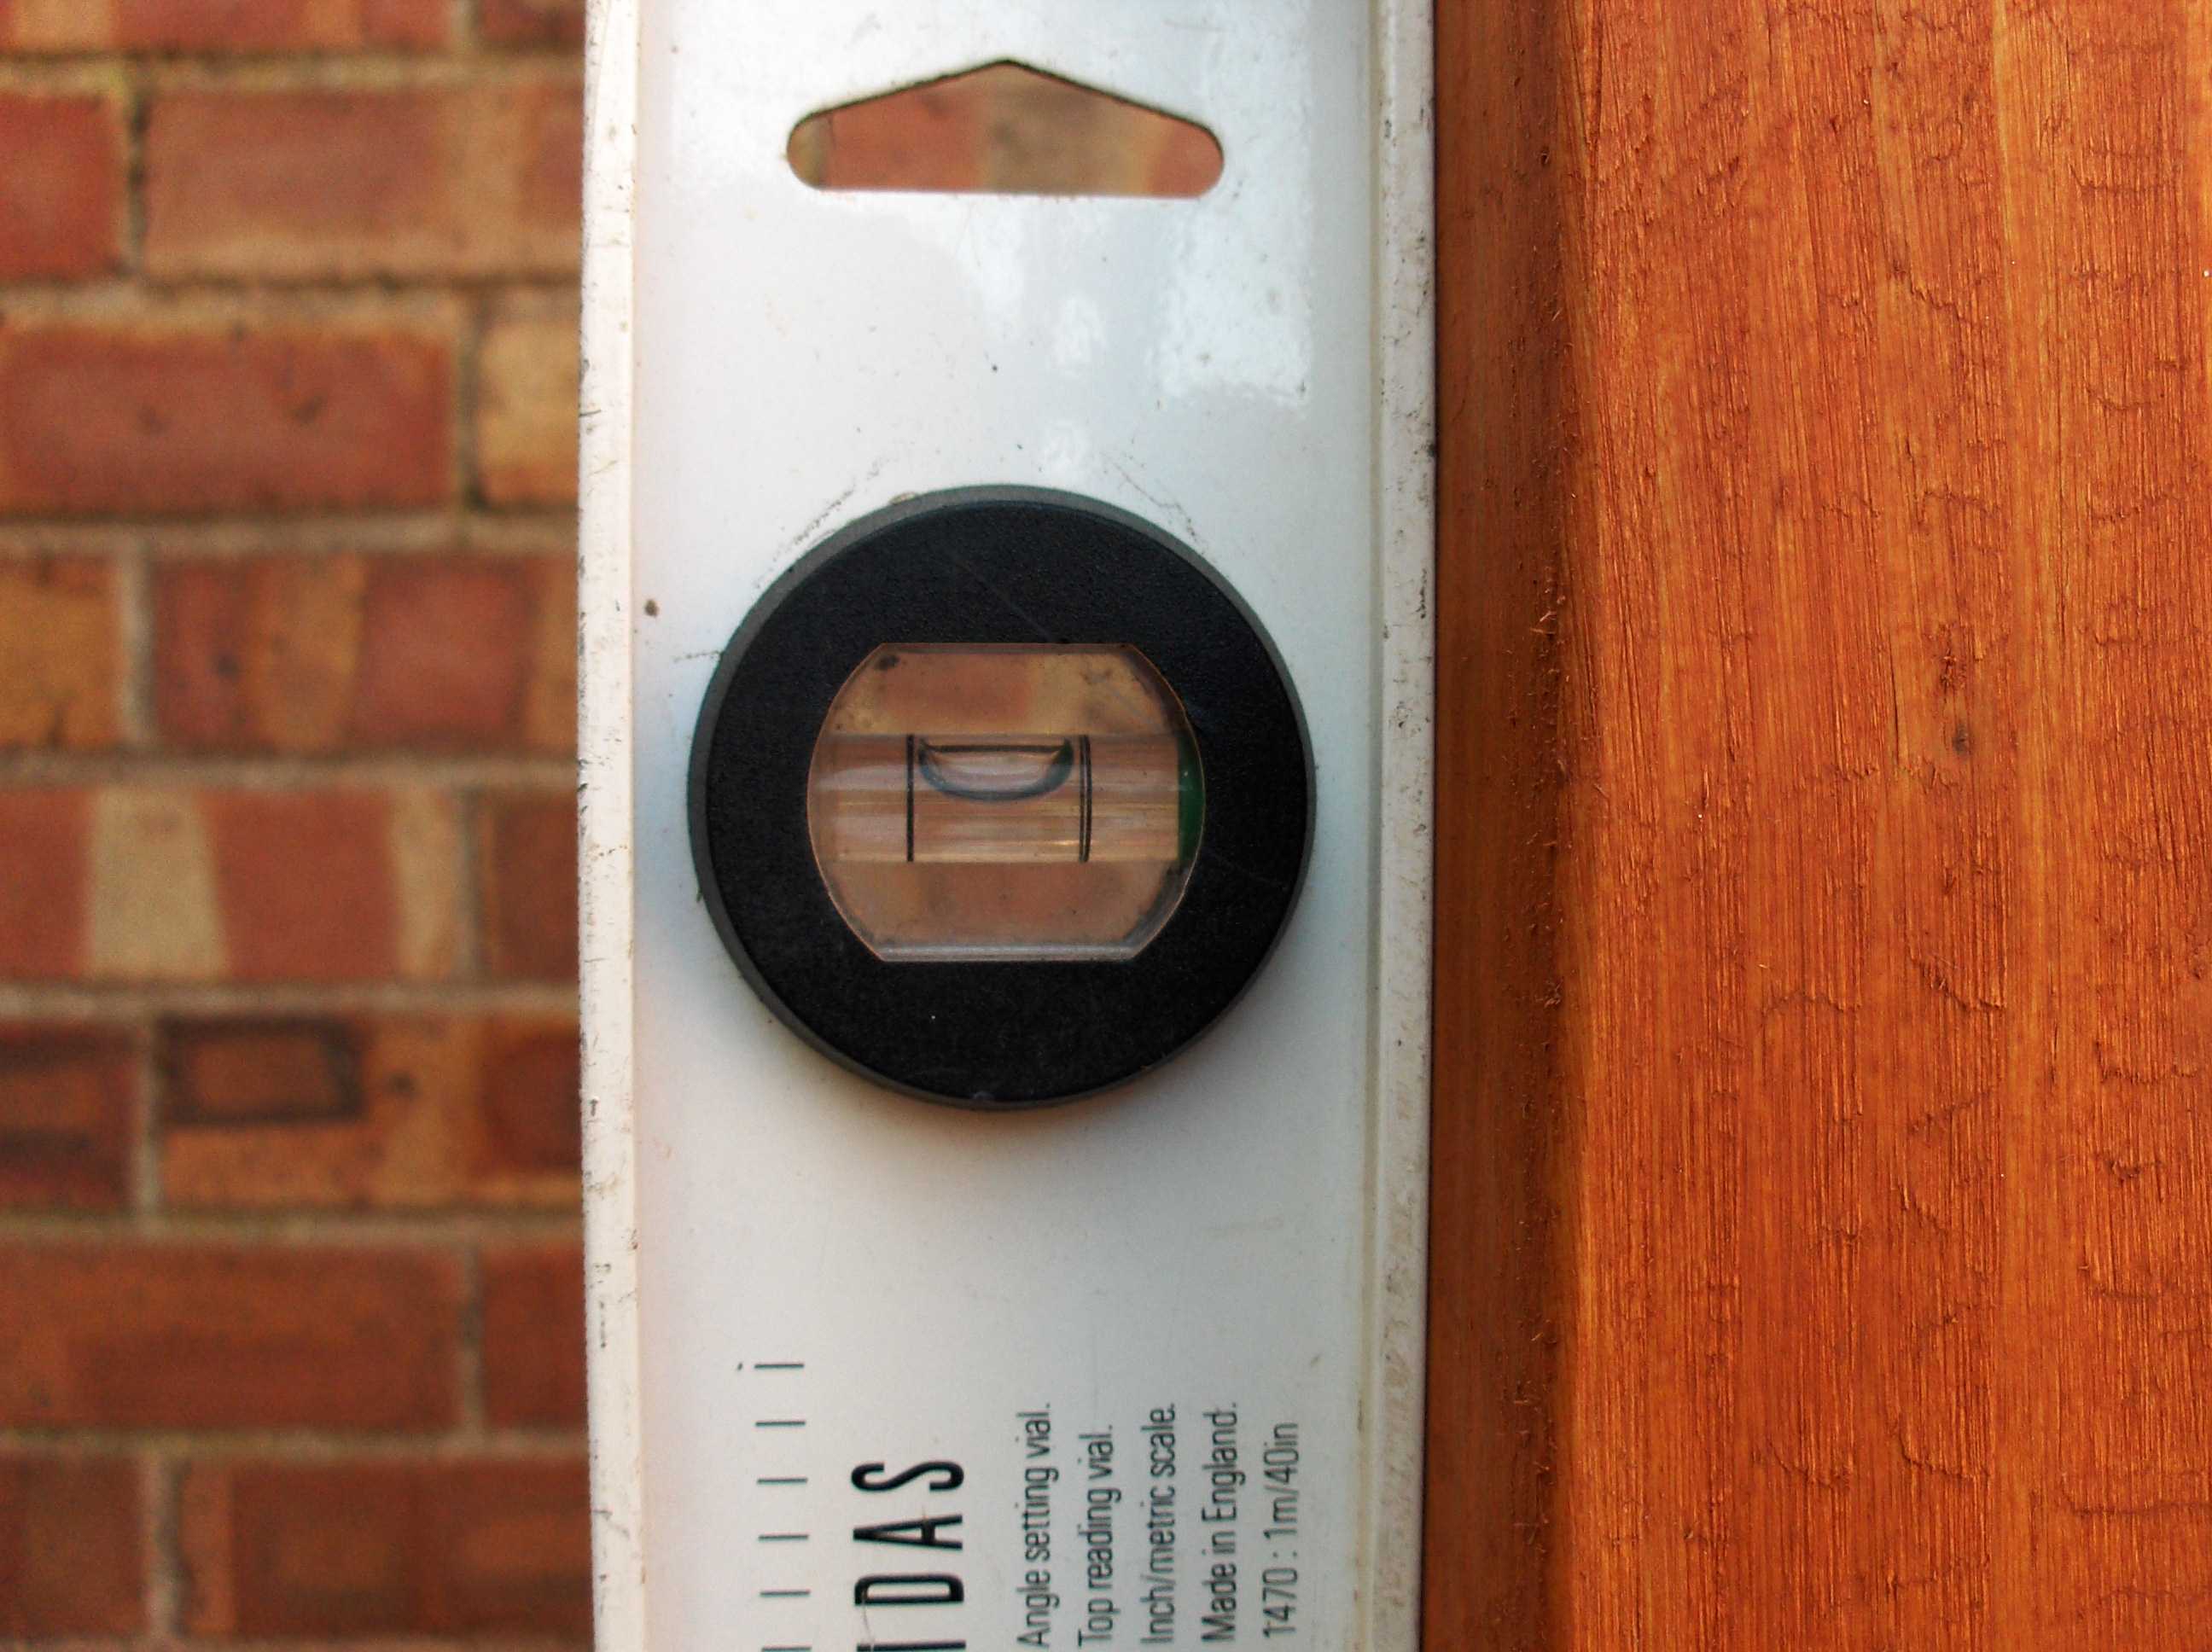
I dug the foundation roughly level using a long straight edge and spirit level. (it 3m Unistrut Big Boys Mechano) It was at this point i thought i had better plan the job so I did some research on the net got a few ideas measure the are i had decided to use and designed my Pergola the plans are here.
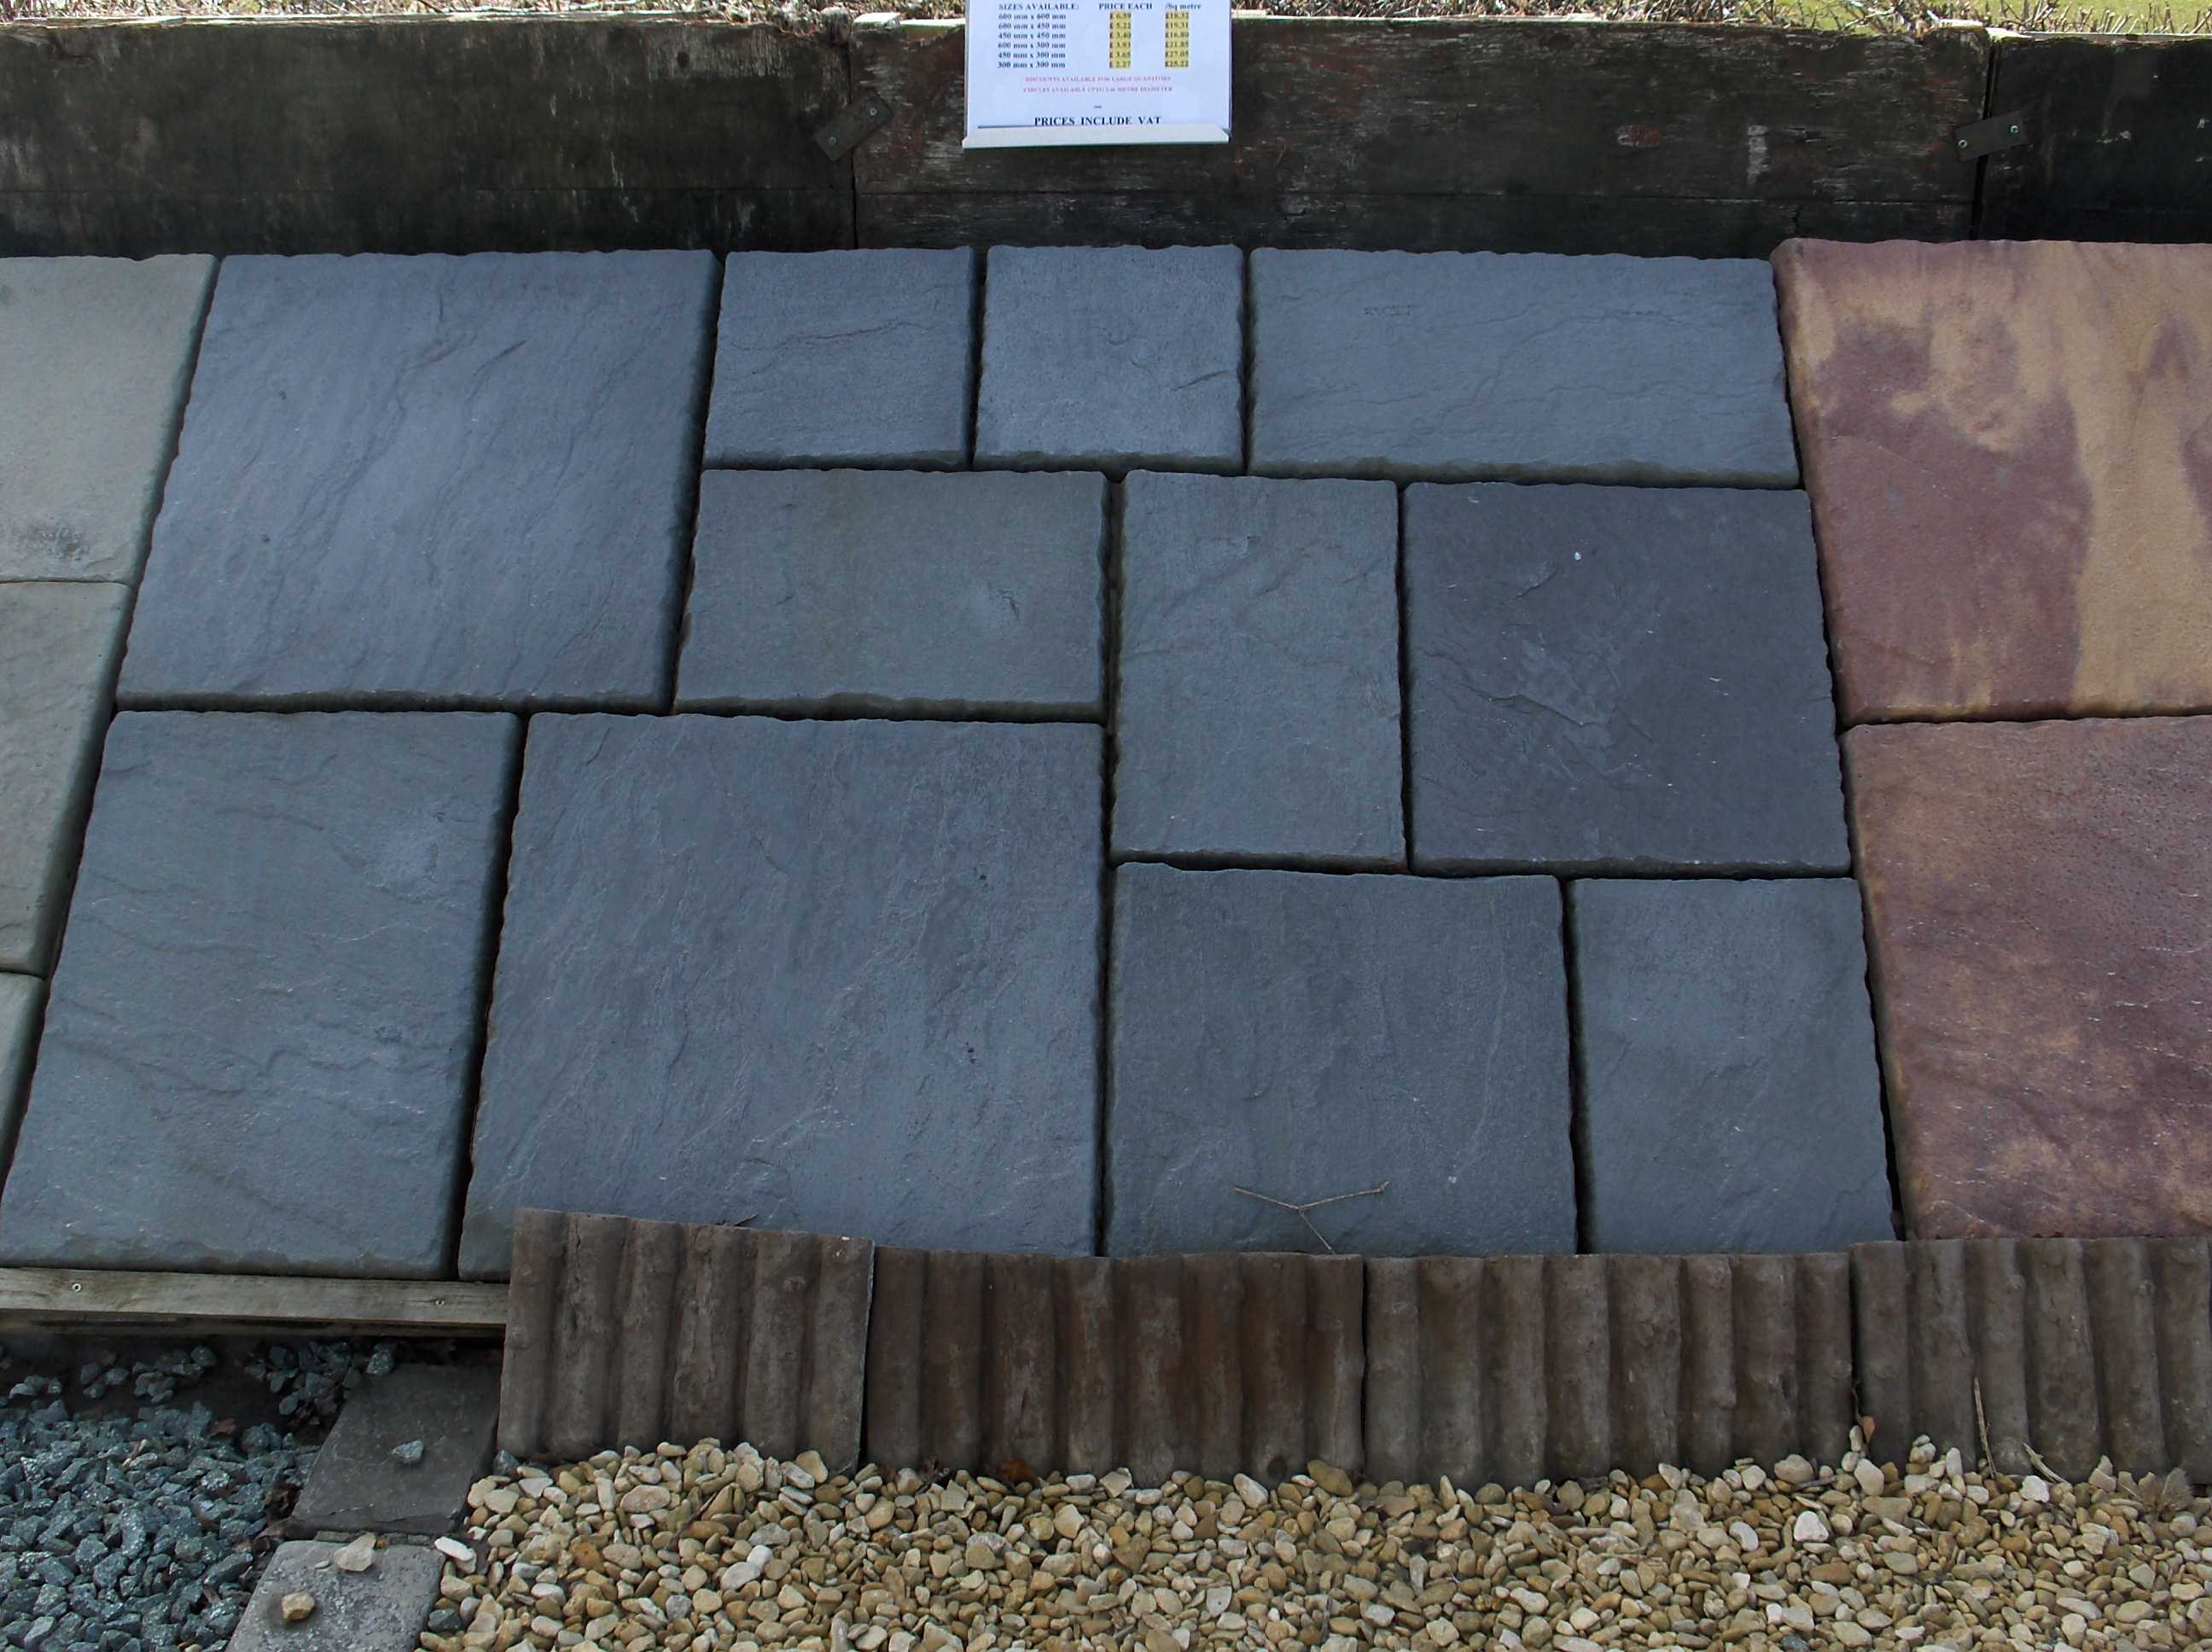
I chose the slabs I wanted. Alas the supplier went broke and spoiled that bit. Luckily he had not required payment up front. I think he knew it was going to happen and decided to be honerable.
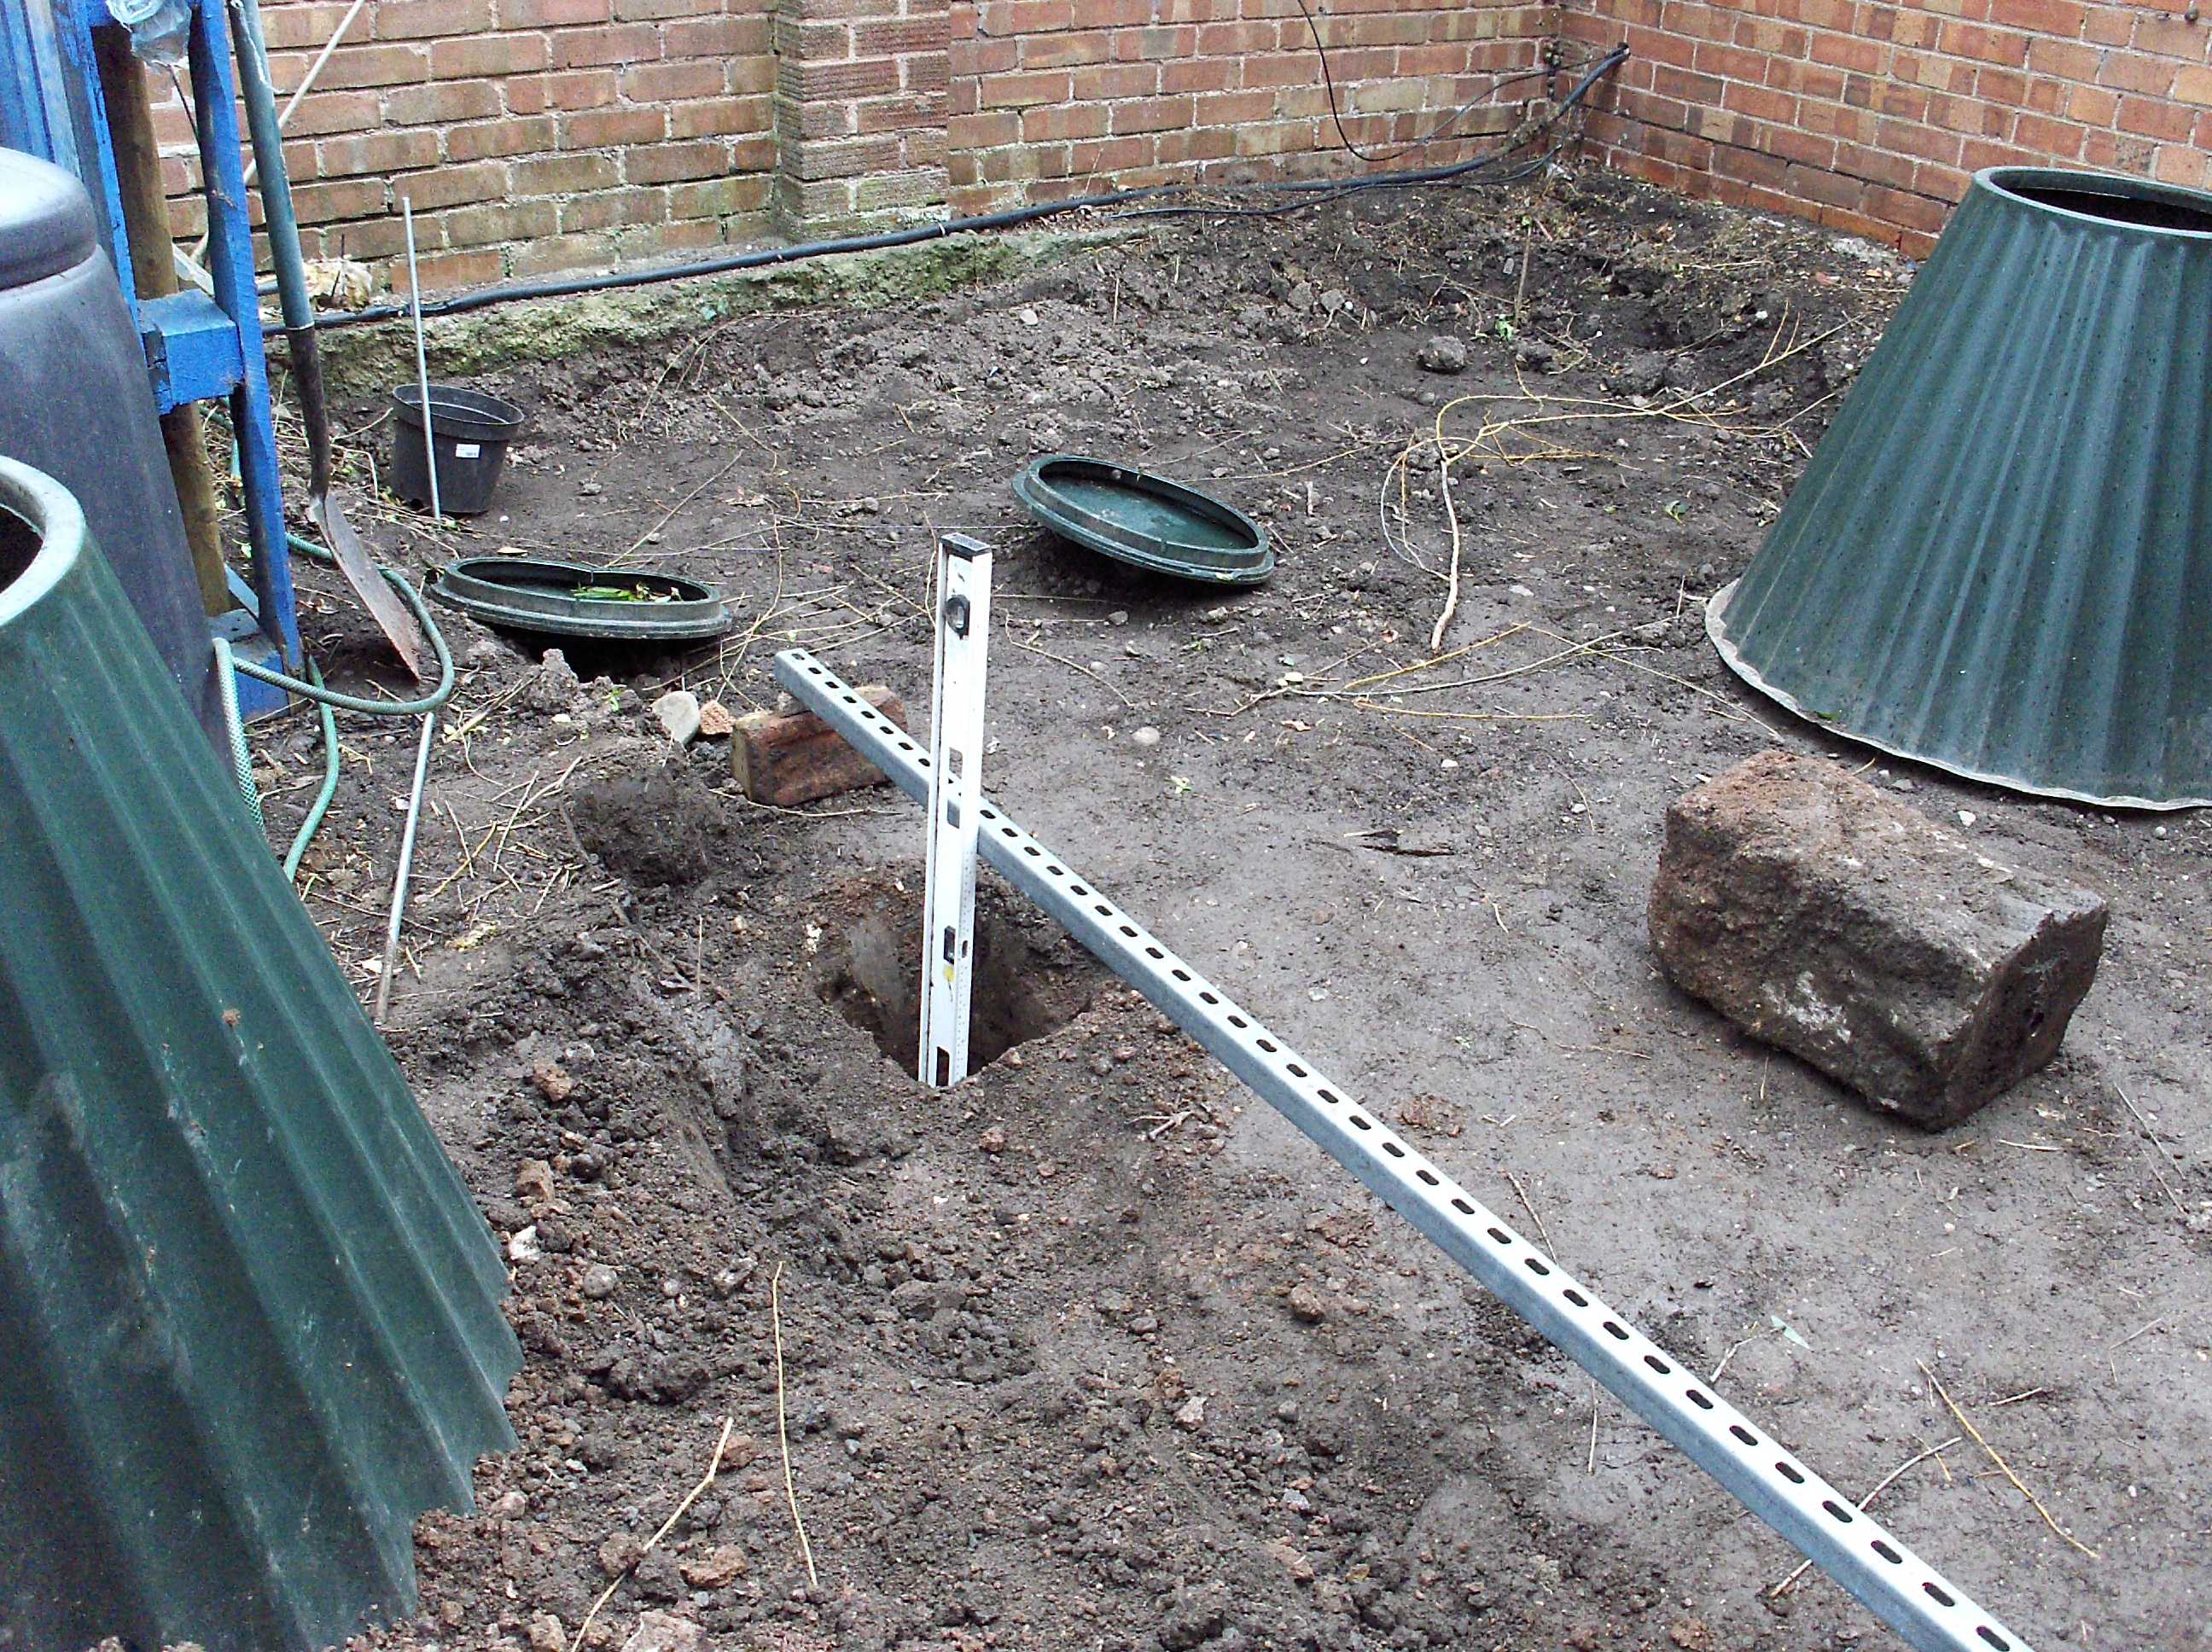
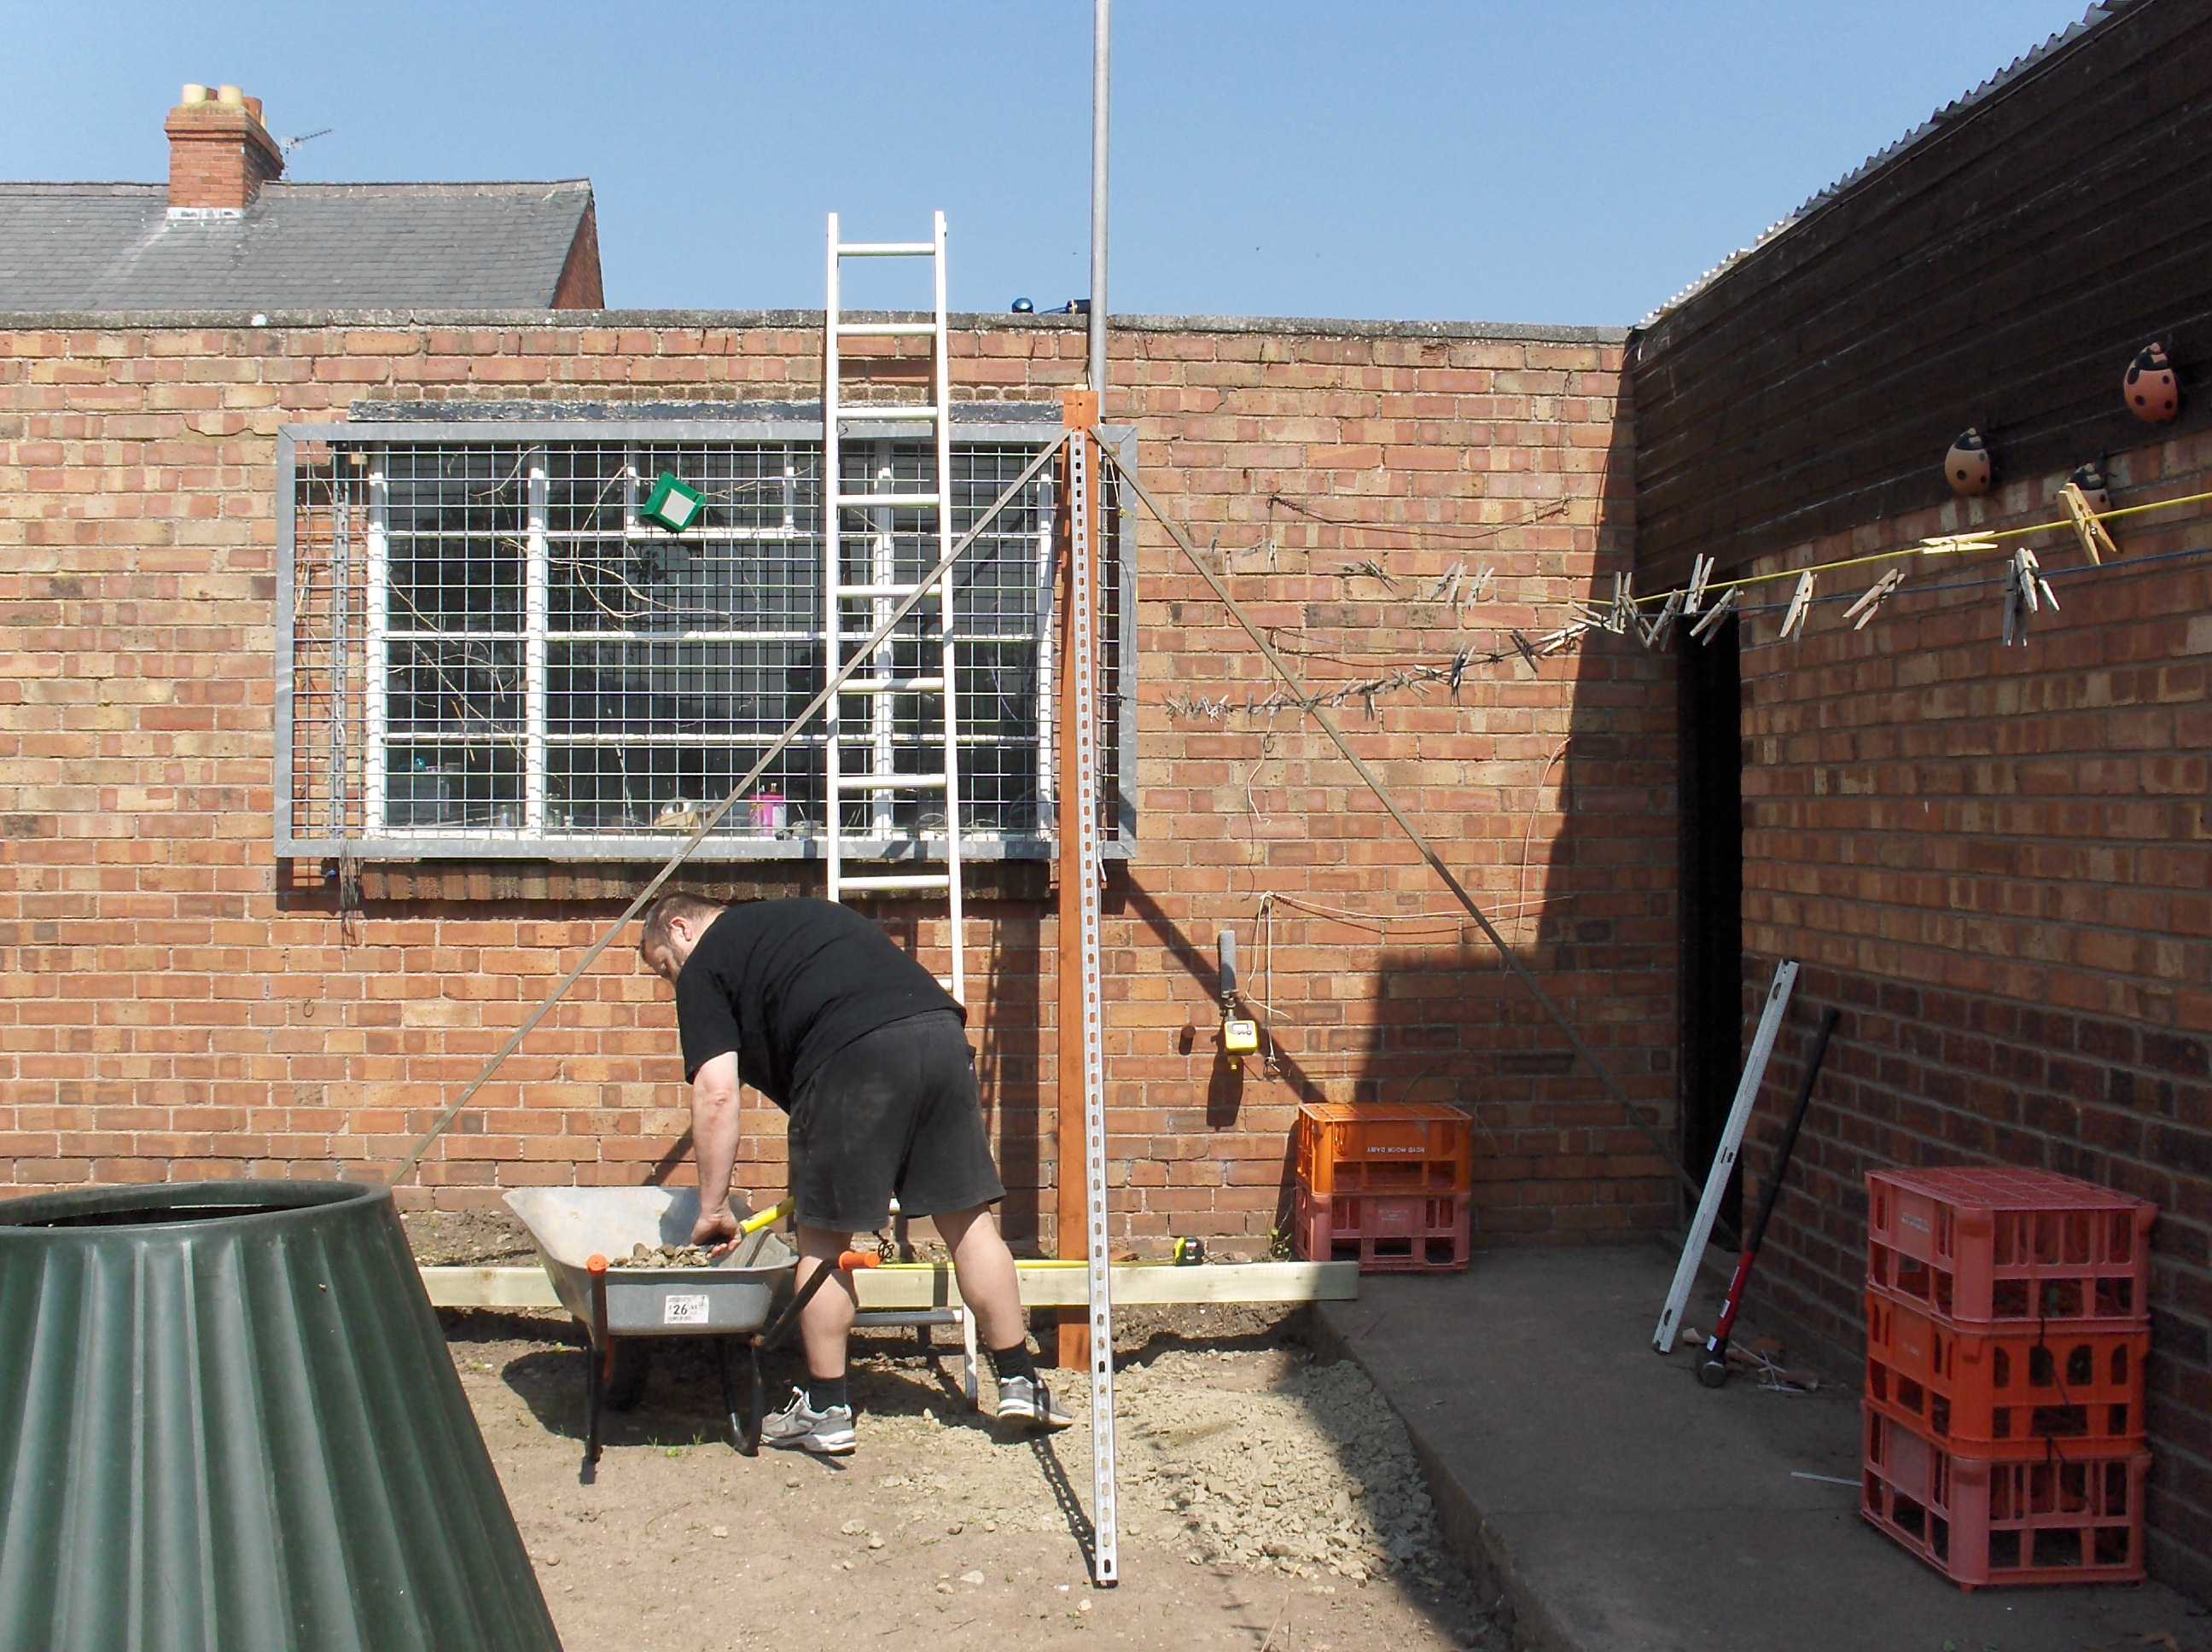
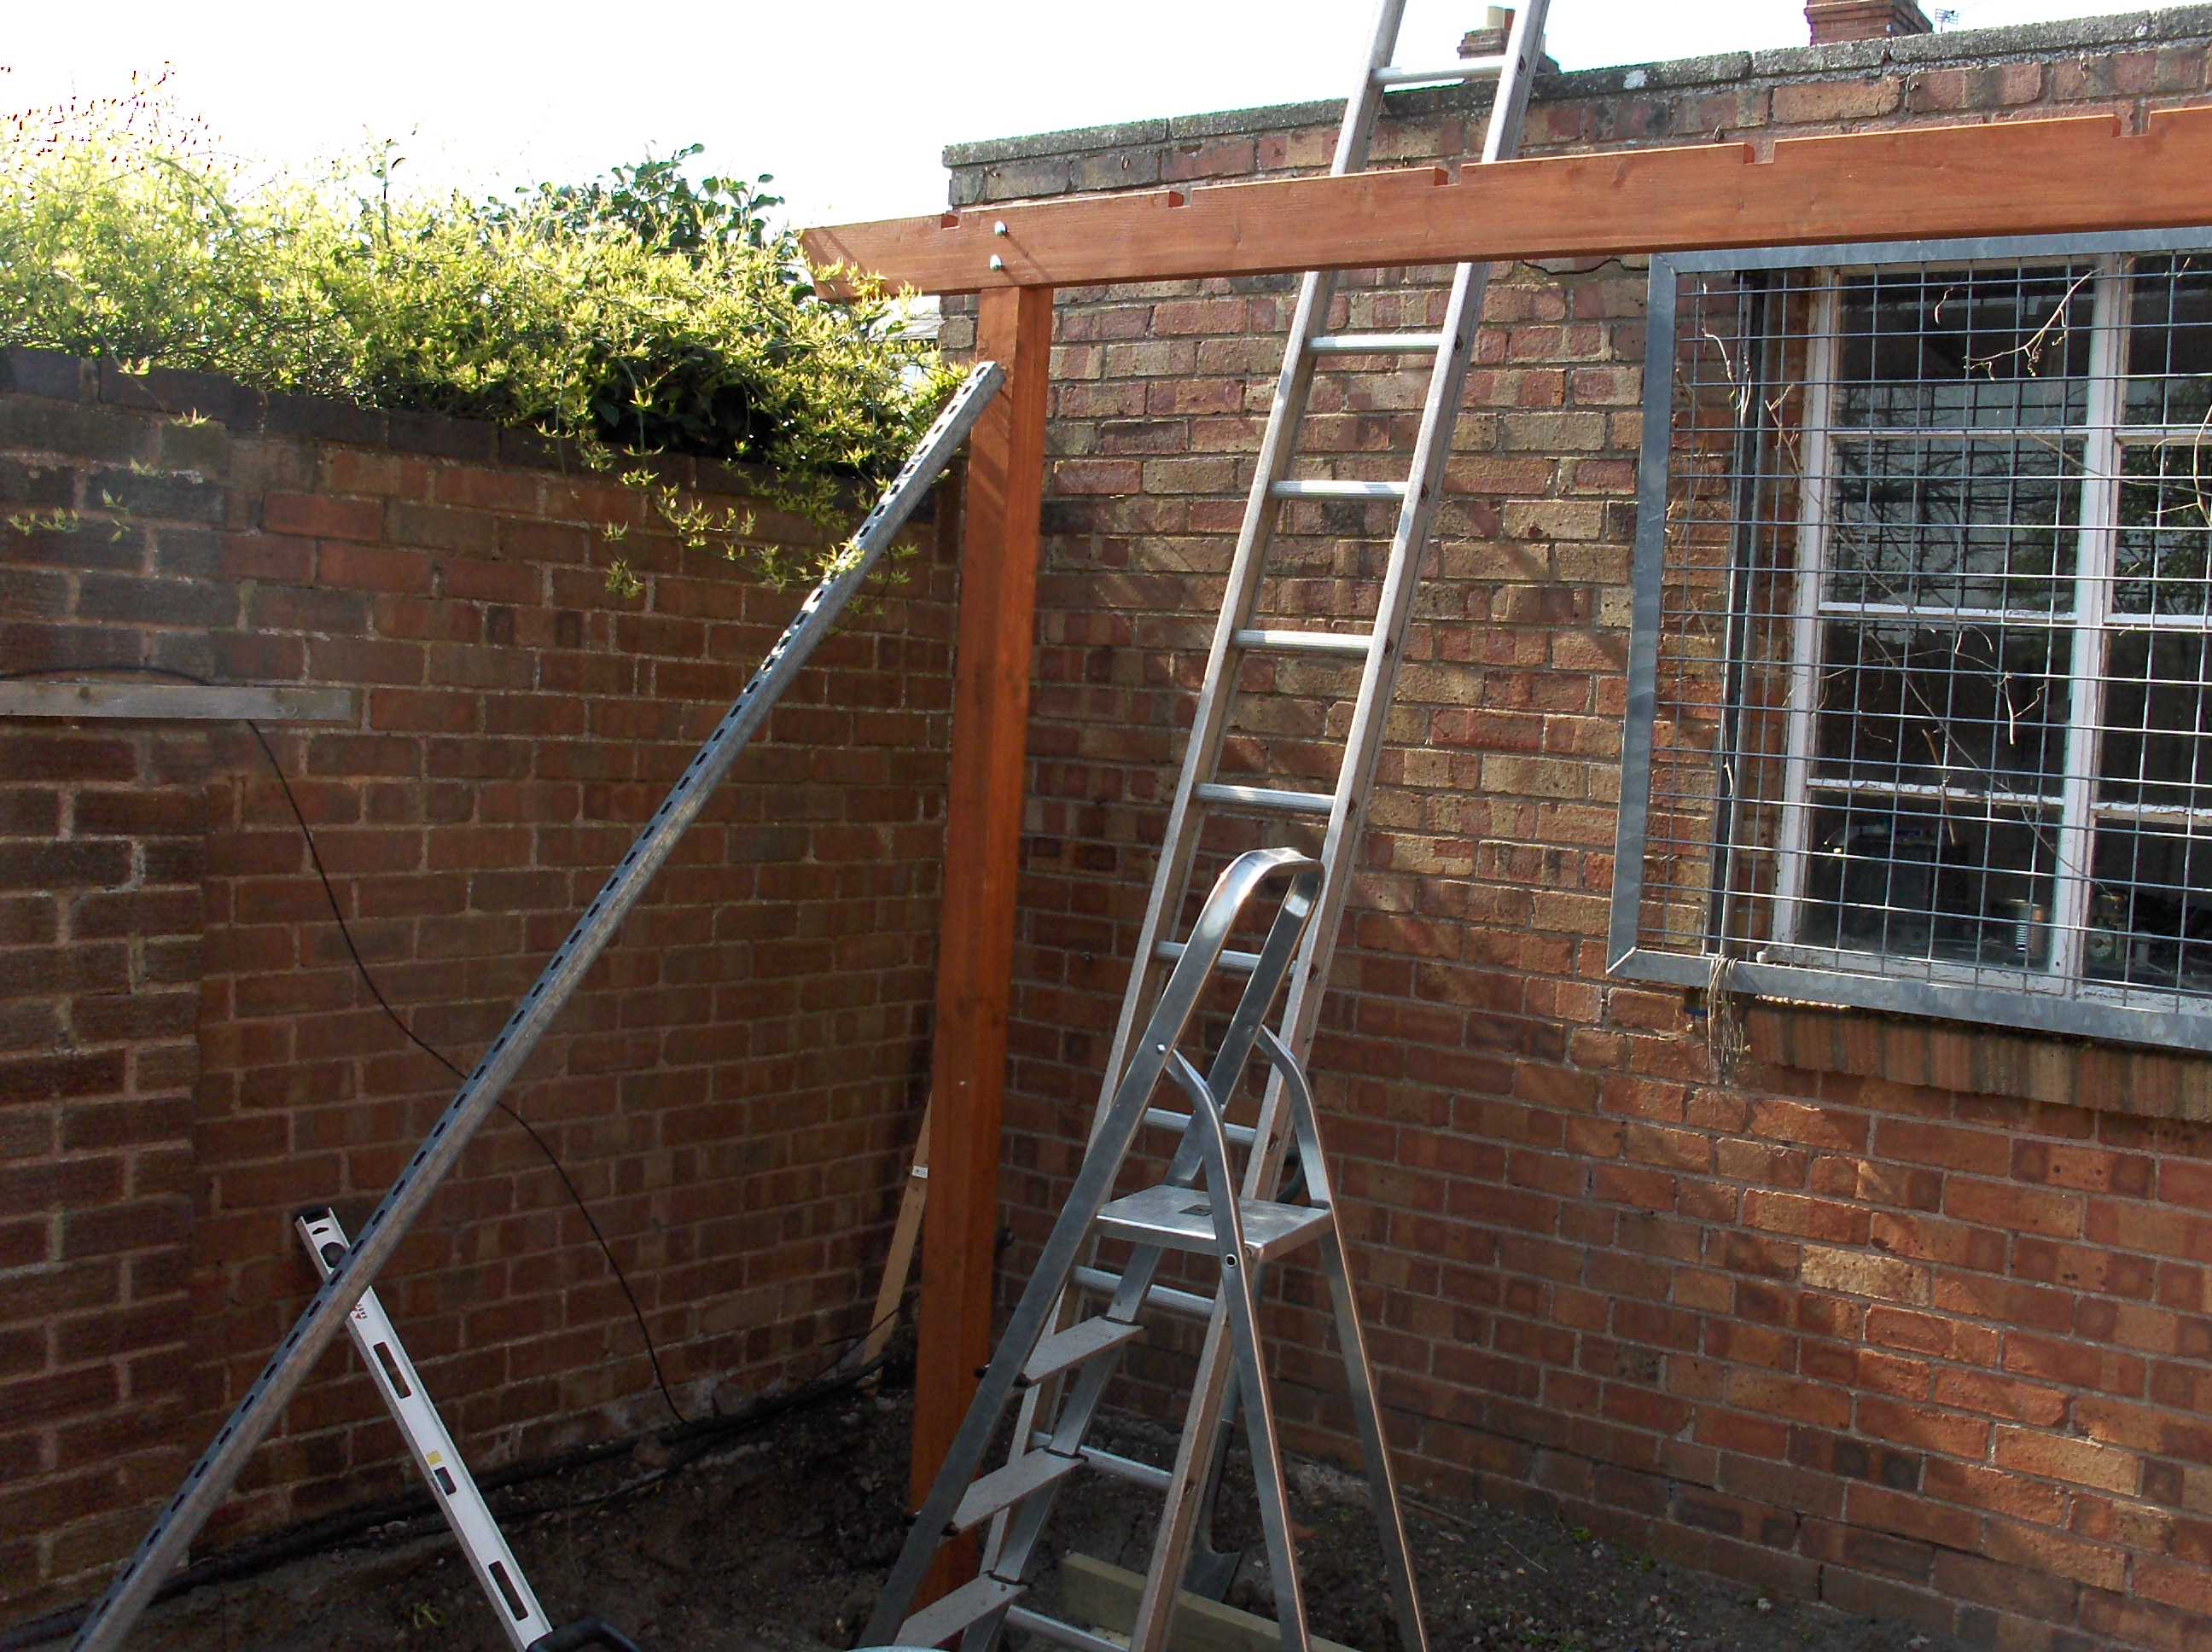
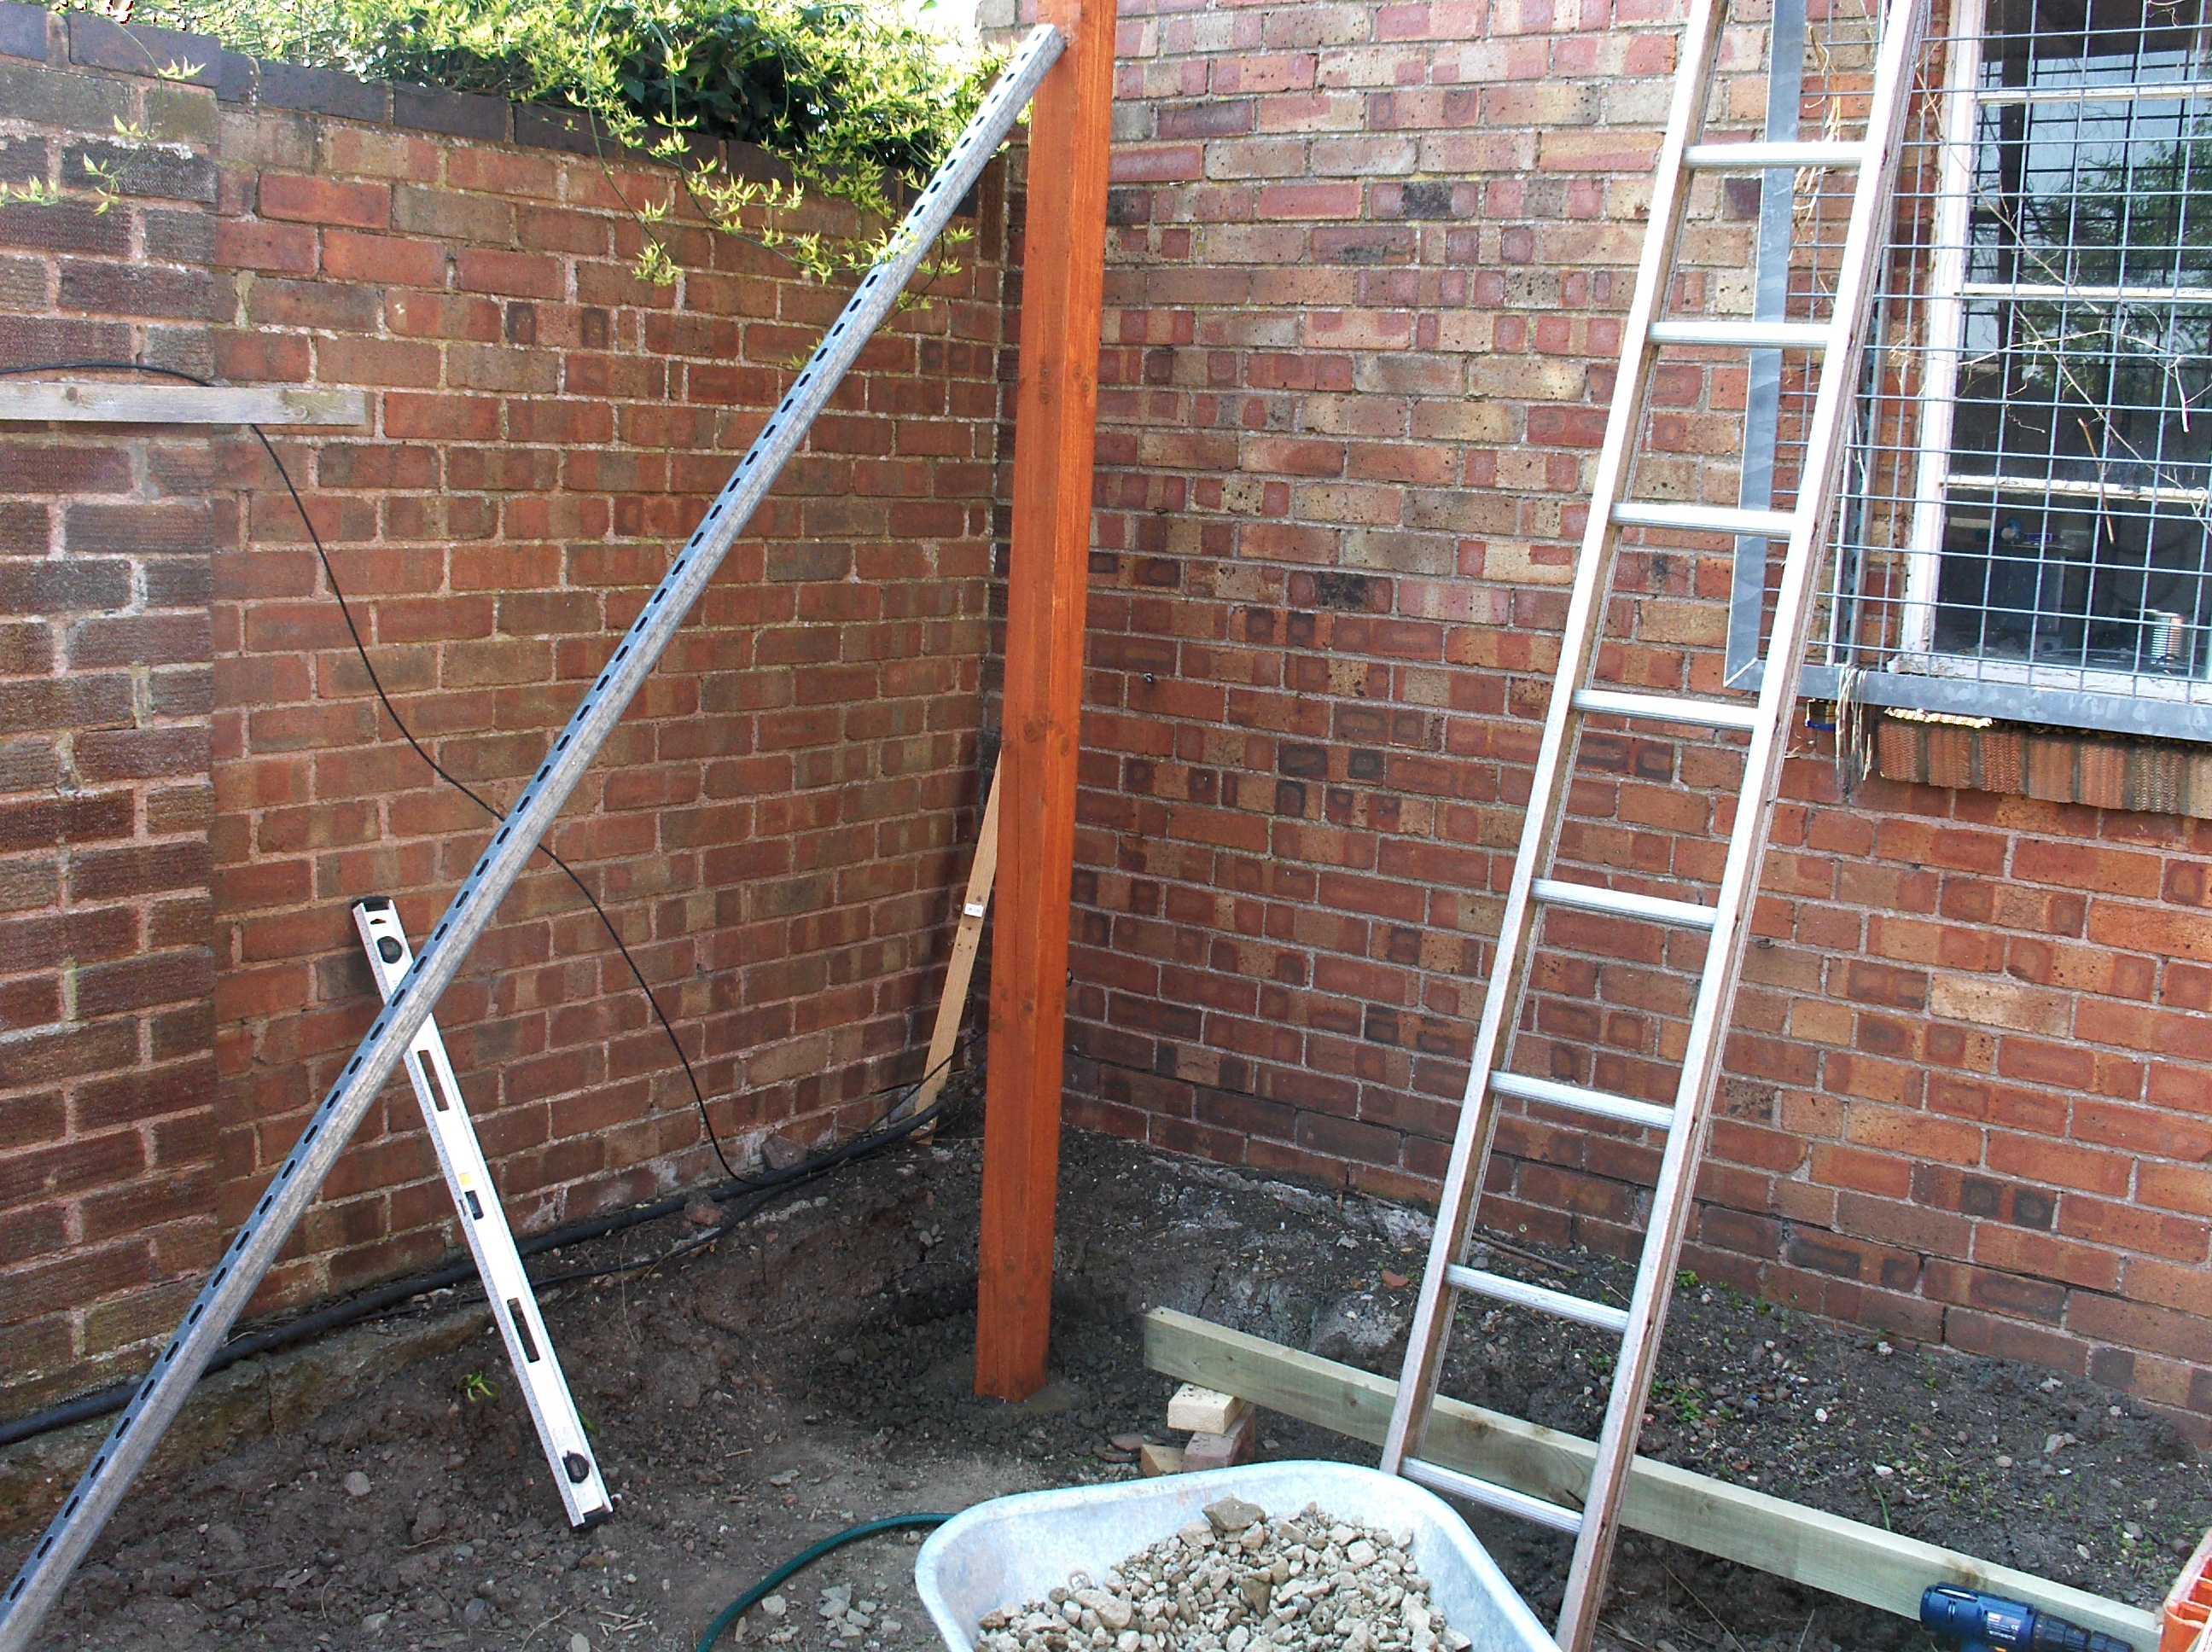
I dug the post holes I gave this a lot of thought shall I concrete them in shall I use metapost thingies. in the end I used scalpins with NO cement so If I had to I could replace the uprights by digging theold one out, I hoped it would drain better so las longer and I would not have to look at those awful metal things. the depth of each hole was measured again by straight edge and spirit level. It's down the hole 'cos it has graduations on it and i'm measuring the depth. Ok? 600mm
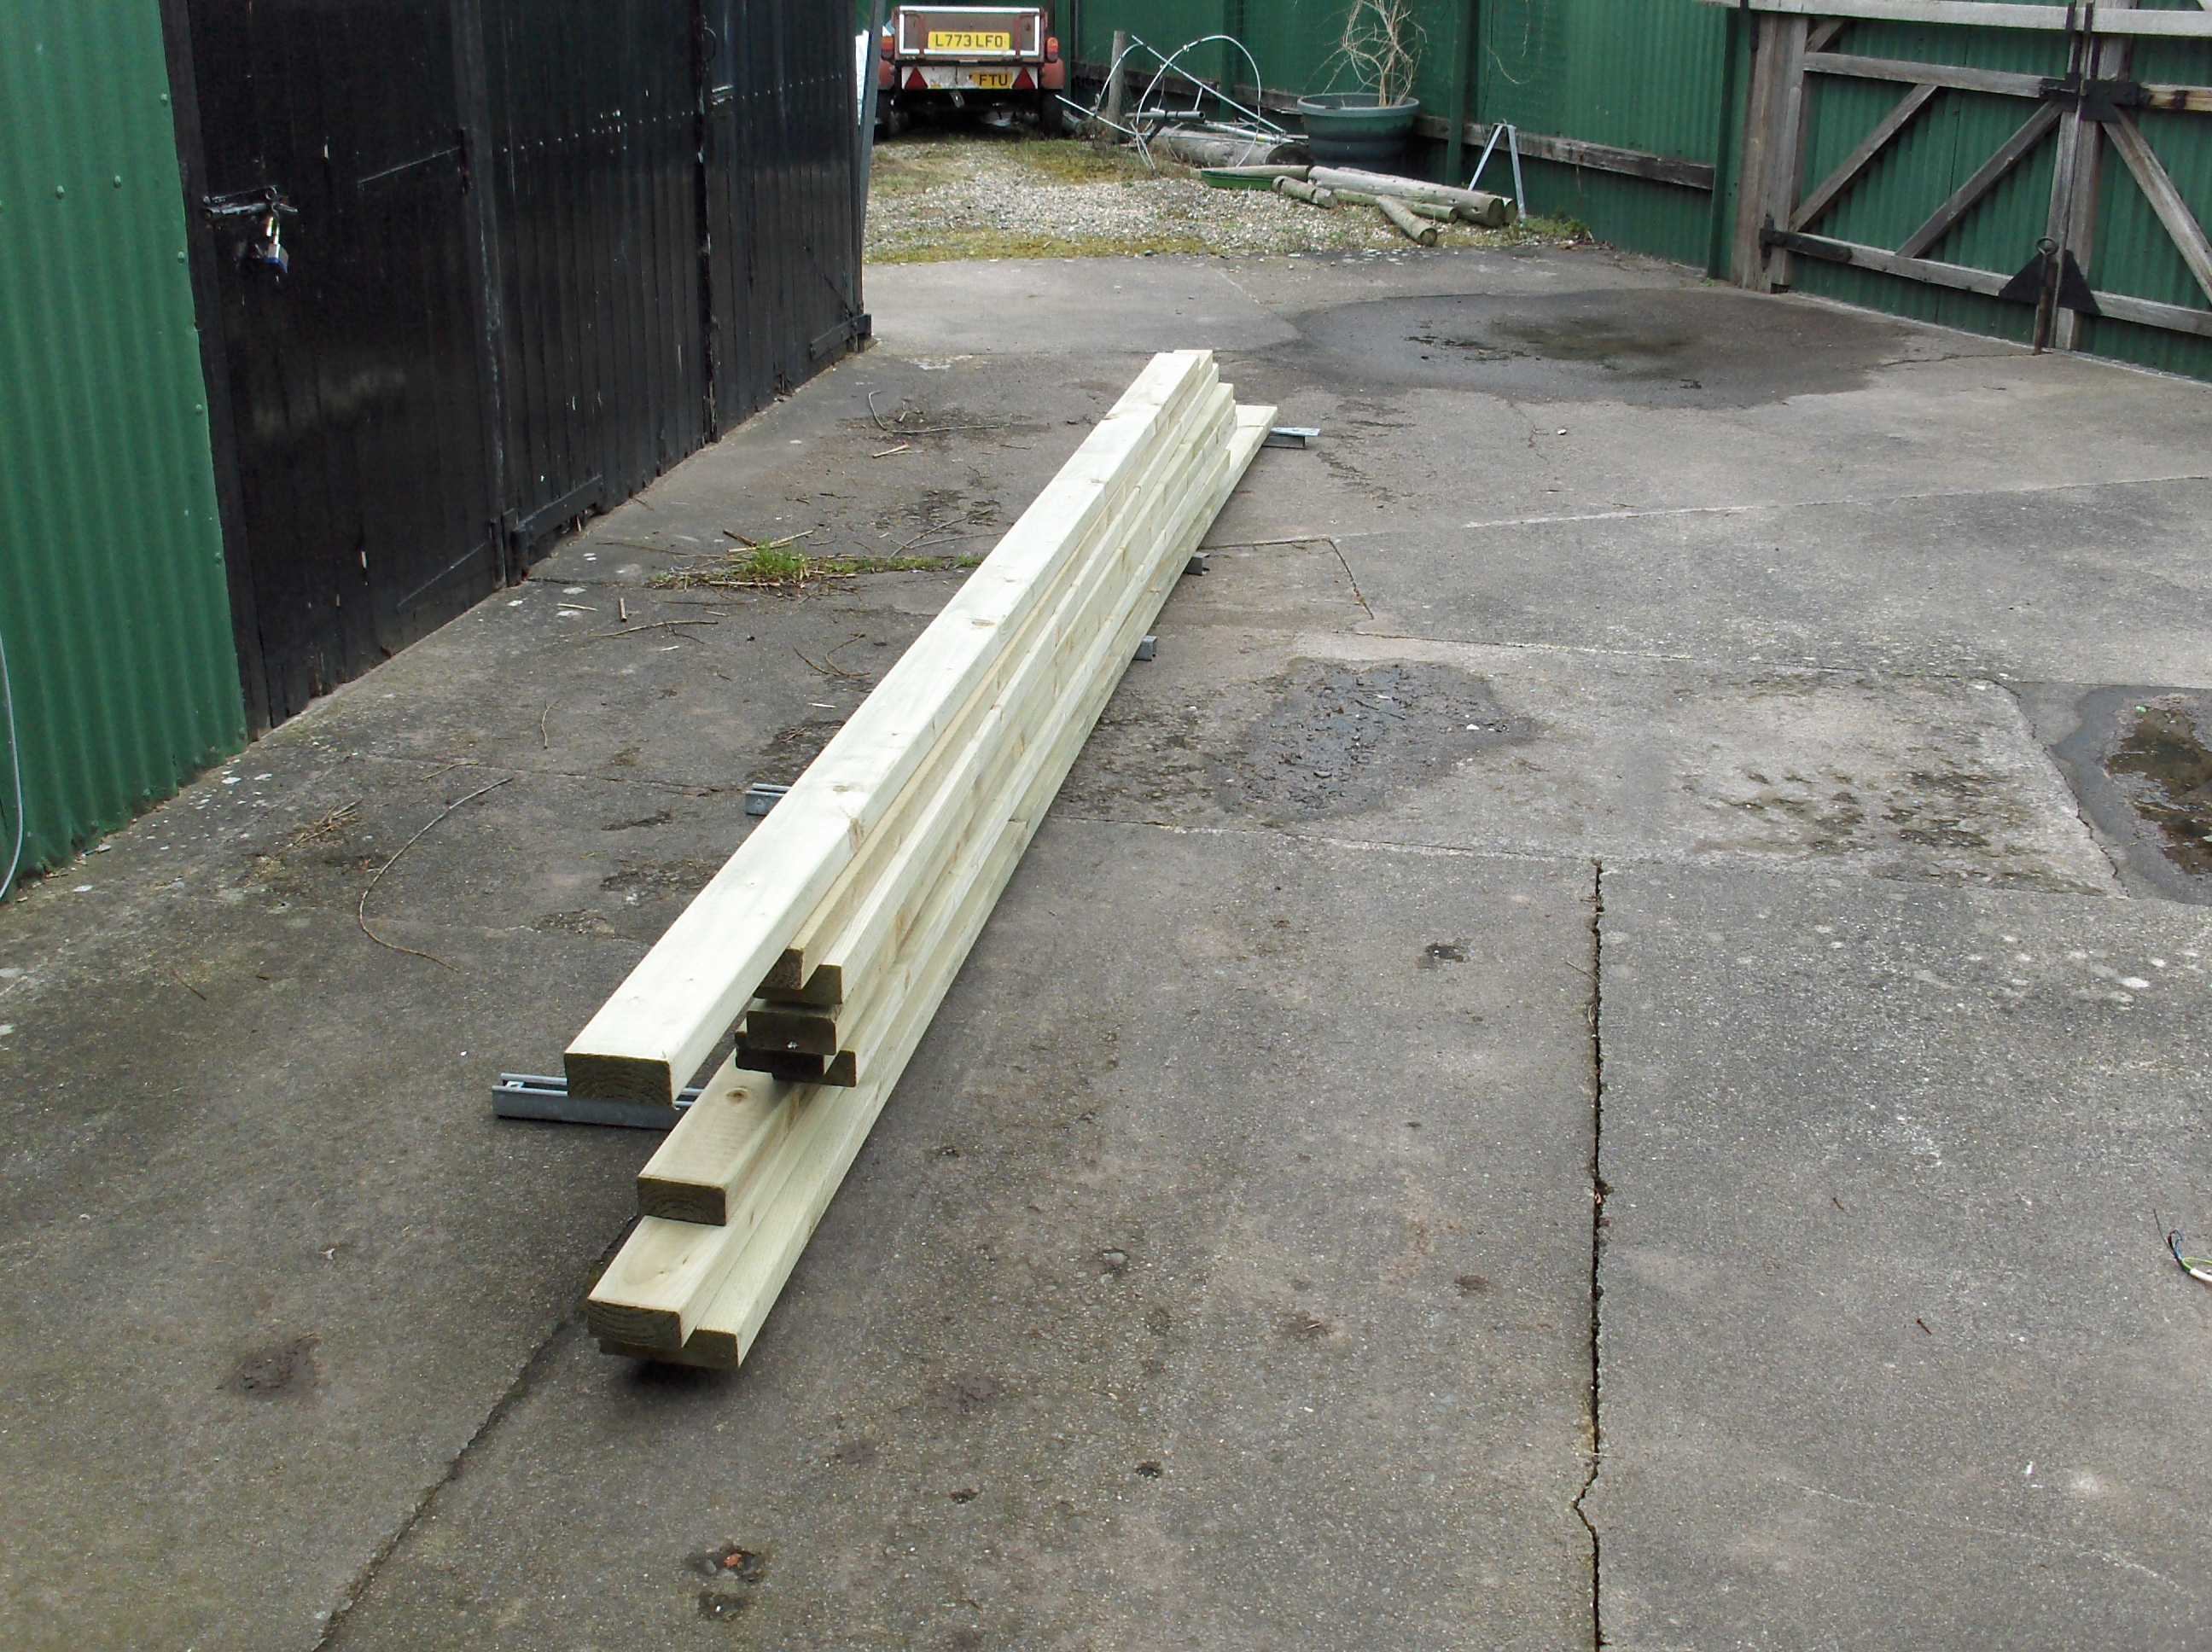
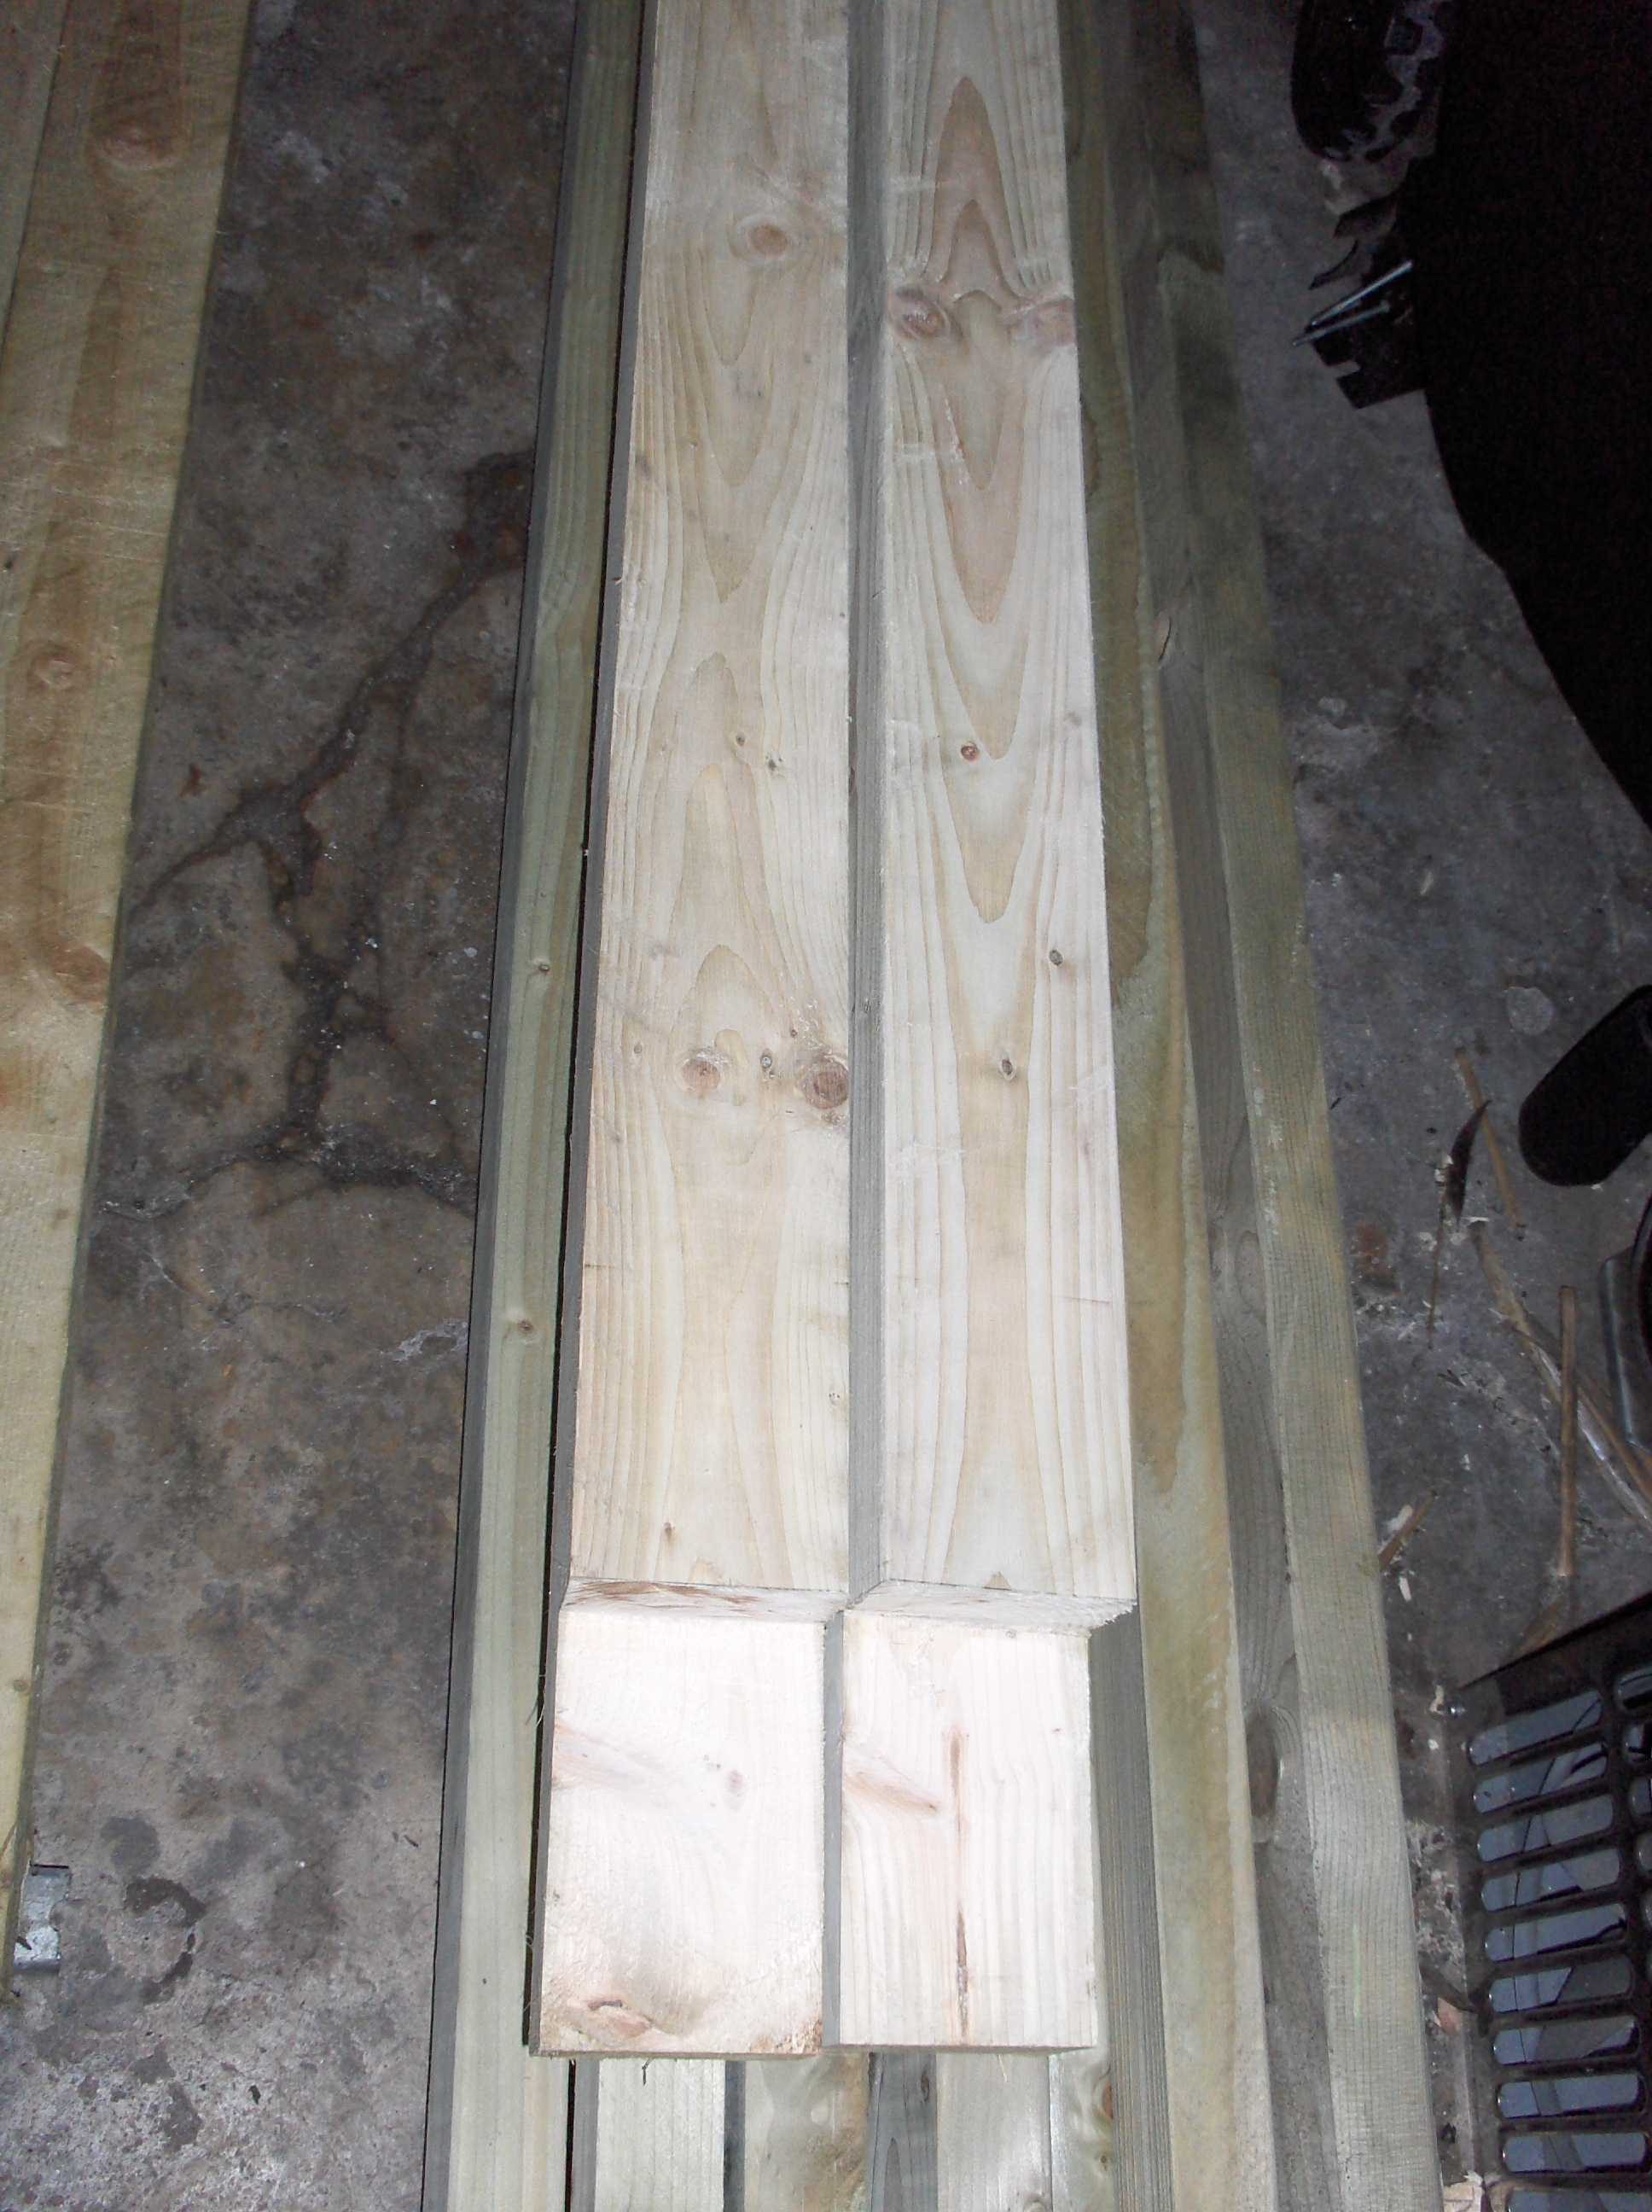
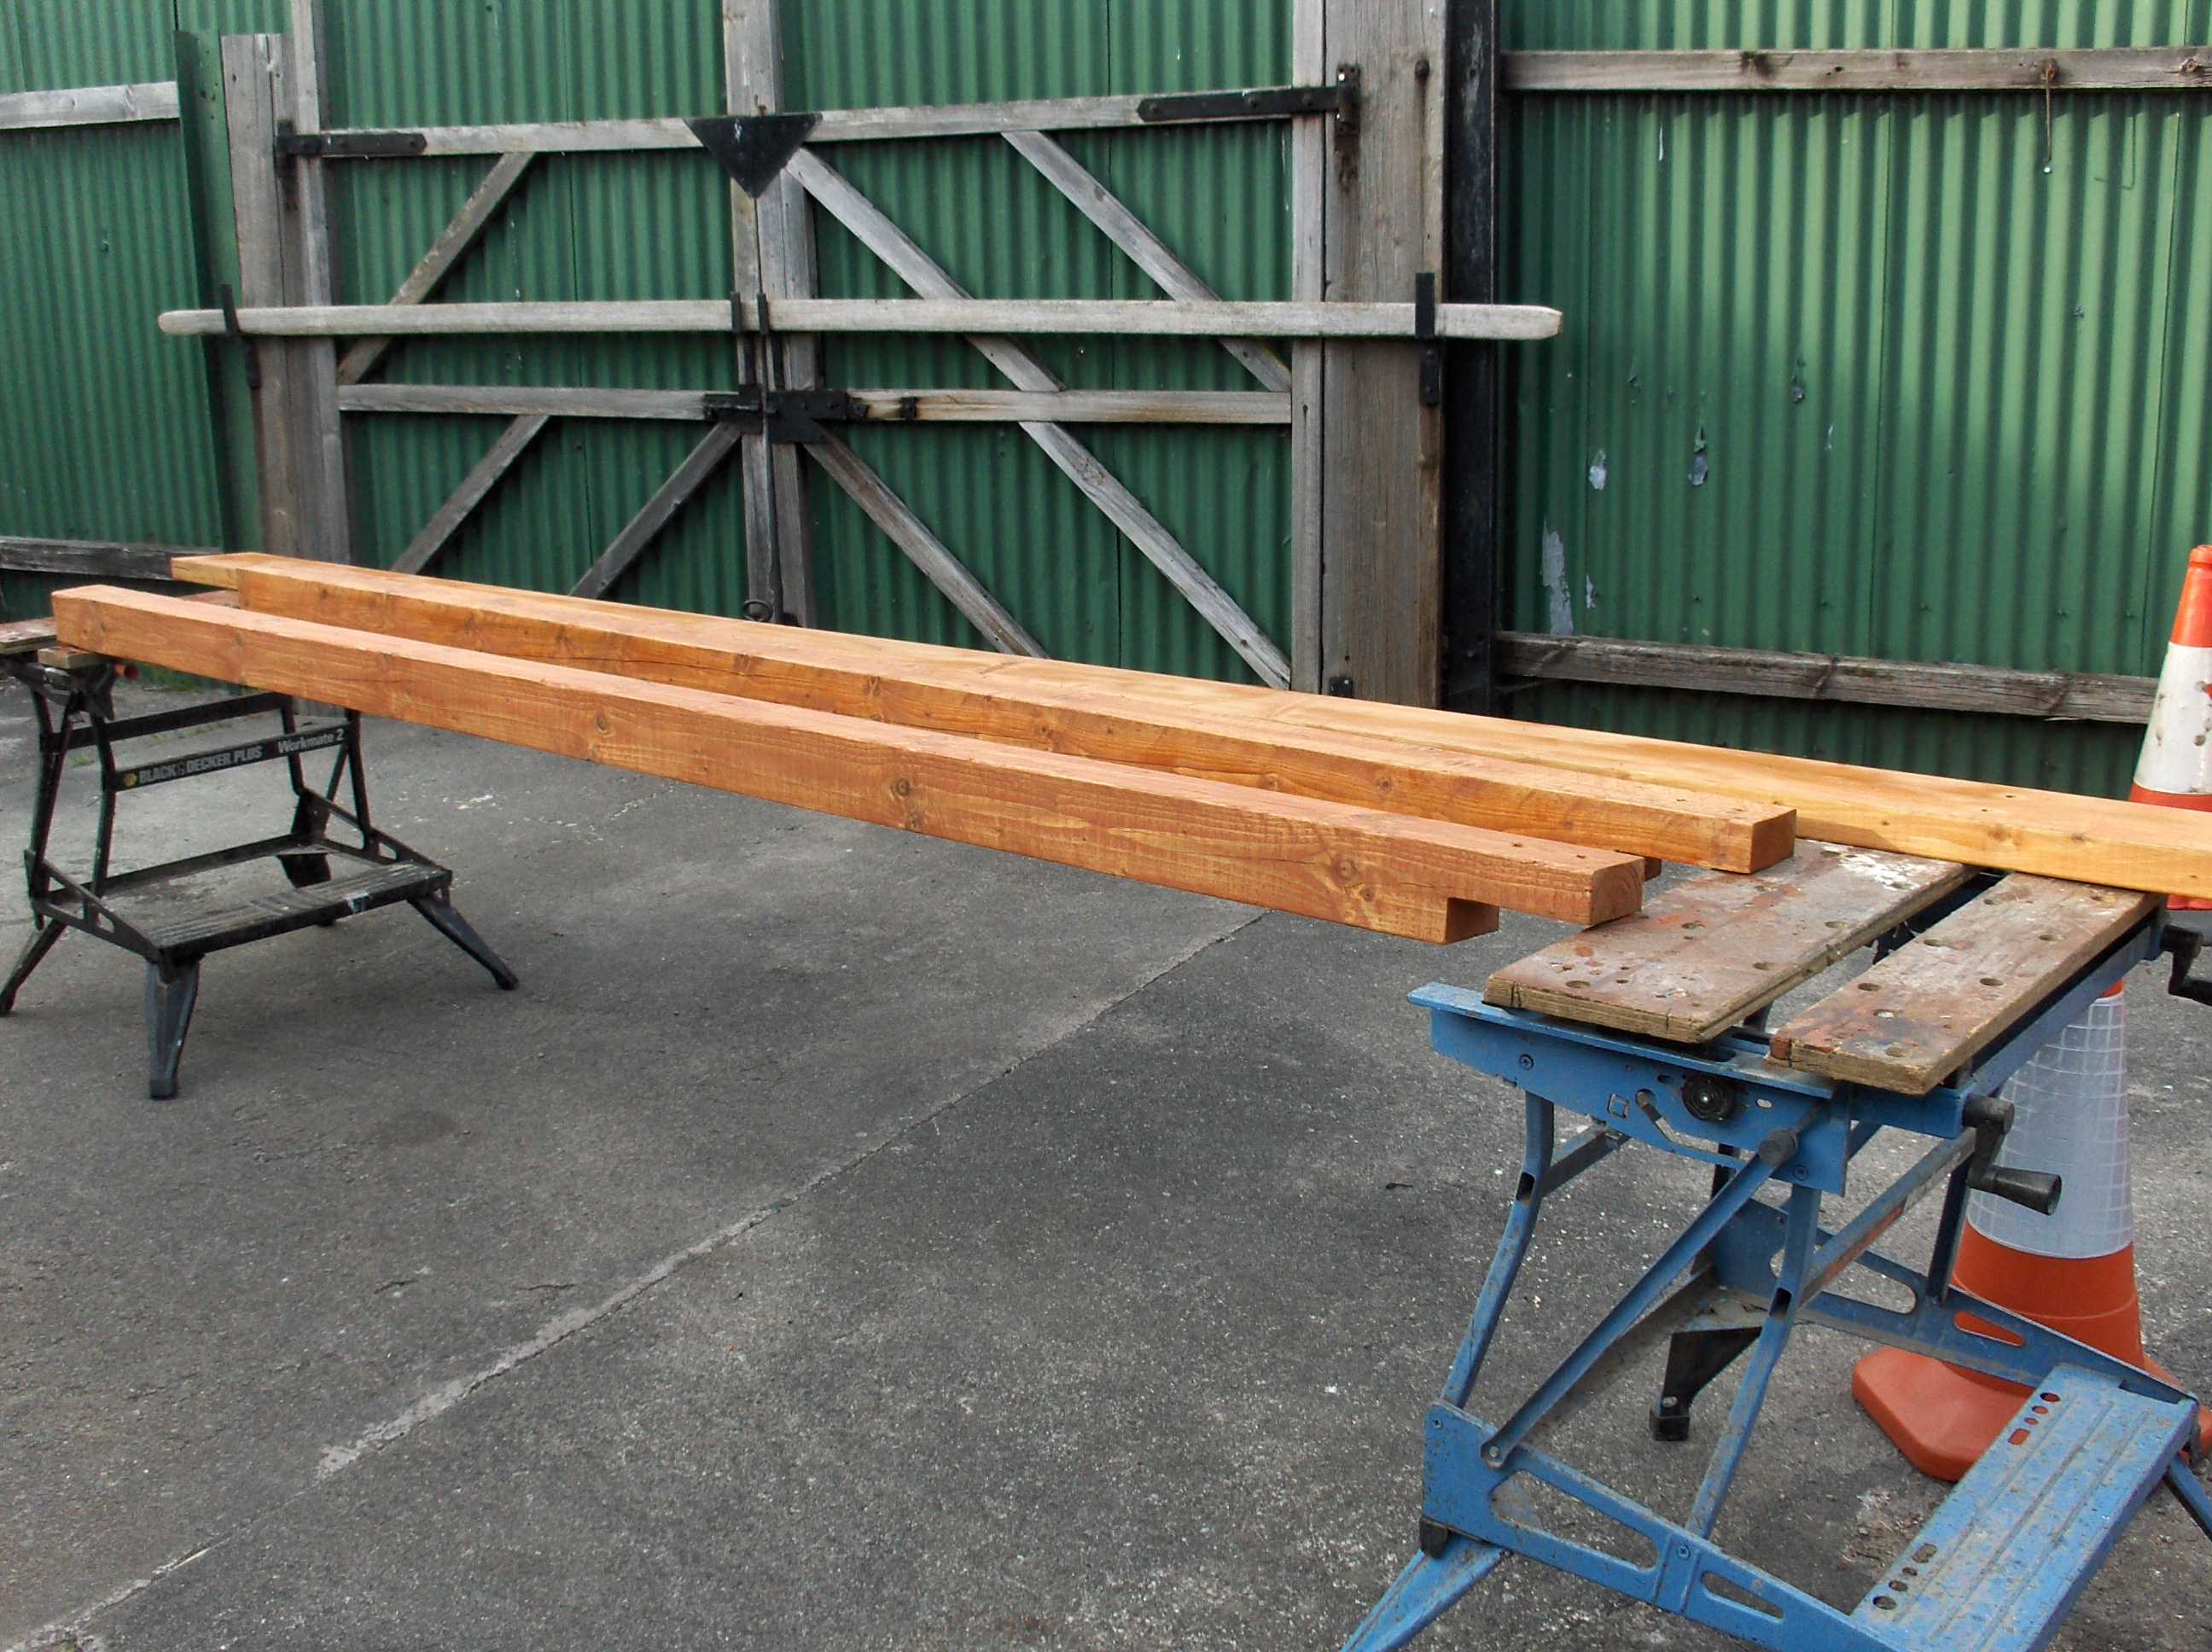
These are the cross pieces before i have cut and stained then the are presure treated 4"x2" 3.6m long (only in the uk can you get 3.6m of 4"x2" WTF
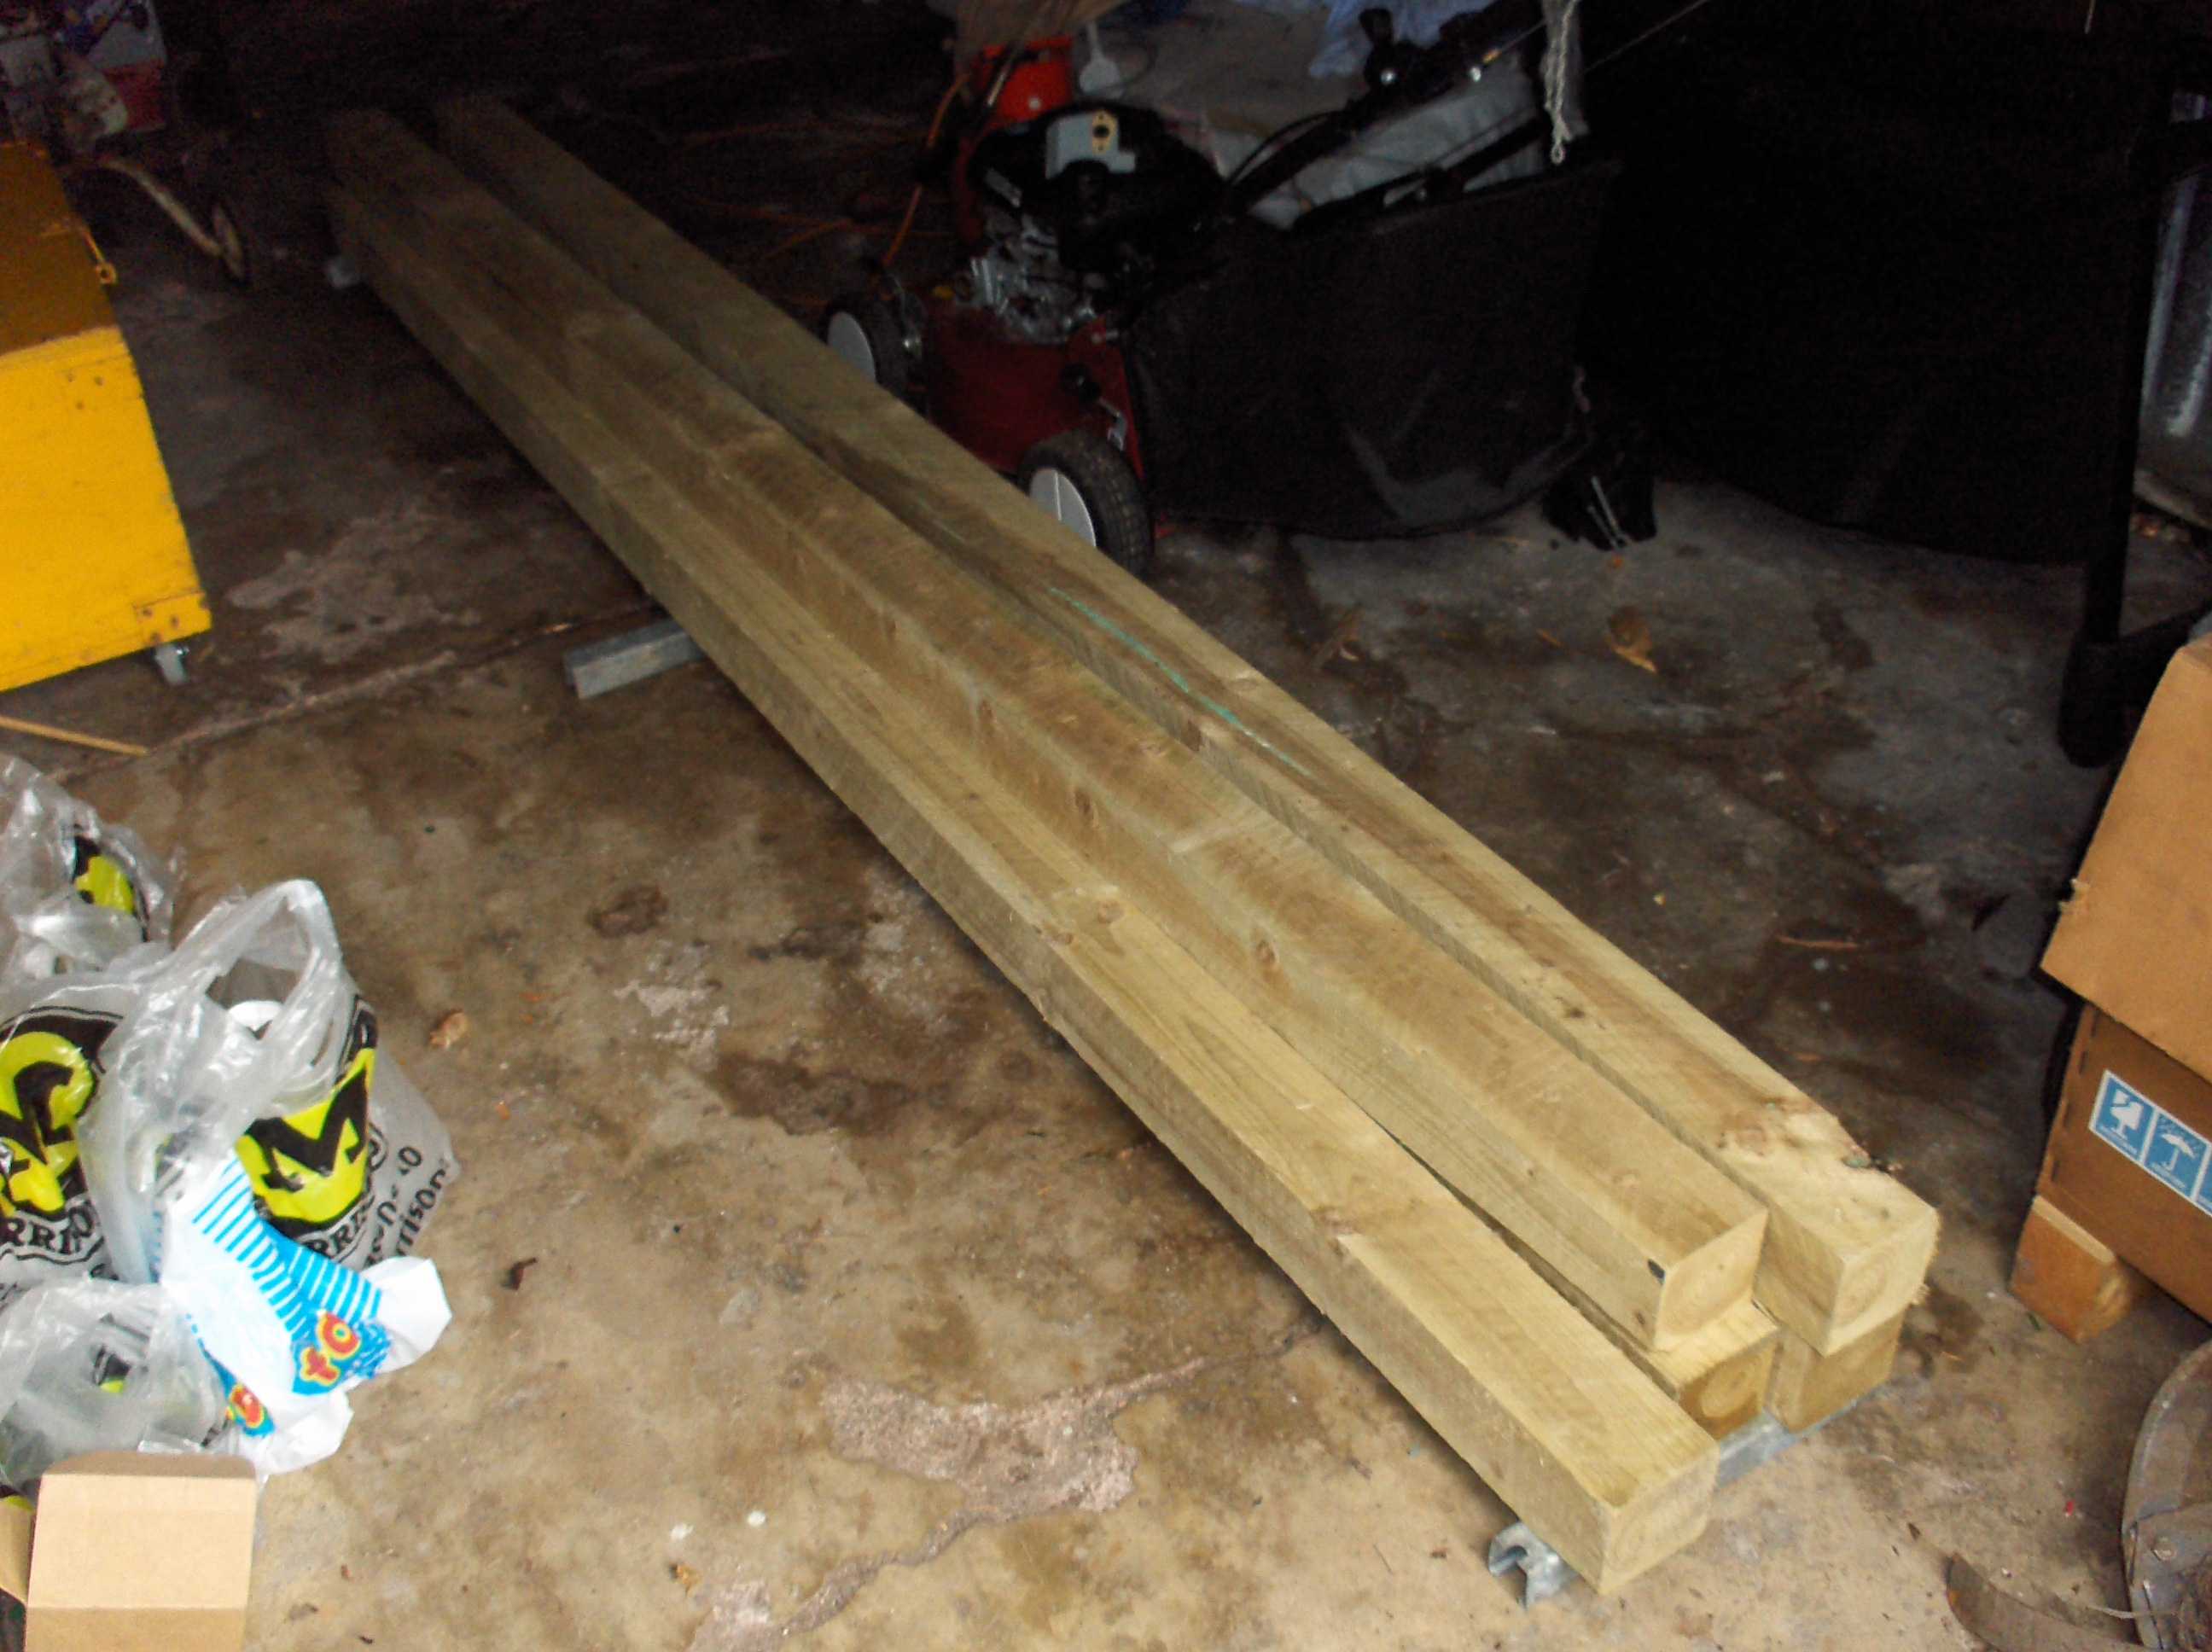
These are the uprights 3.6m 4"x4". These are again presure treated but rough sawn so I sanded them down to improve the appearance and to stop people getting splinters.

the two 6"x2" x 4.3m came in handy to finish leveling off the foundations too.
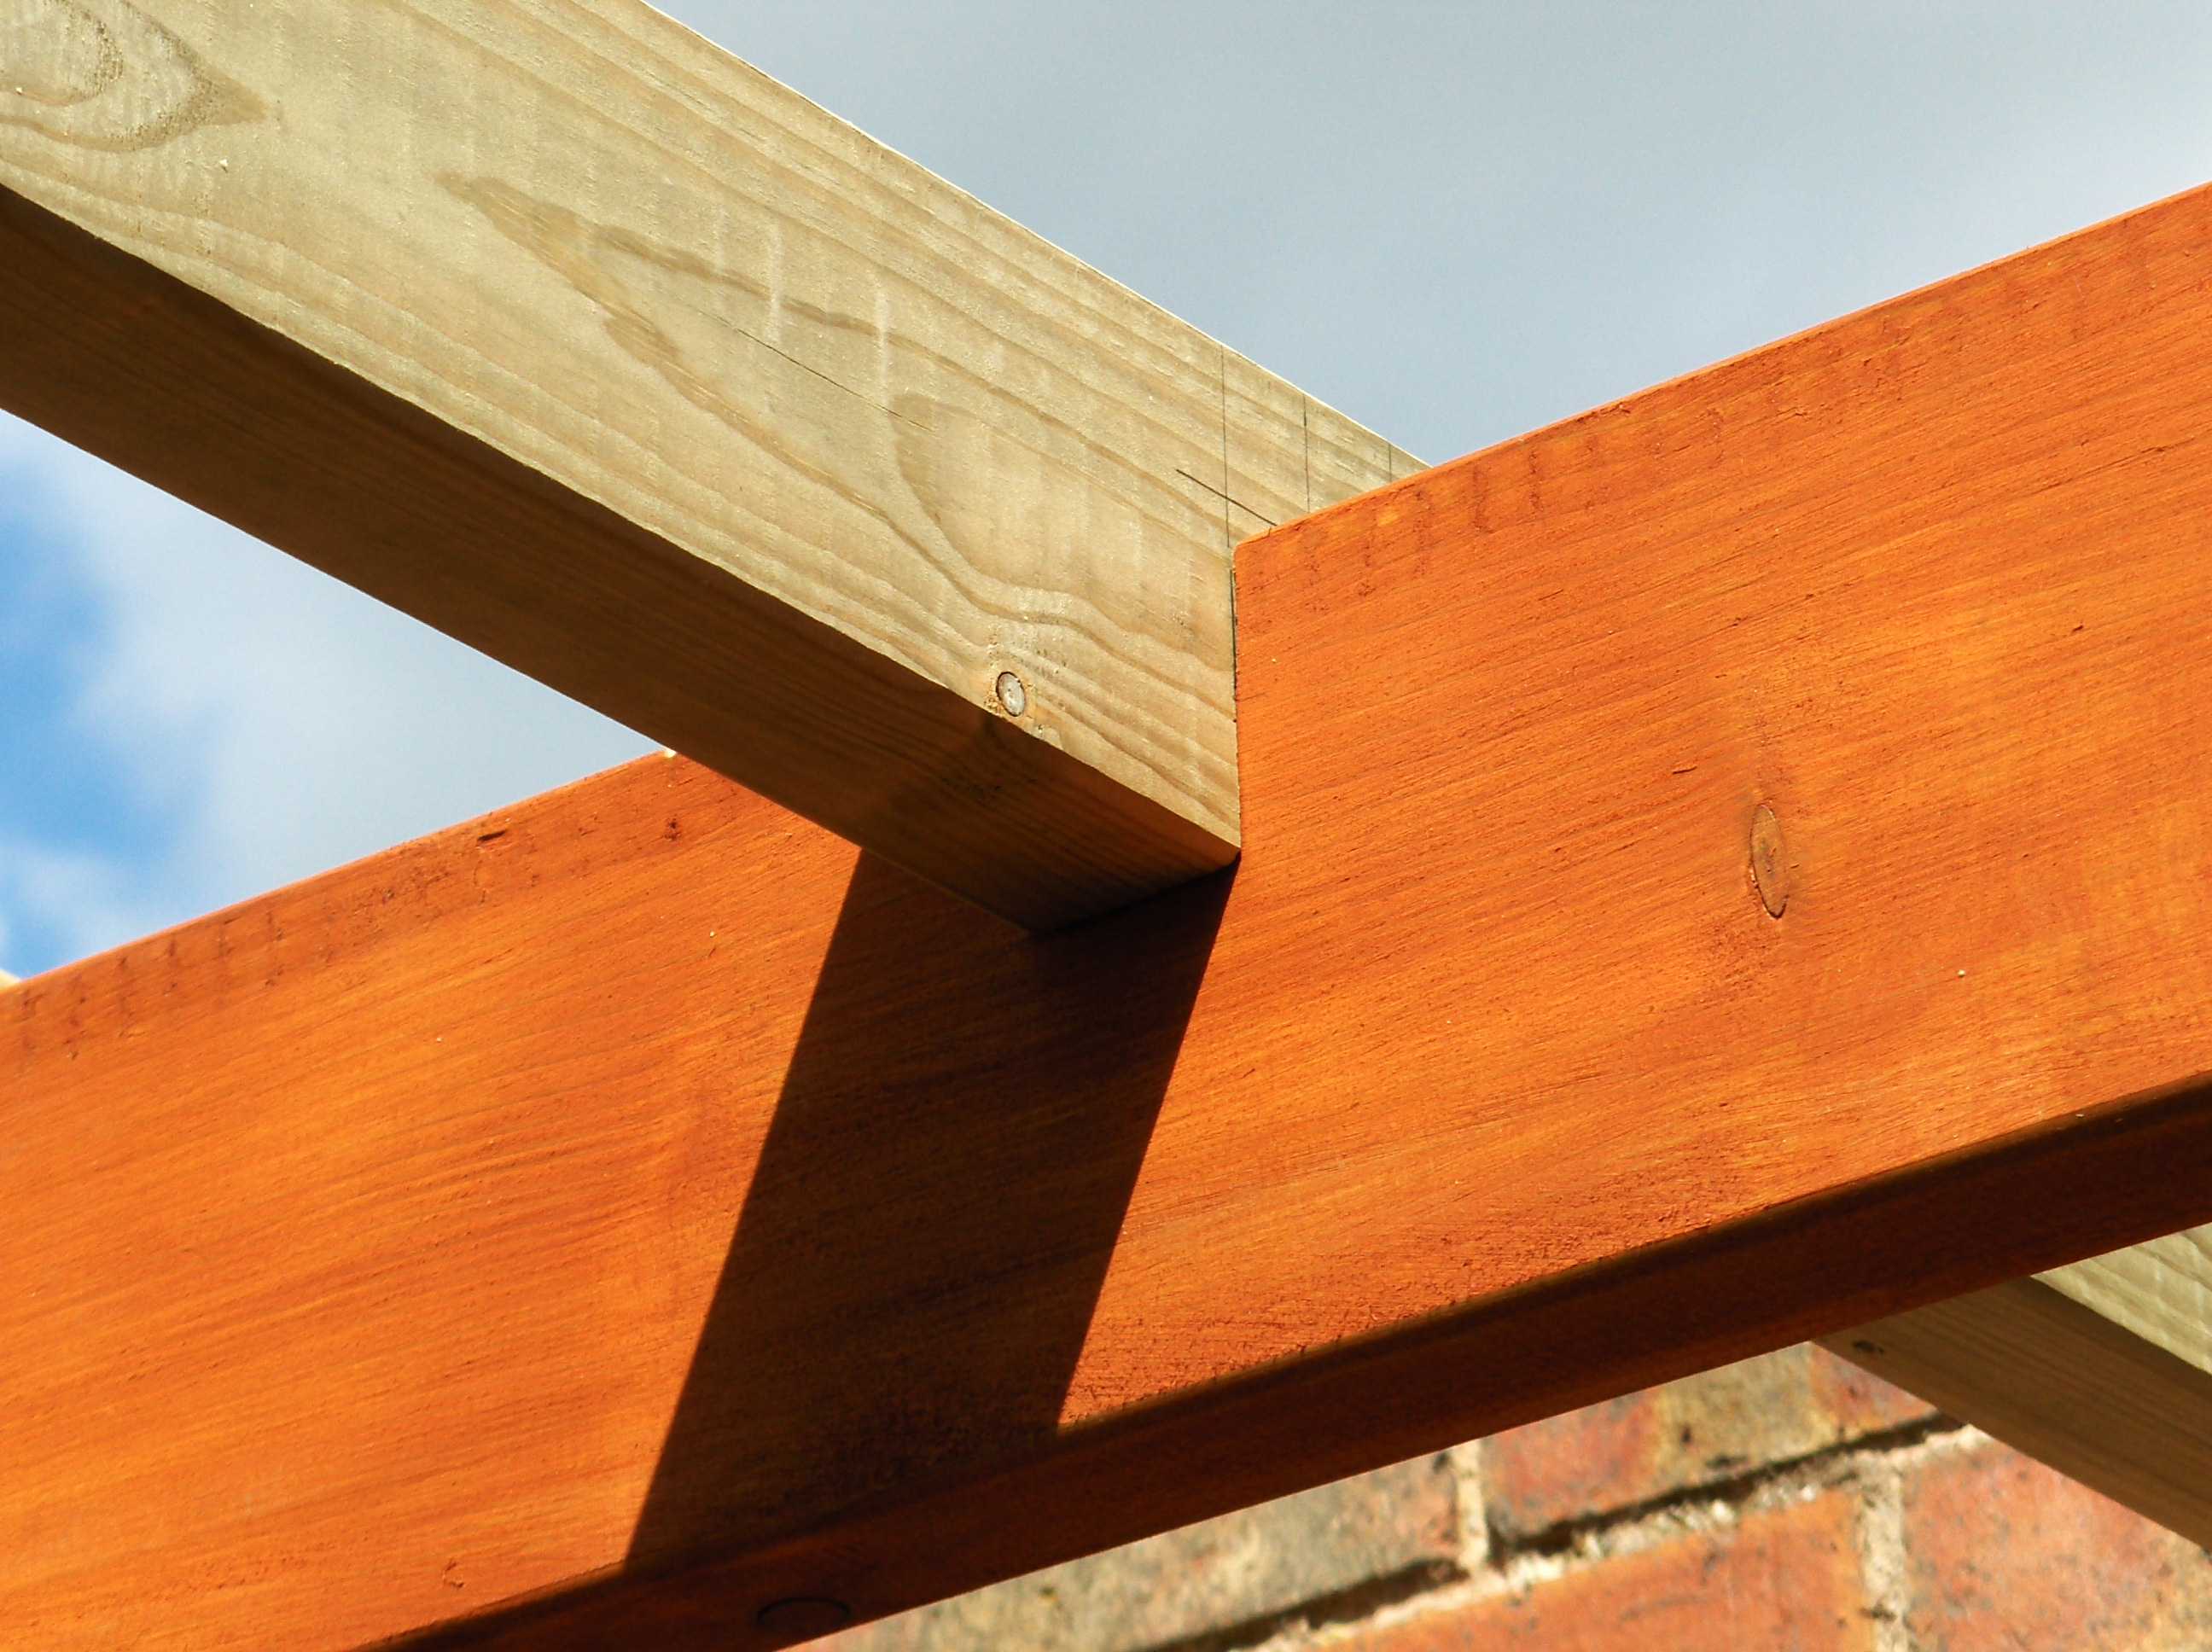
I used half lap joints at the top of the uprights to mate the 6"x2" main cross pieces to the 4"x4" uprights
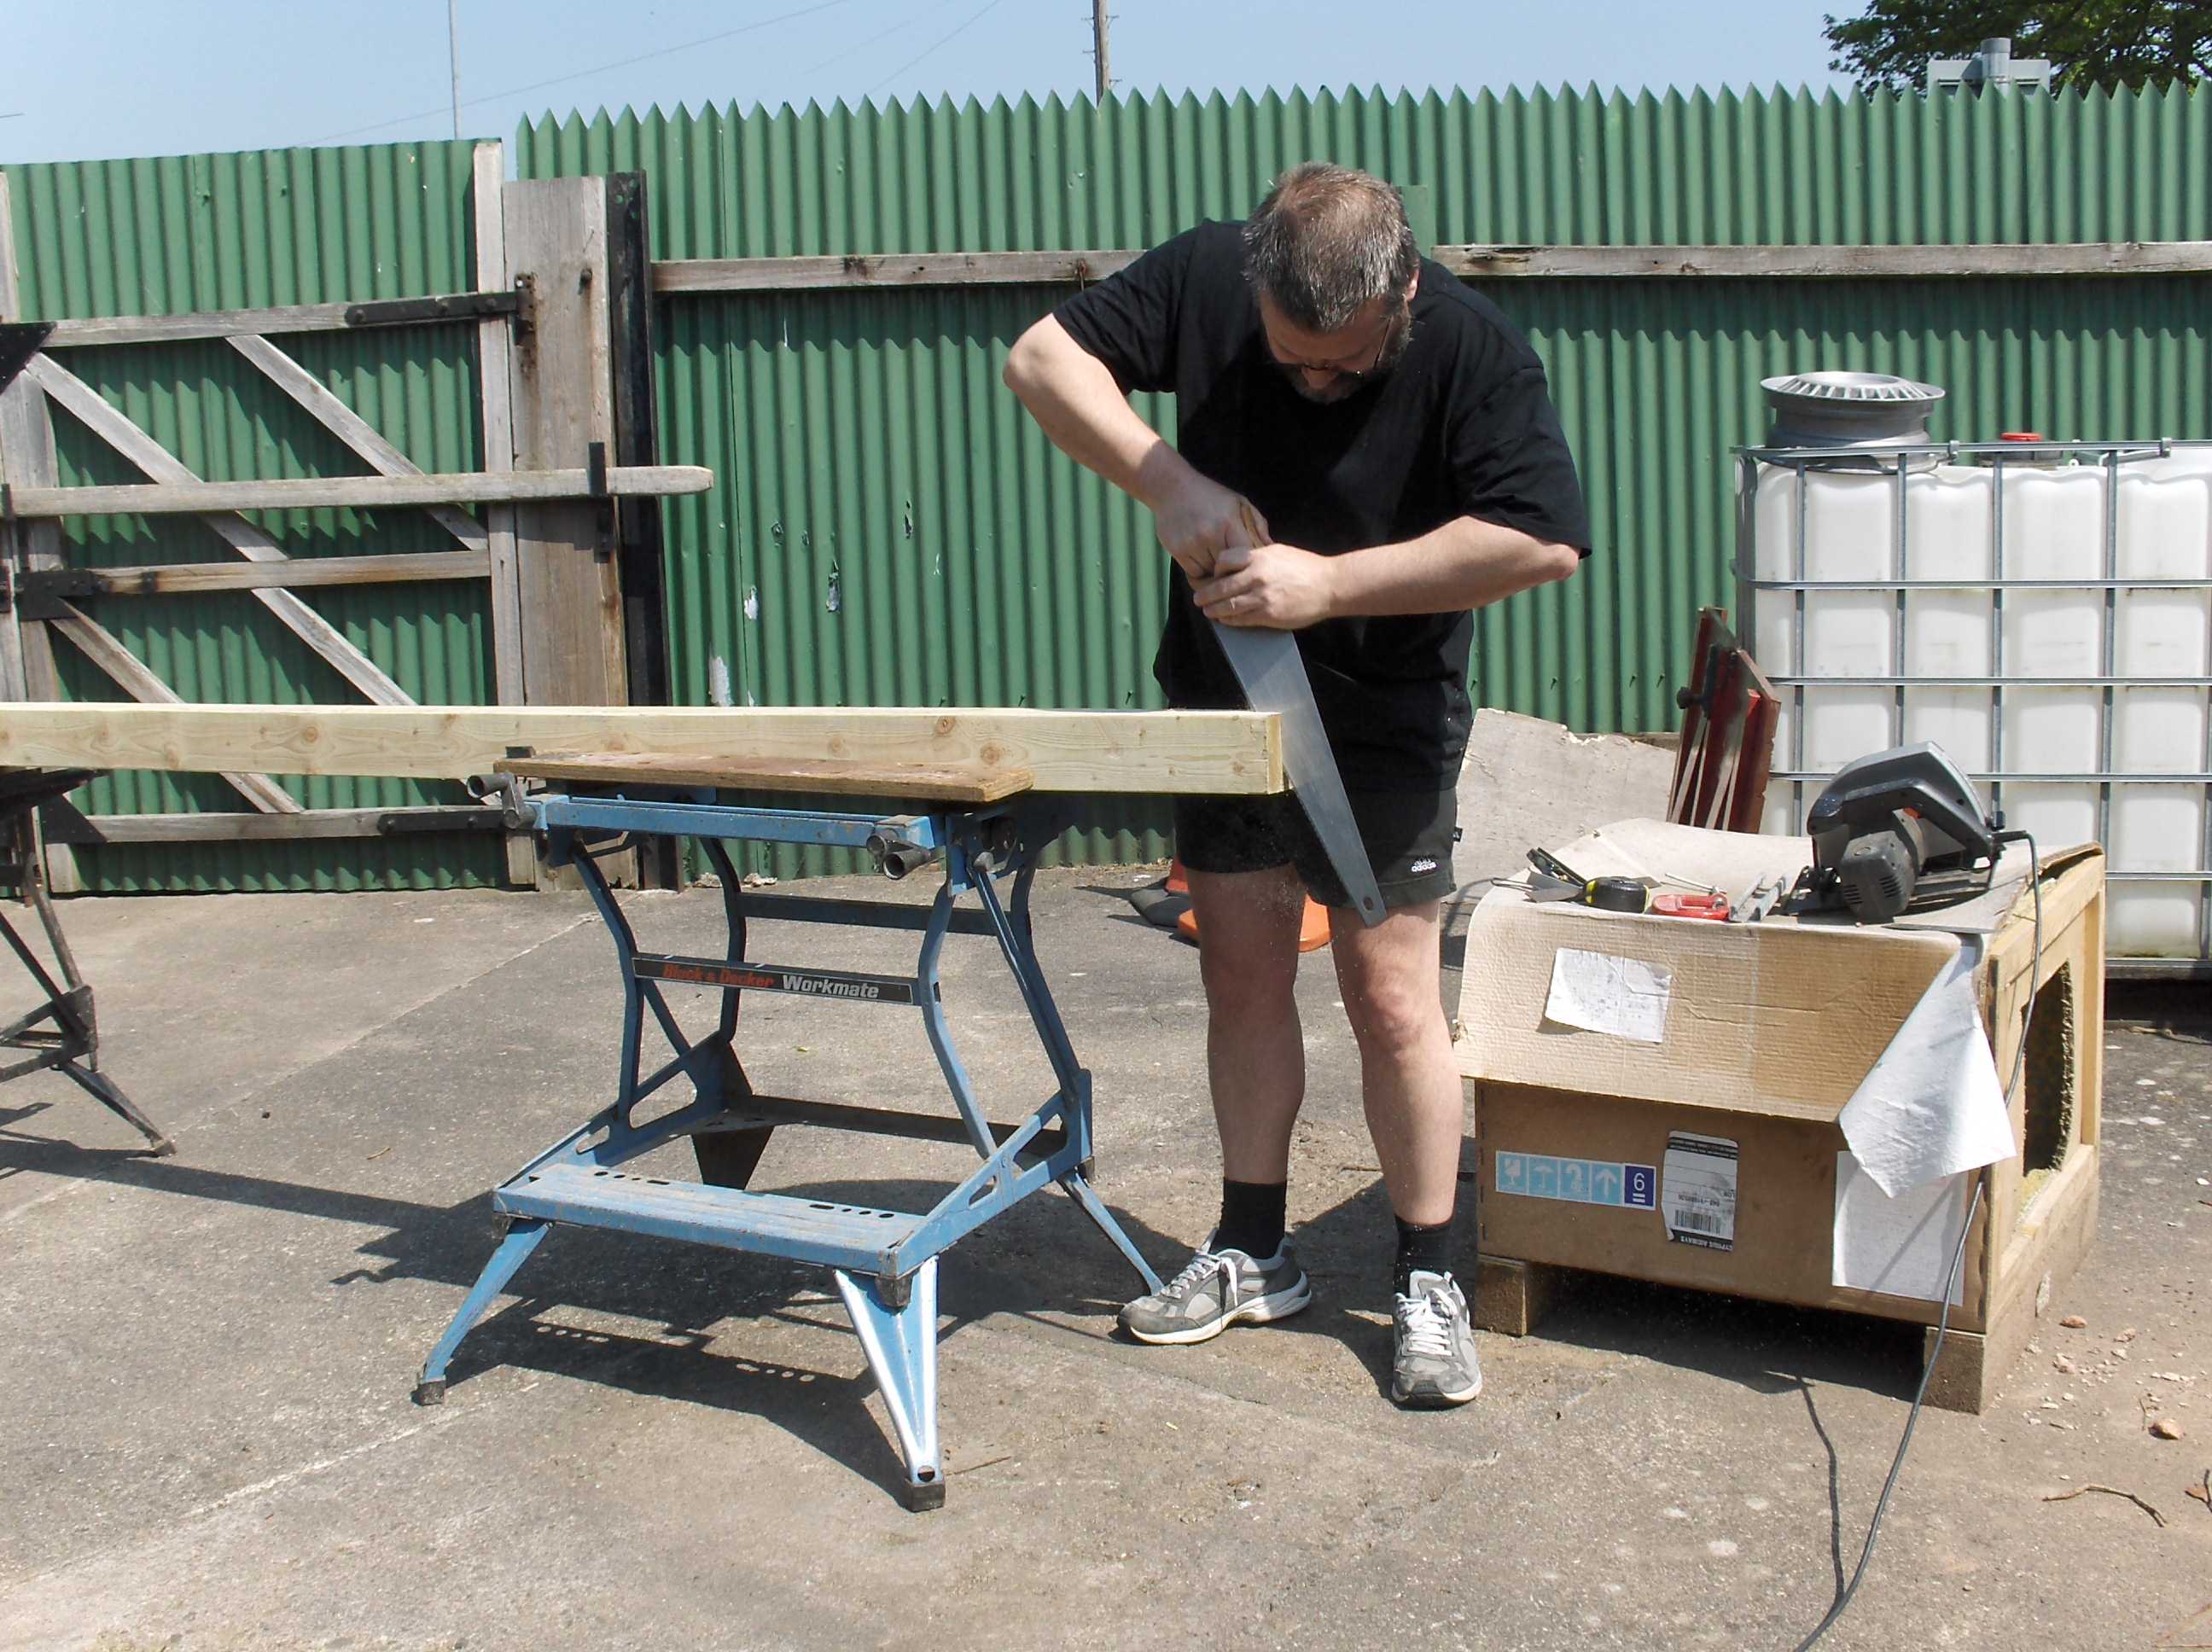
These are two of the cut uprights. note only the uprights were cut. Is that a half half lap joint?
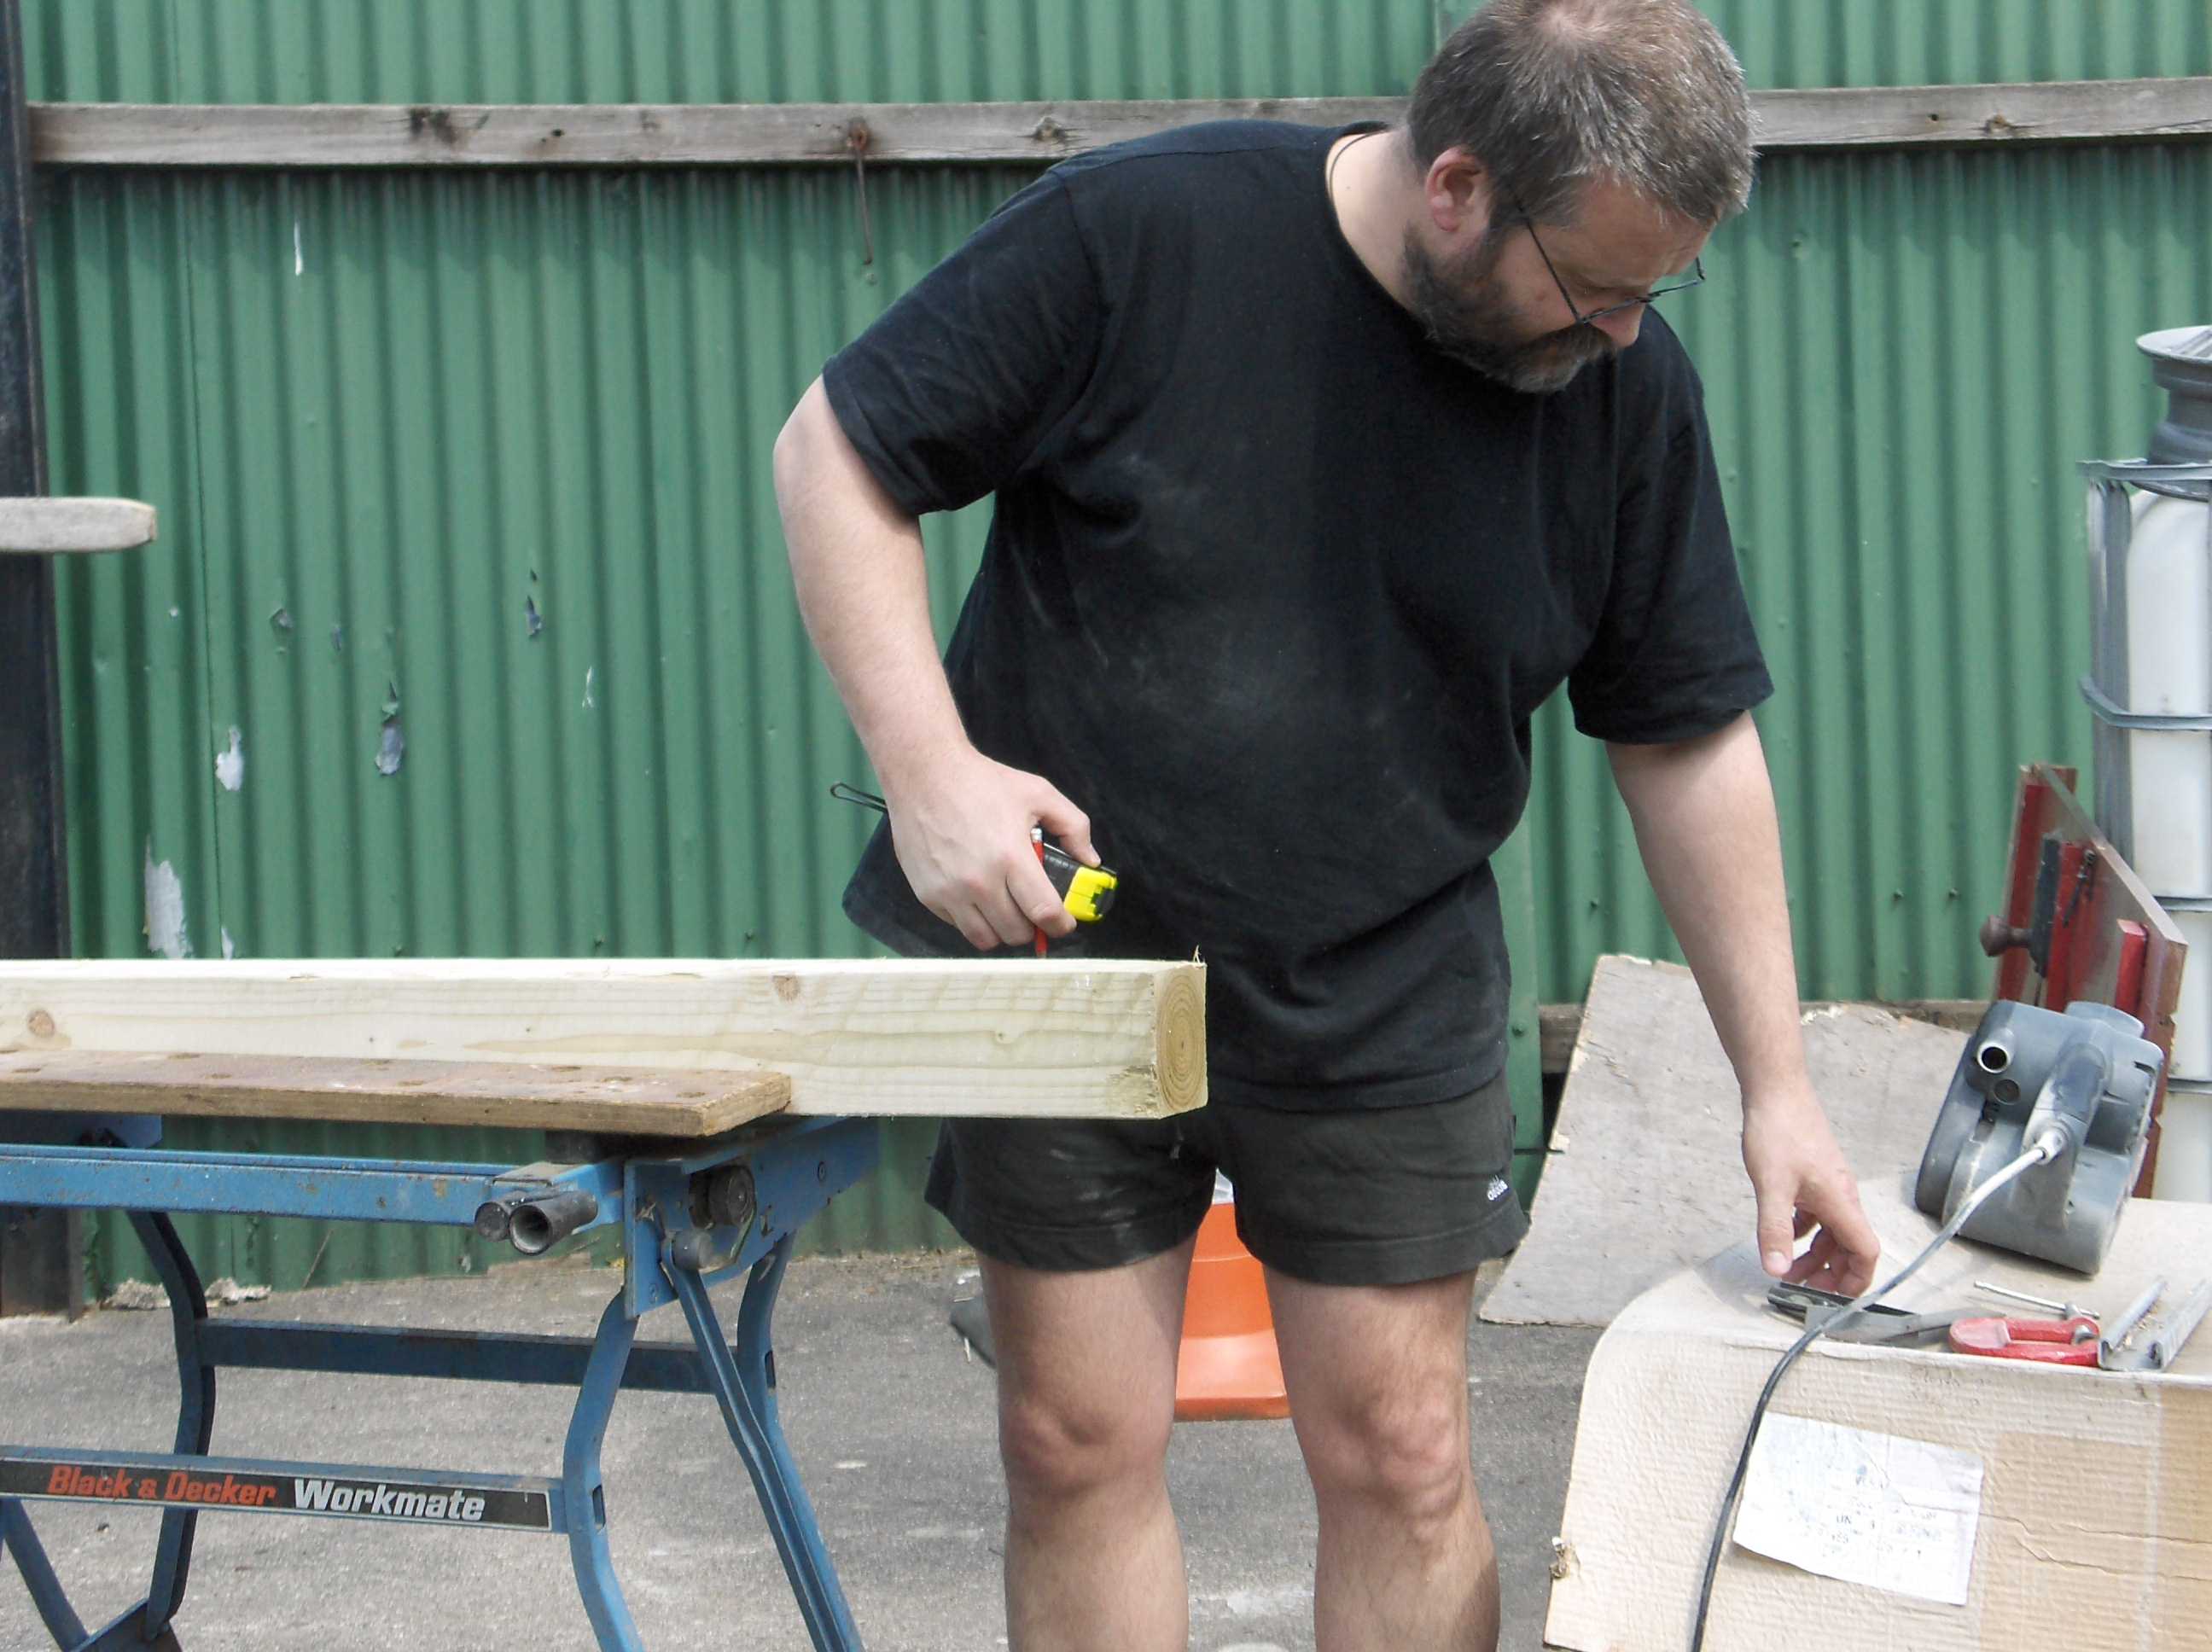
Who is that scruffy git?
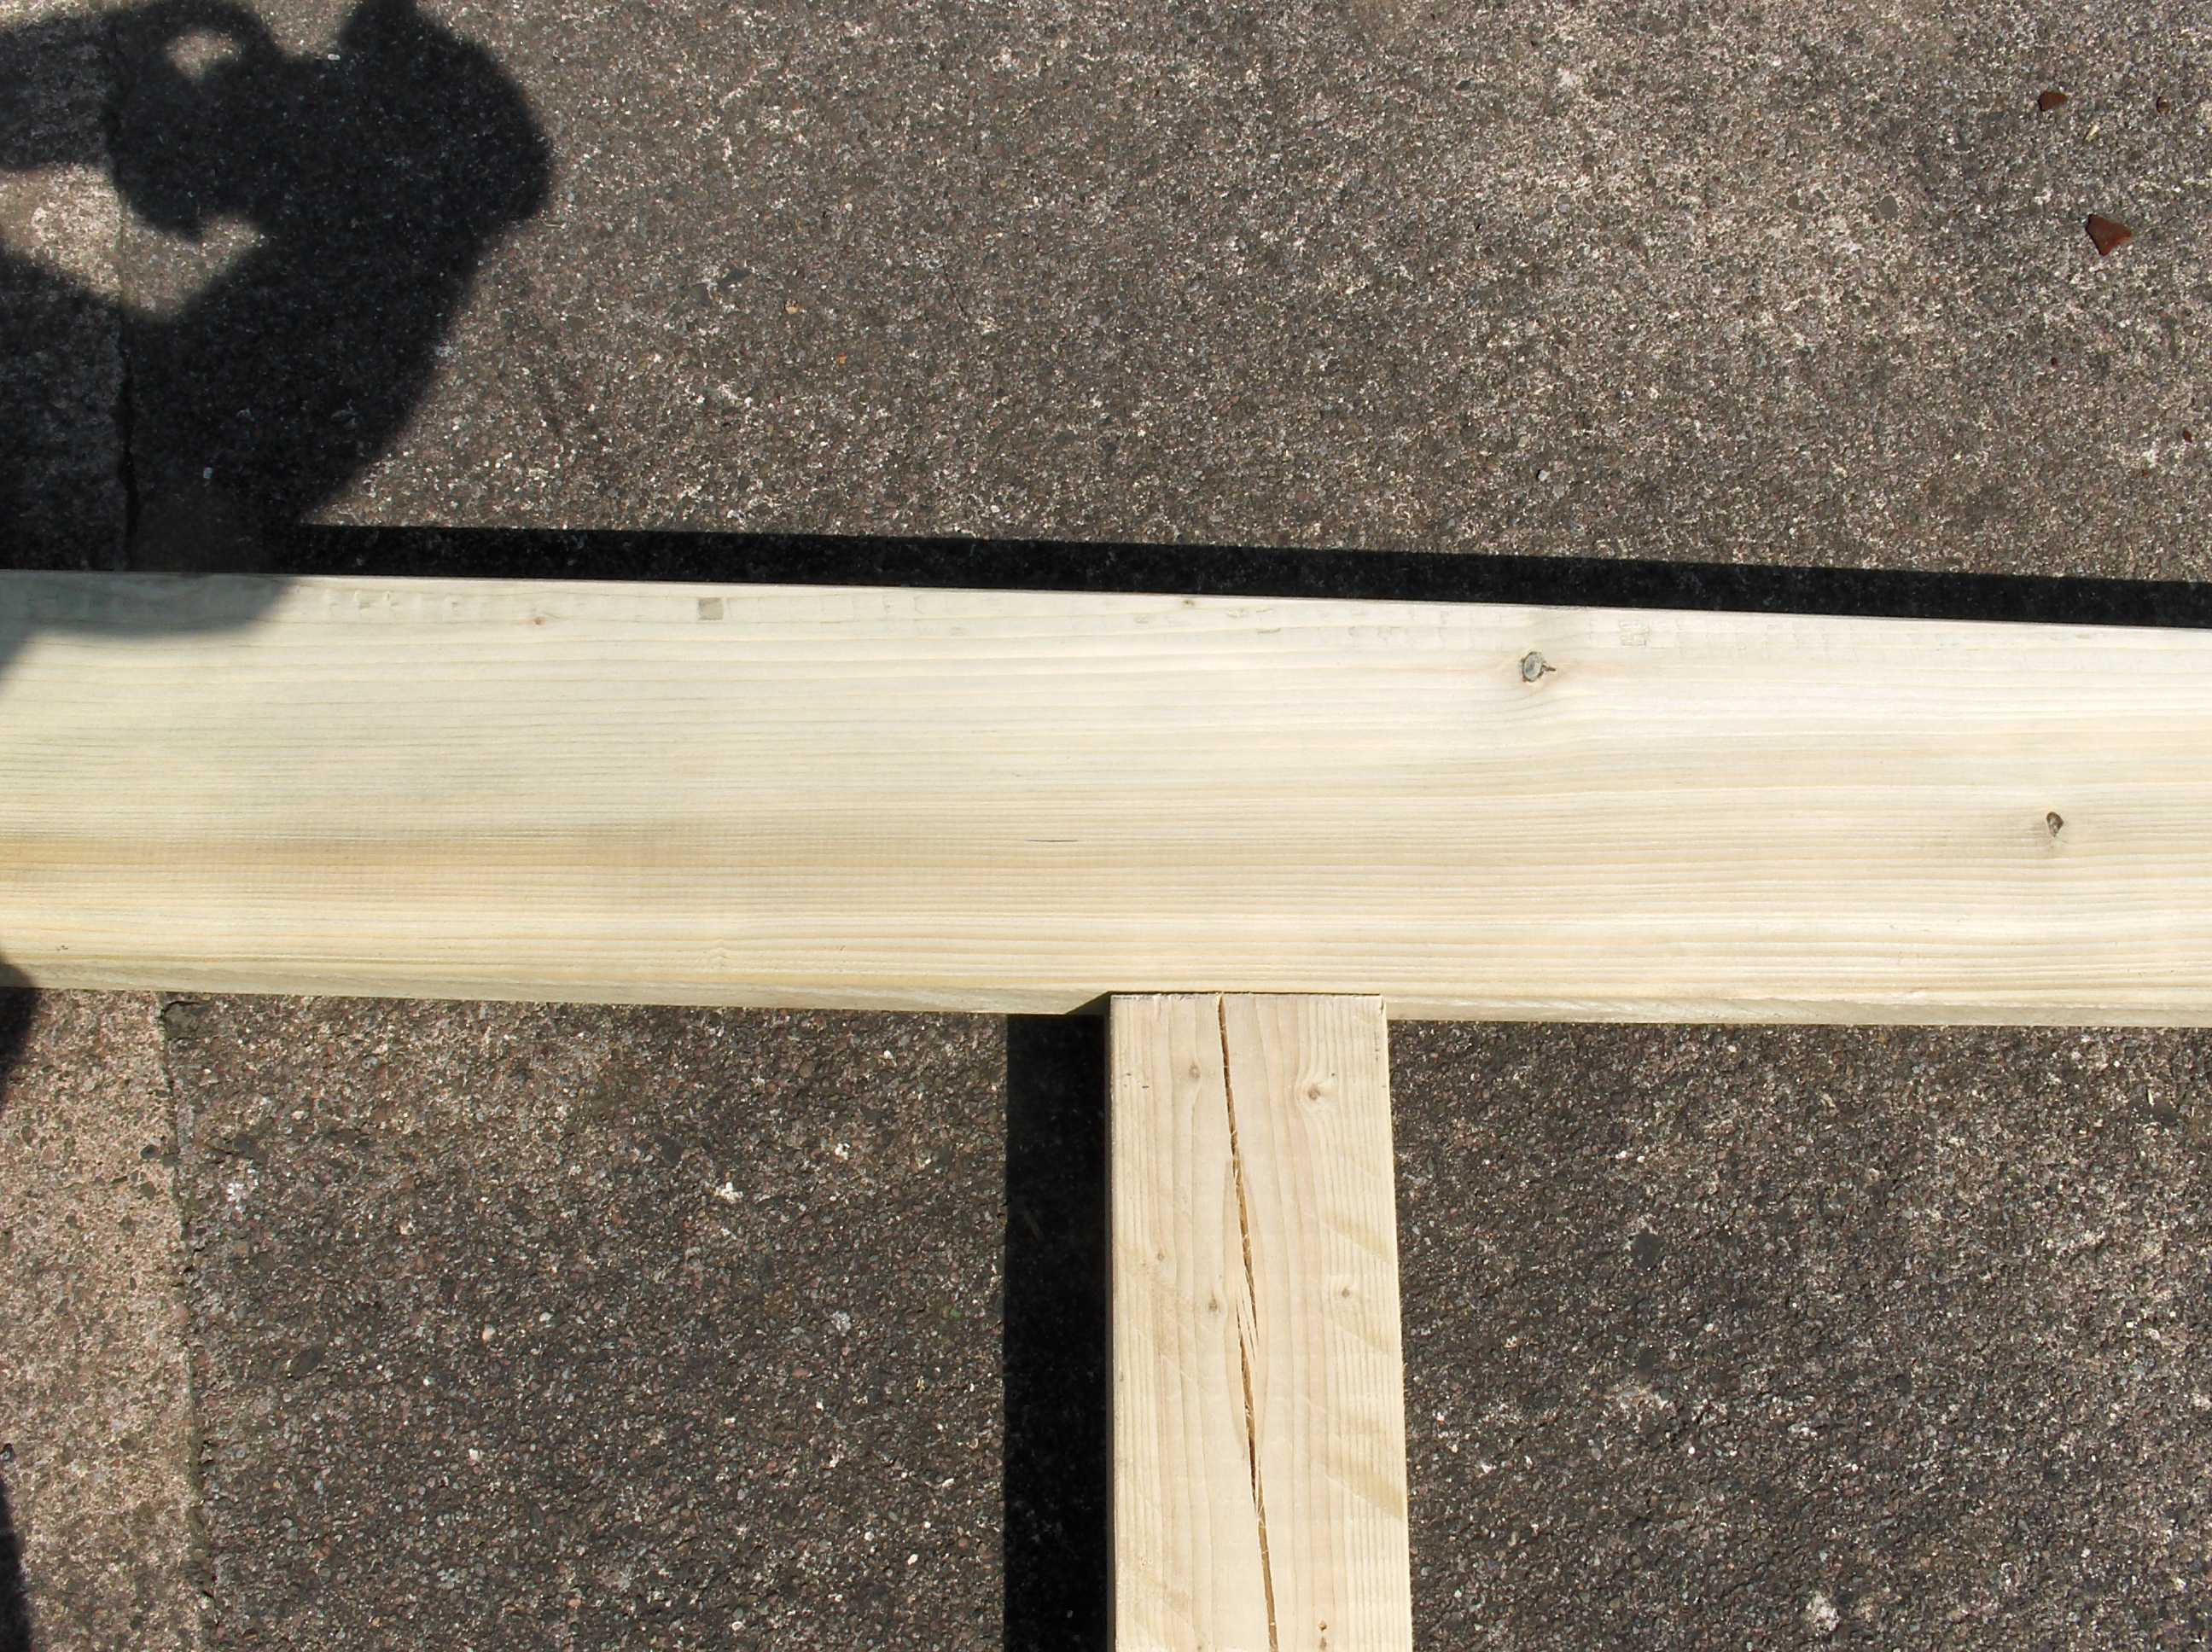
The joint looks like this. .
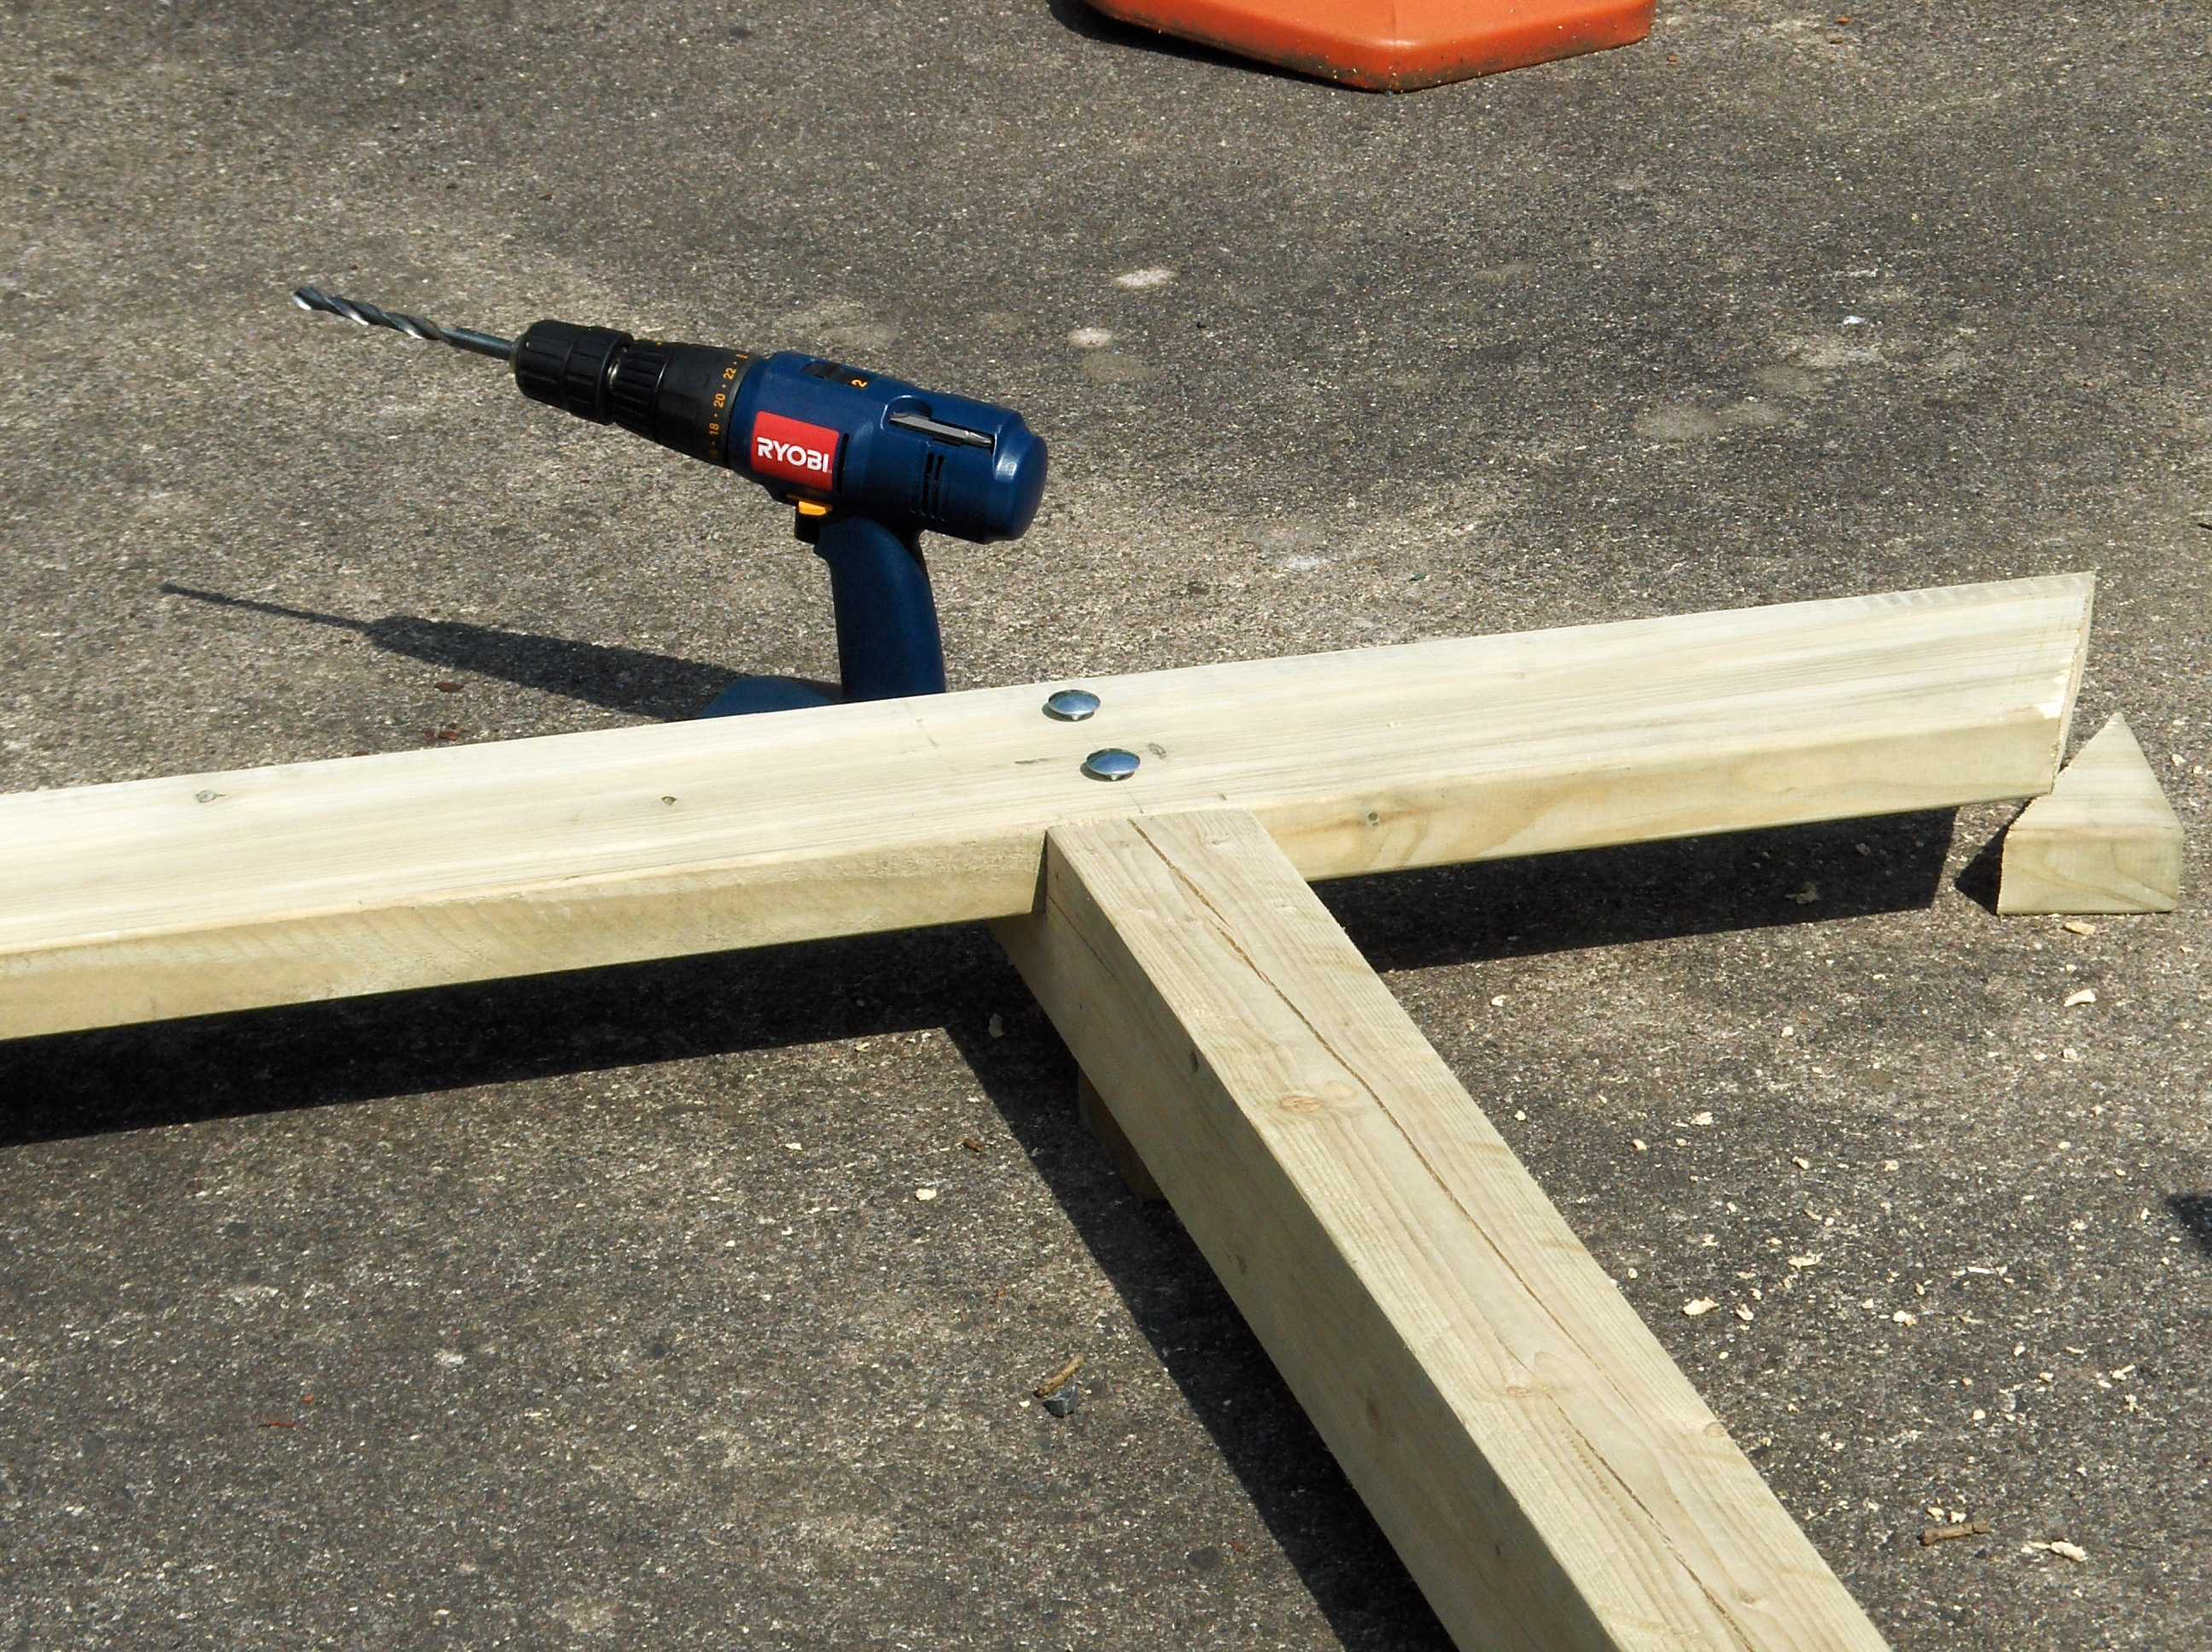
and like this when drilled and bolted.
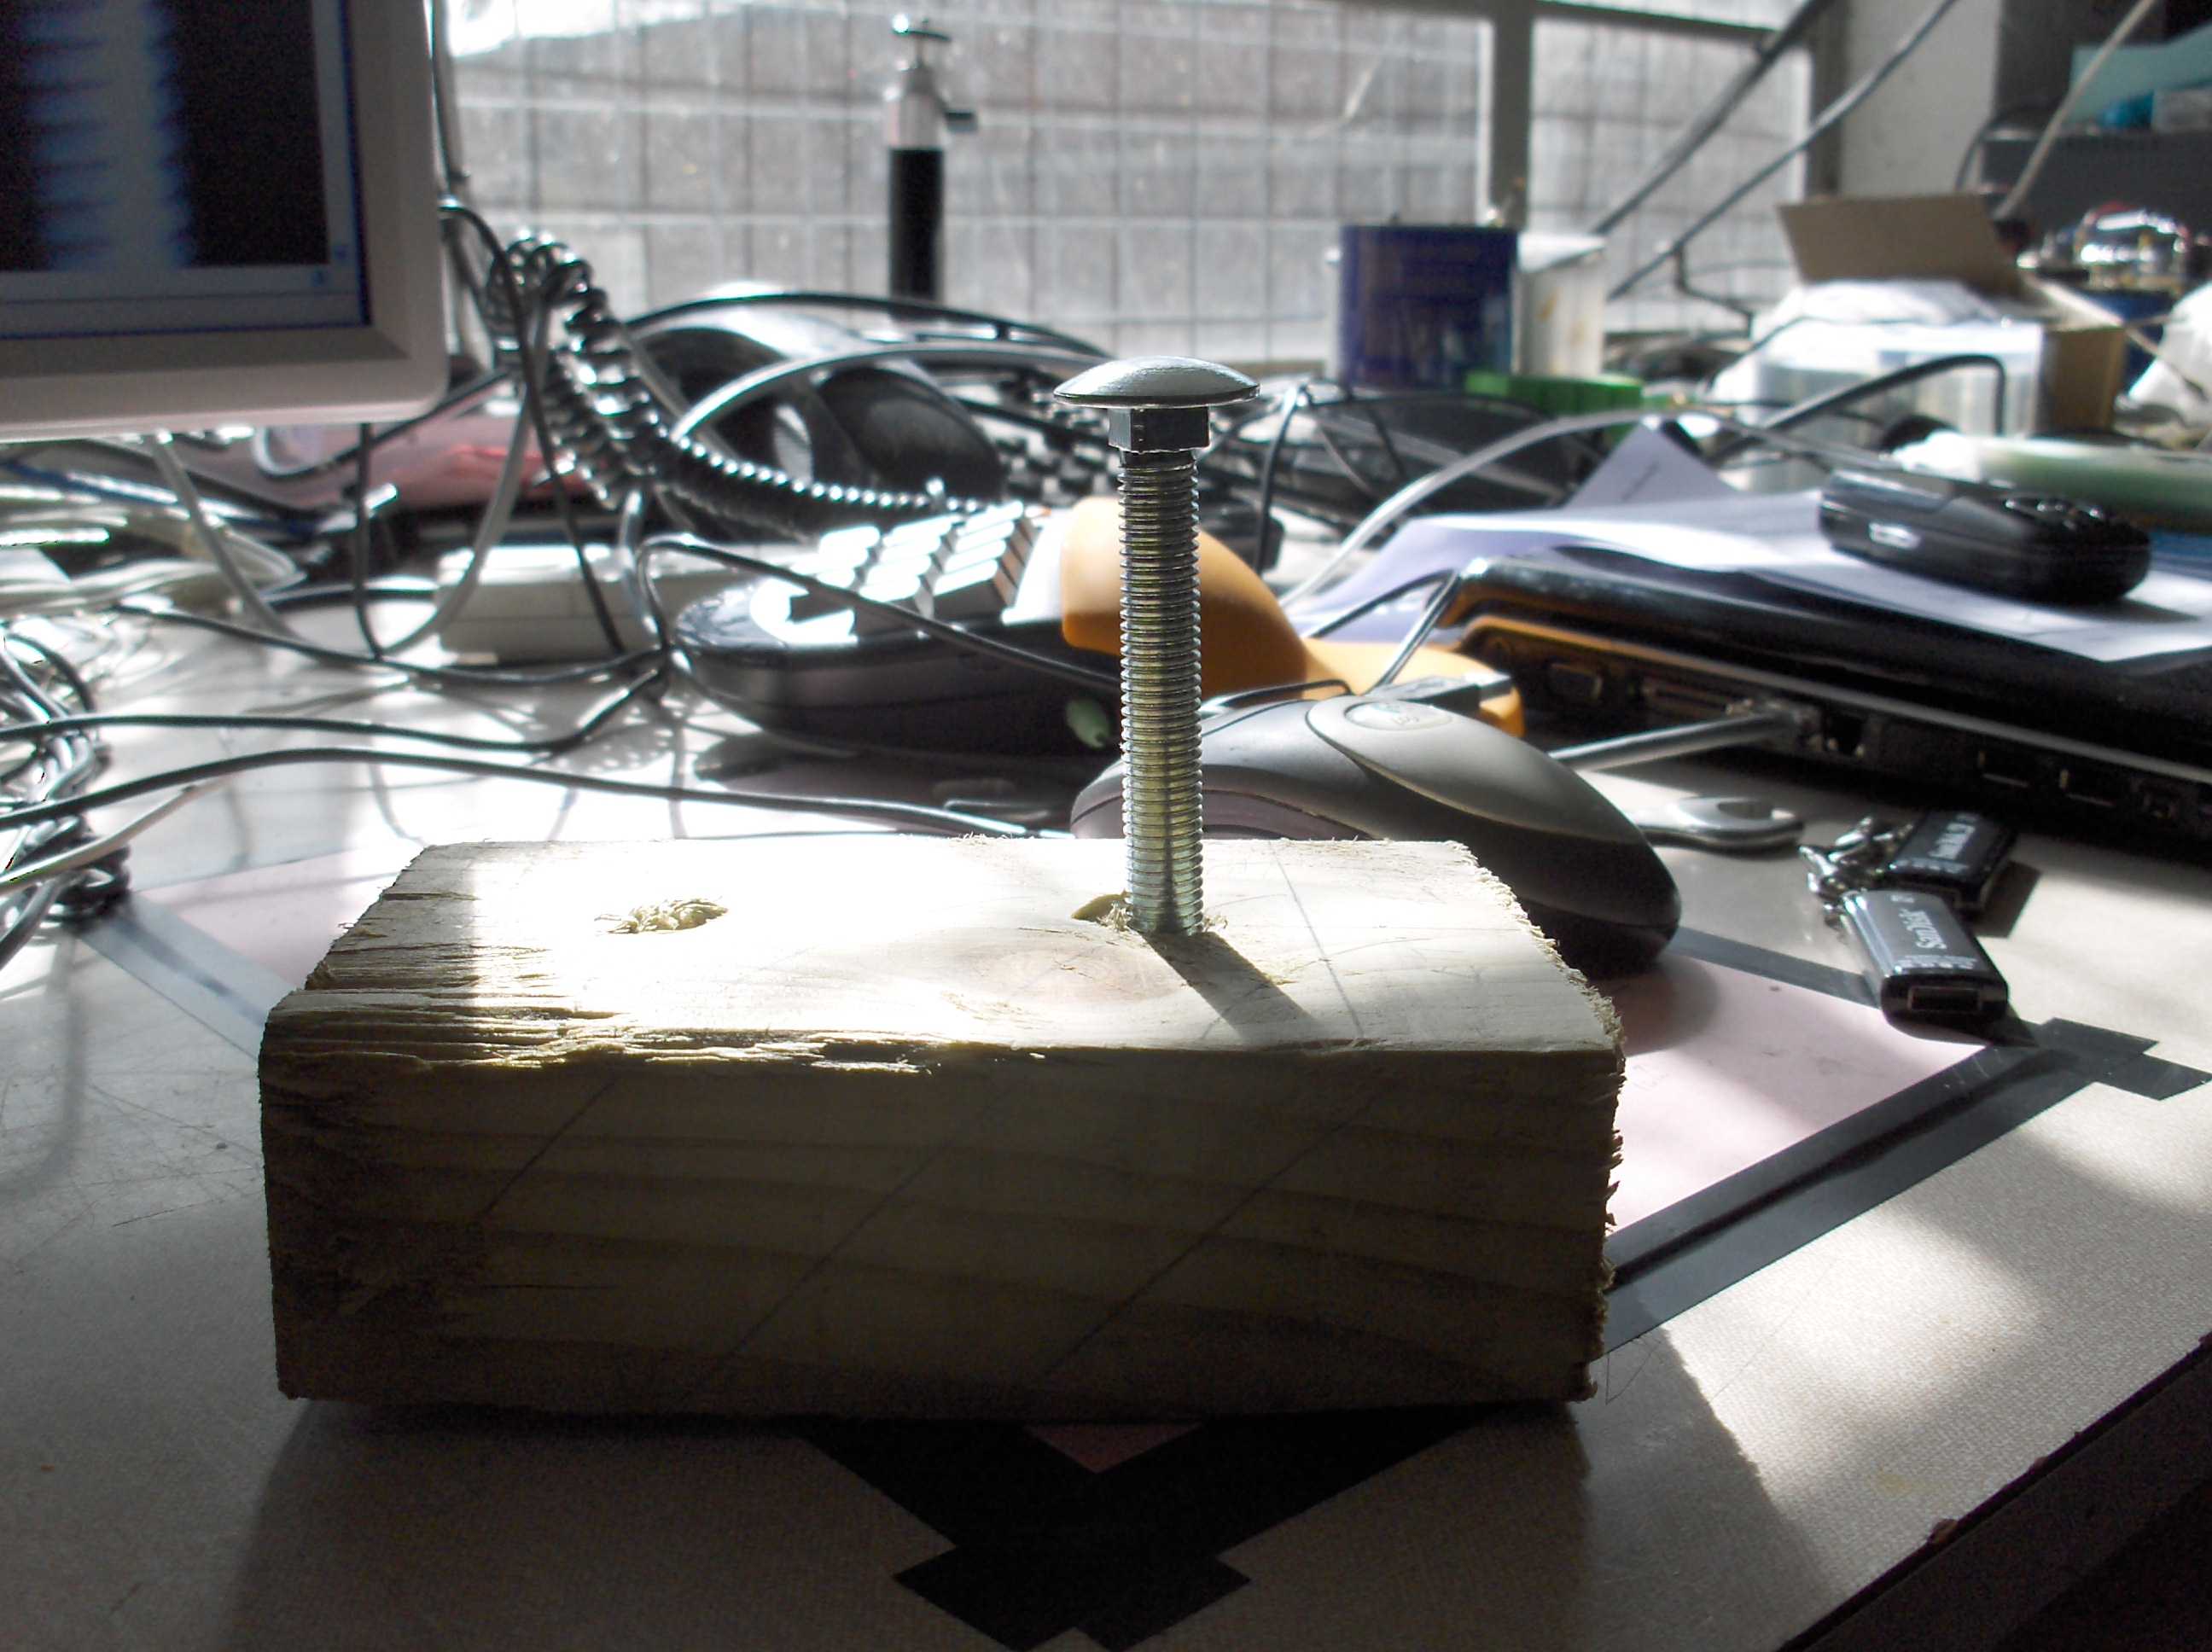
To drill down through the join square and true use one of the offcuts from the lapjoints and drill down through it in a PILLER drill this will give you a good vertical hole. use the timber placed on topwood you want to drill square and use it to steady the drill as you start the hole.
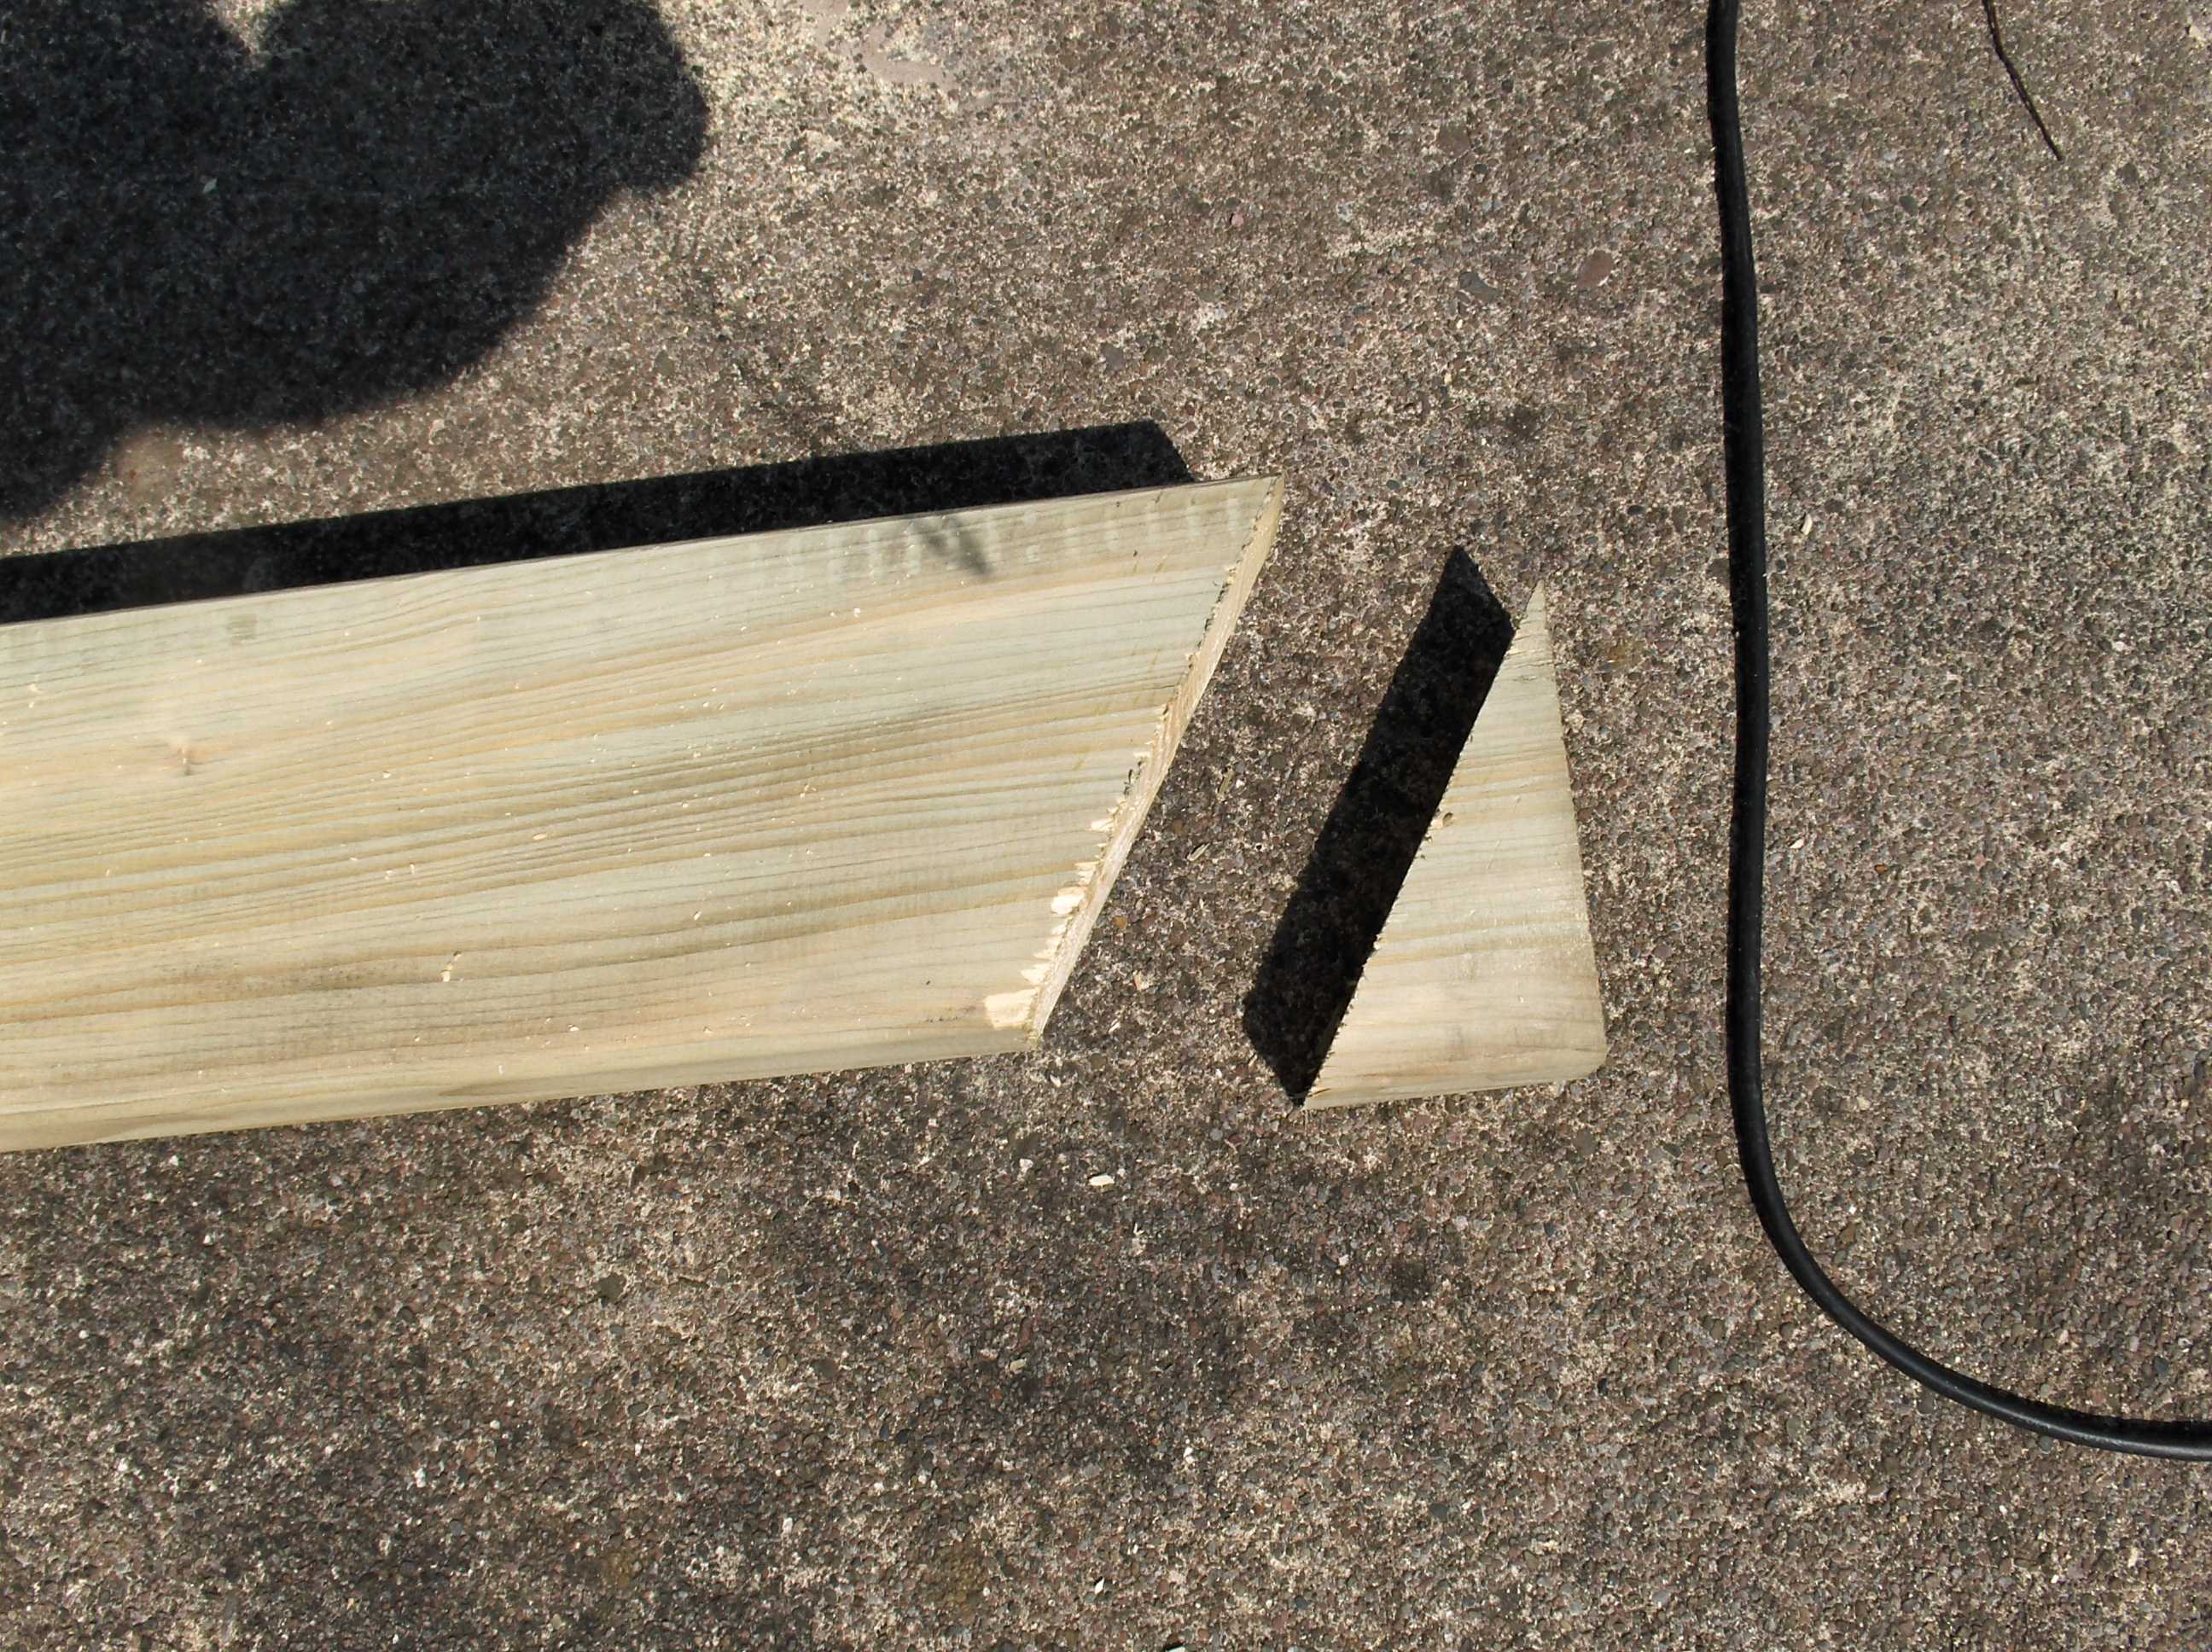
The ends of the timber i decided to have a full 30deg taper rather than just the lower corner or square.
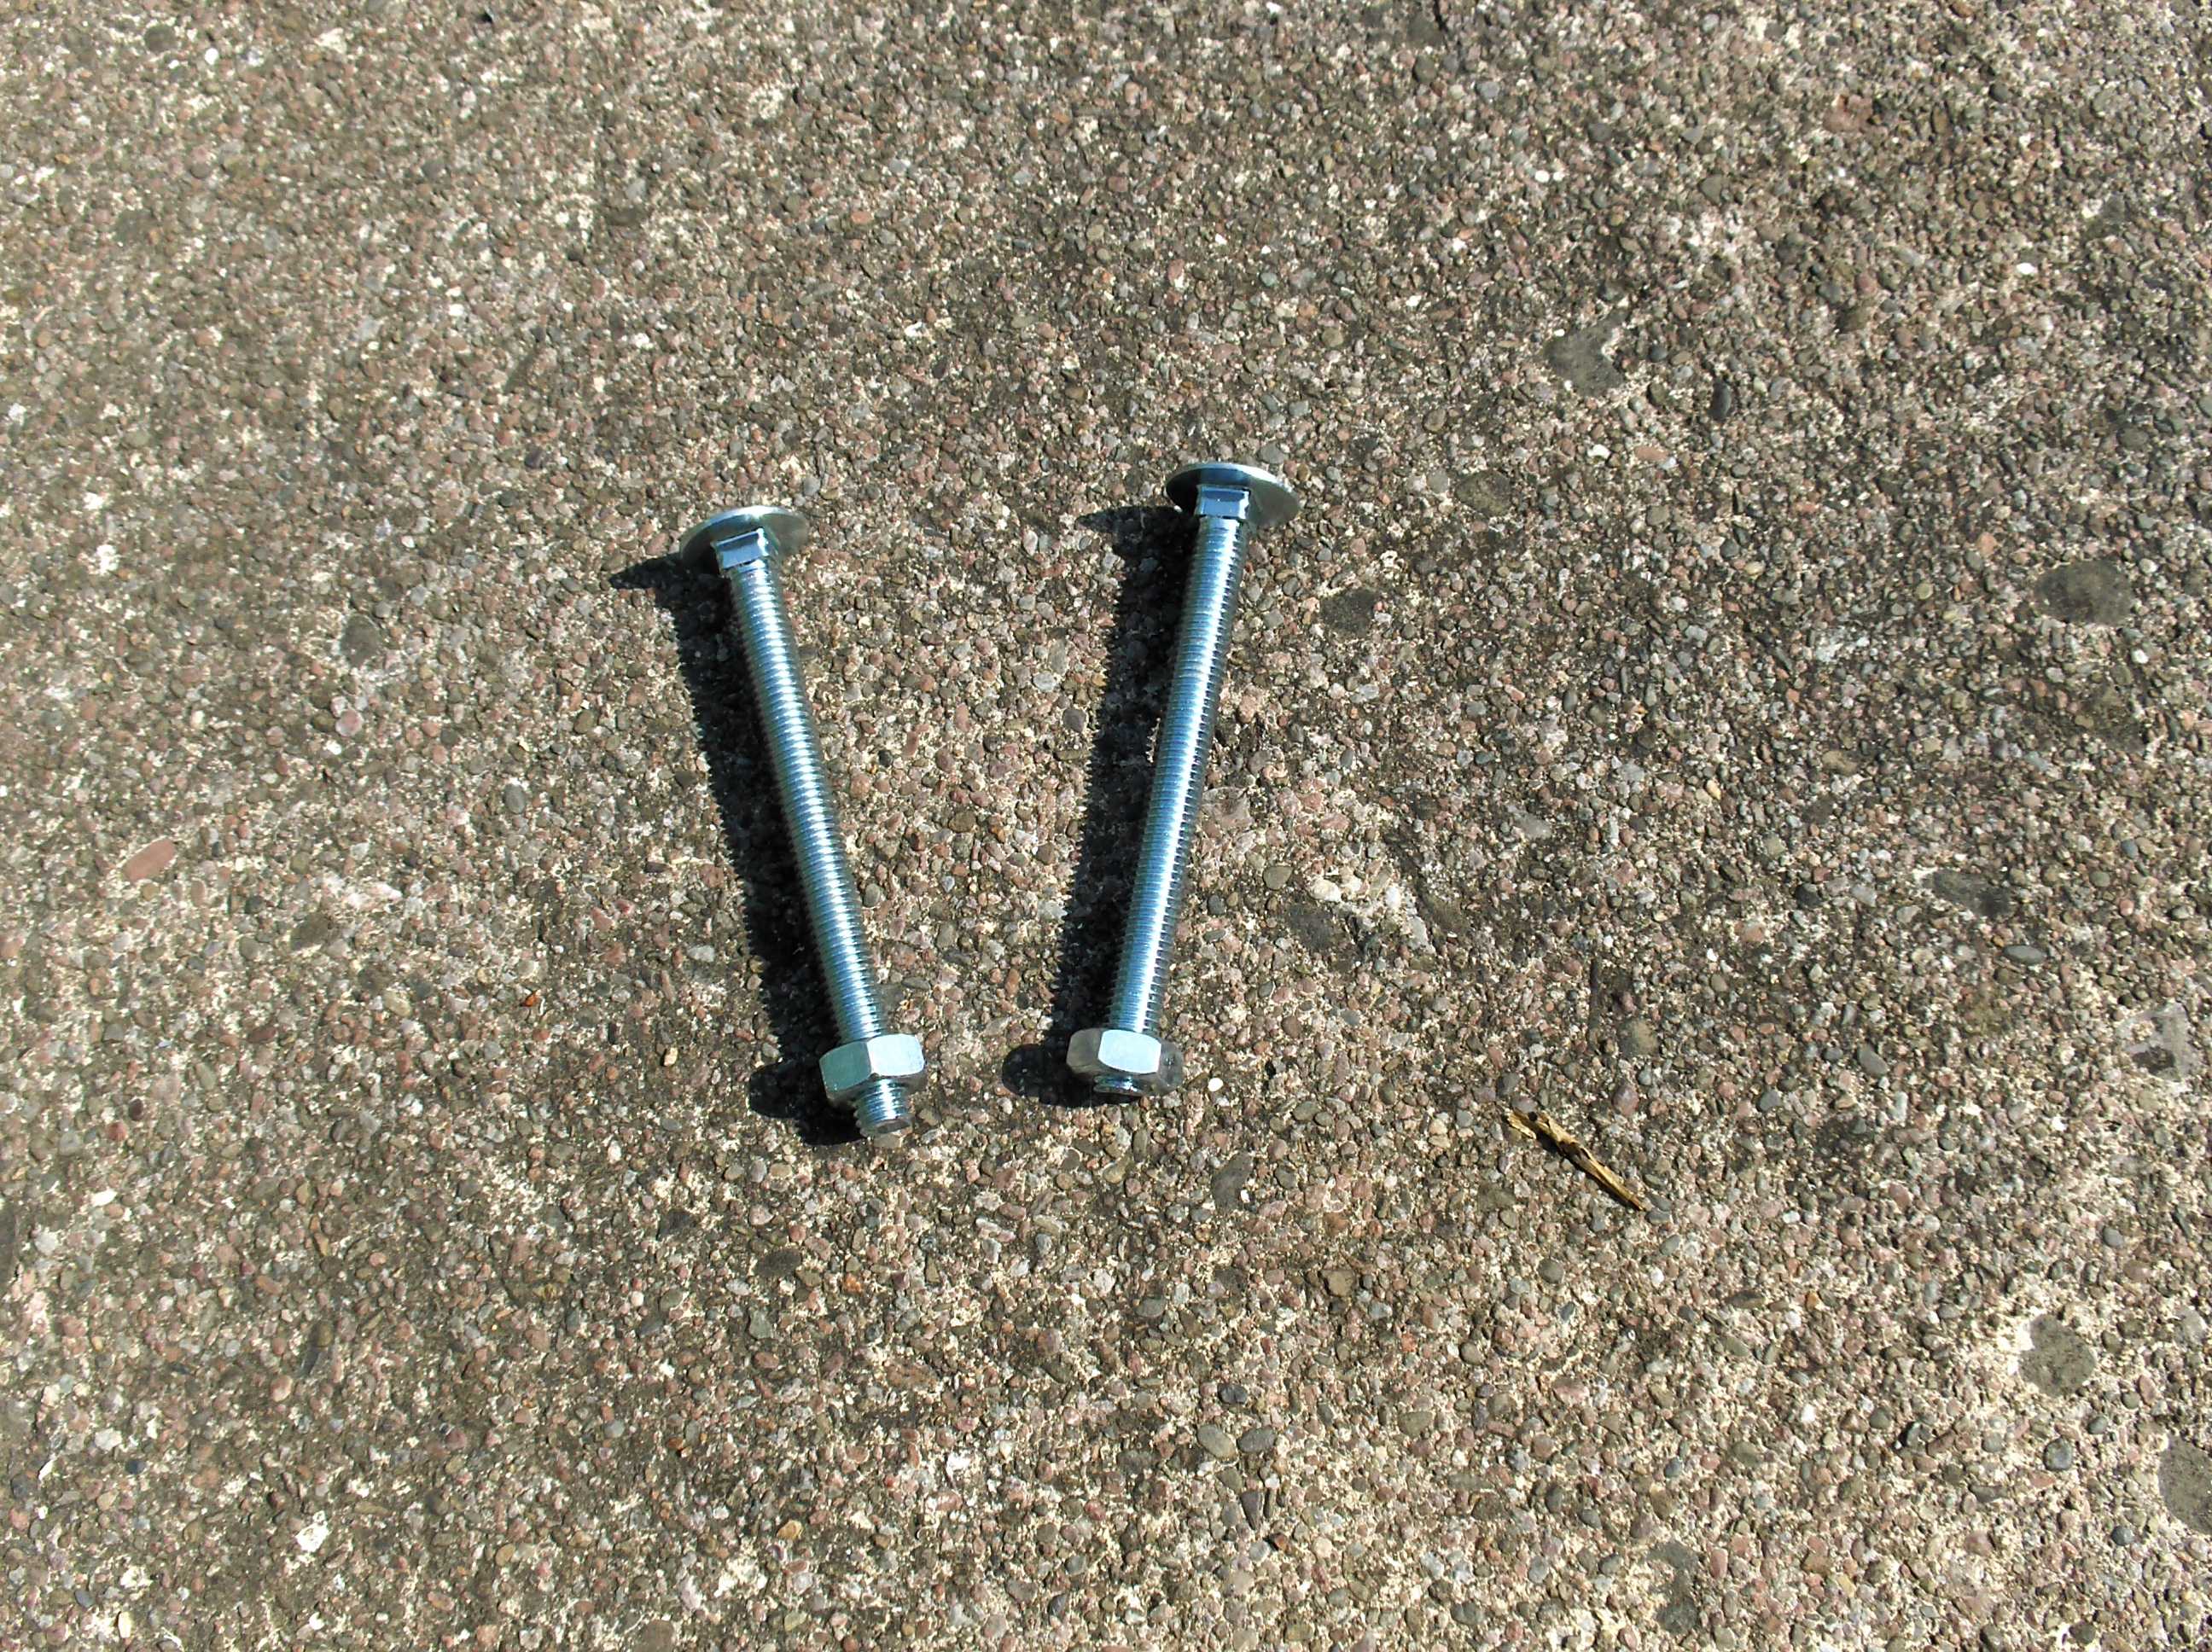
The bolts 10mm Thread 100mm long.
I stained the timber with Cuprinol Golden Cedar. This stains and give extra protection to the wood.
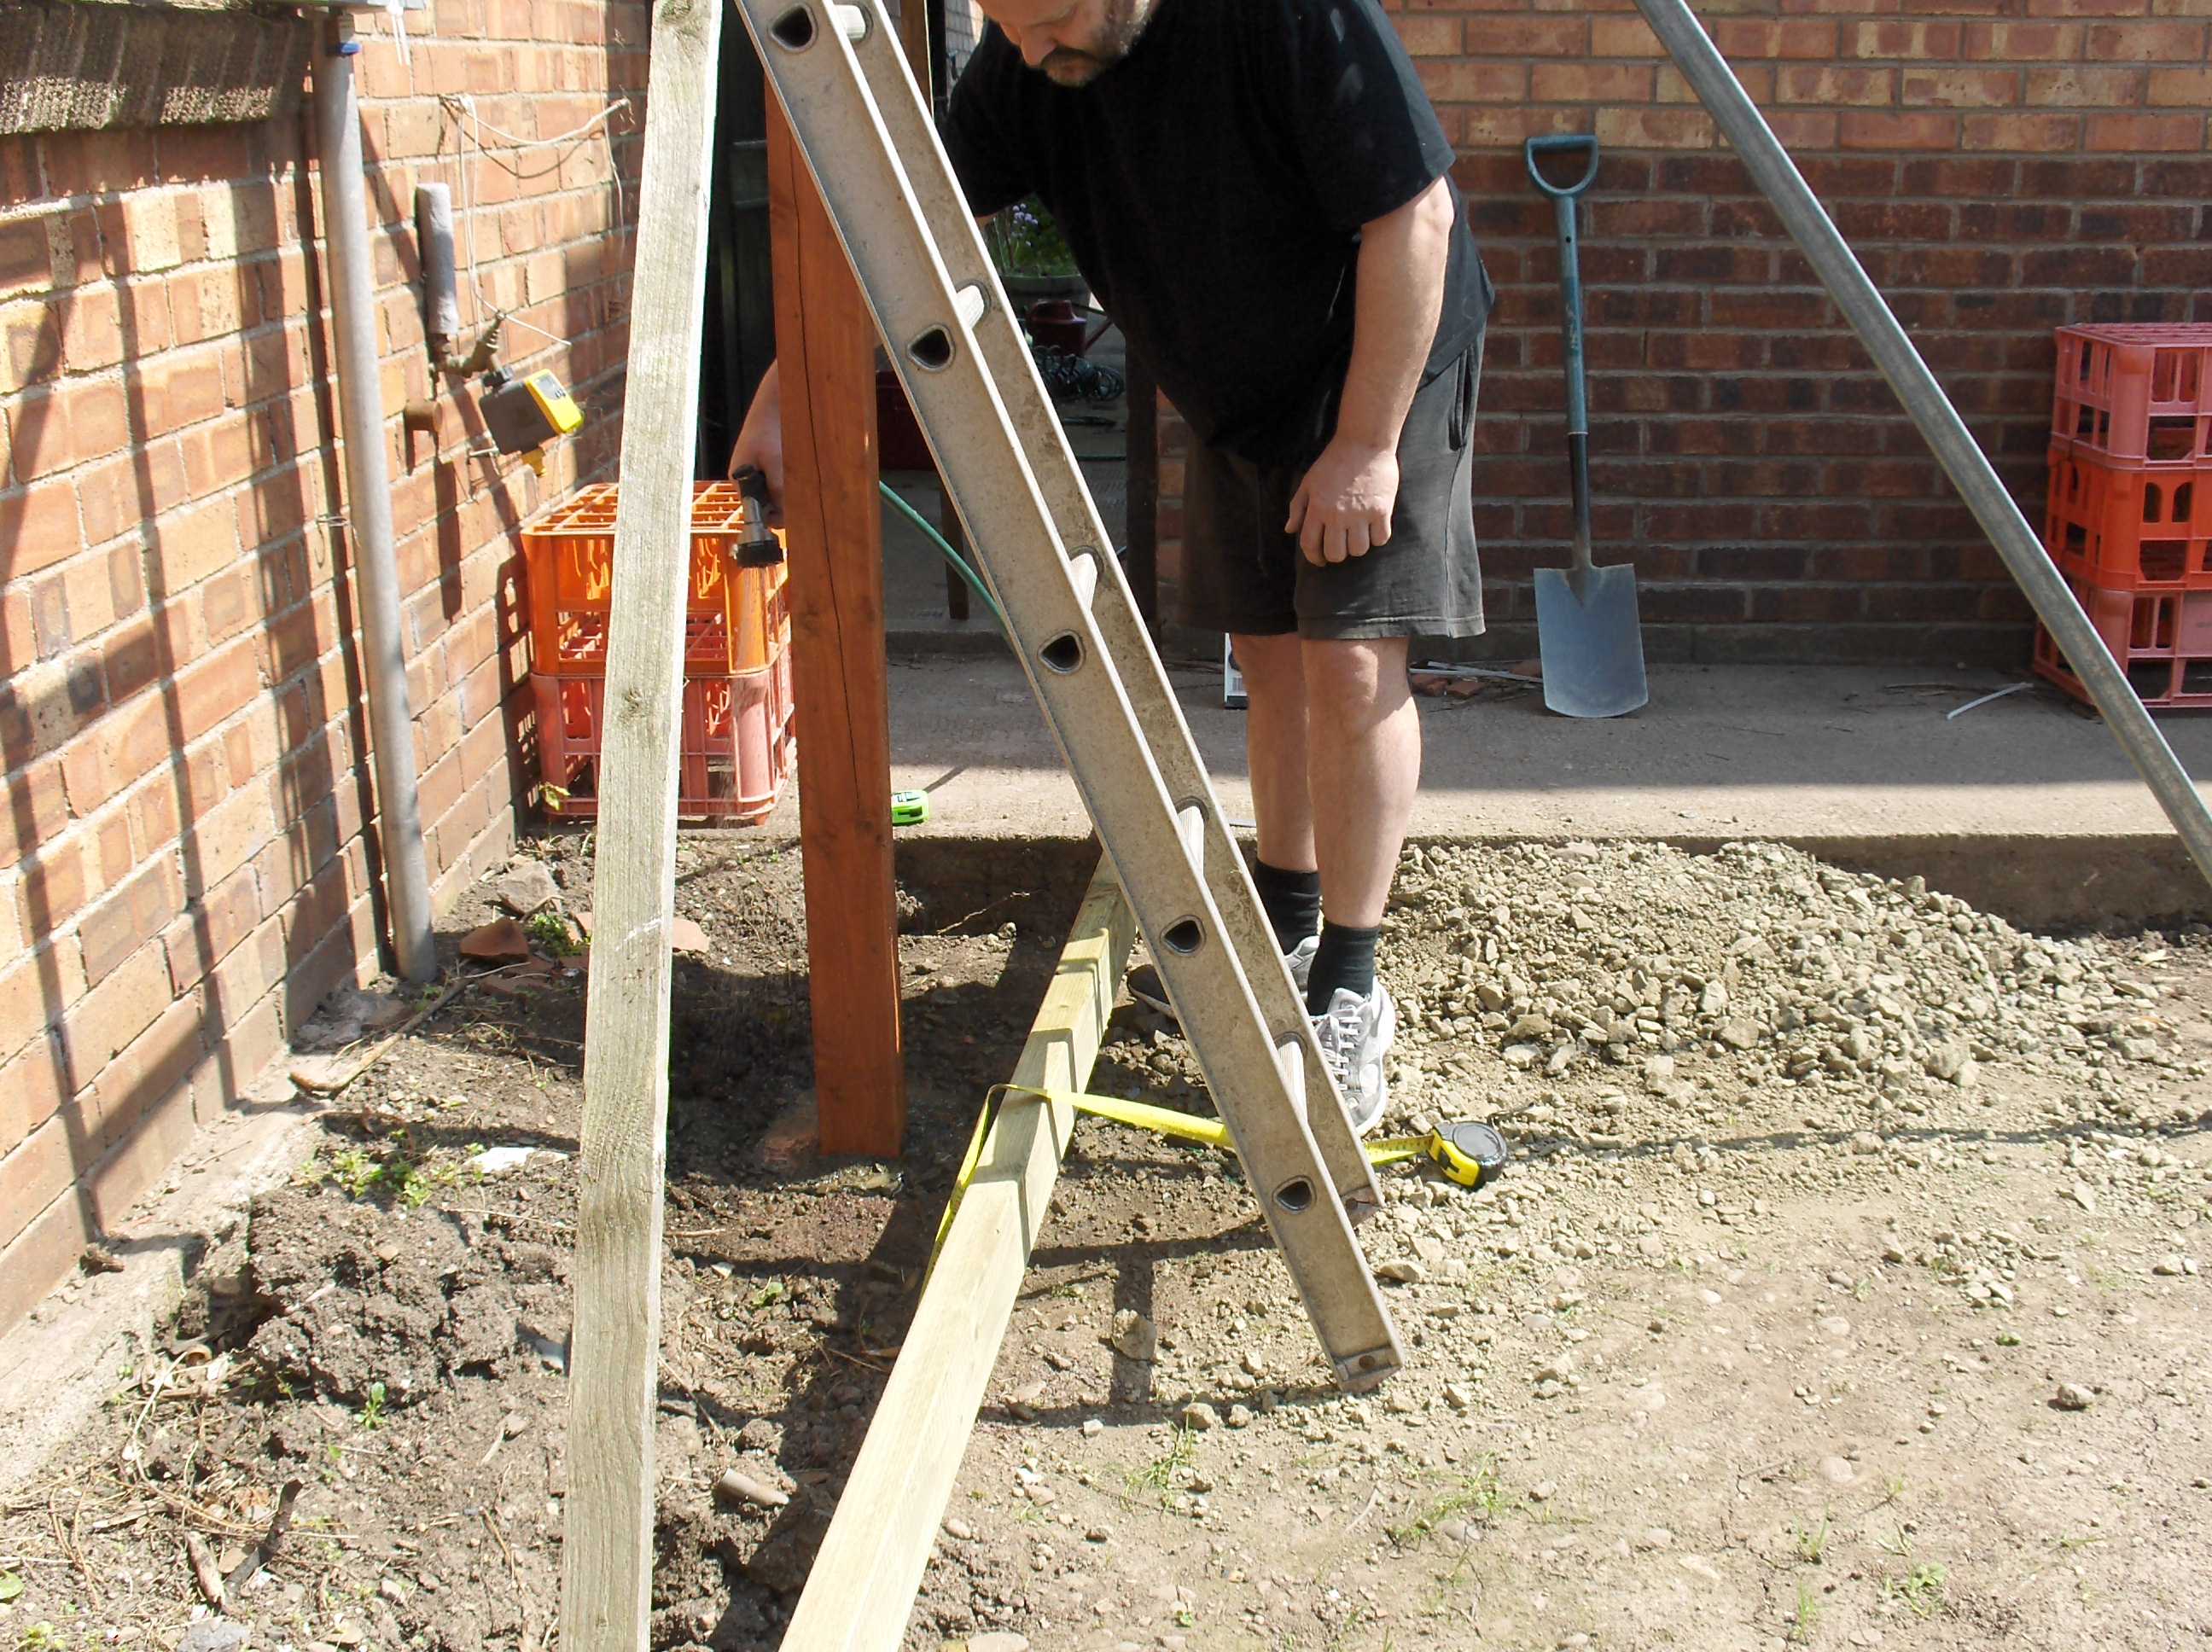
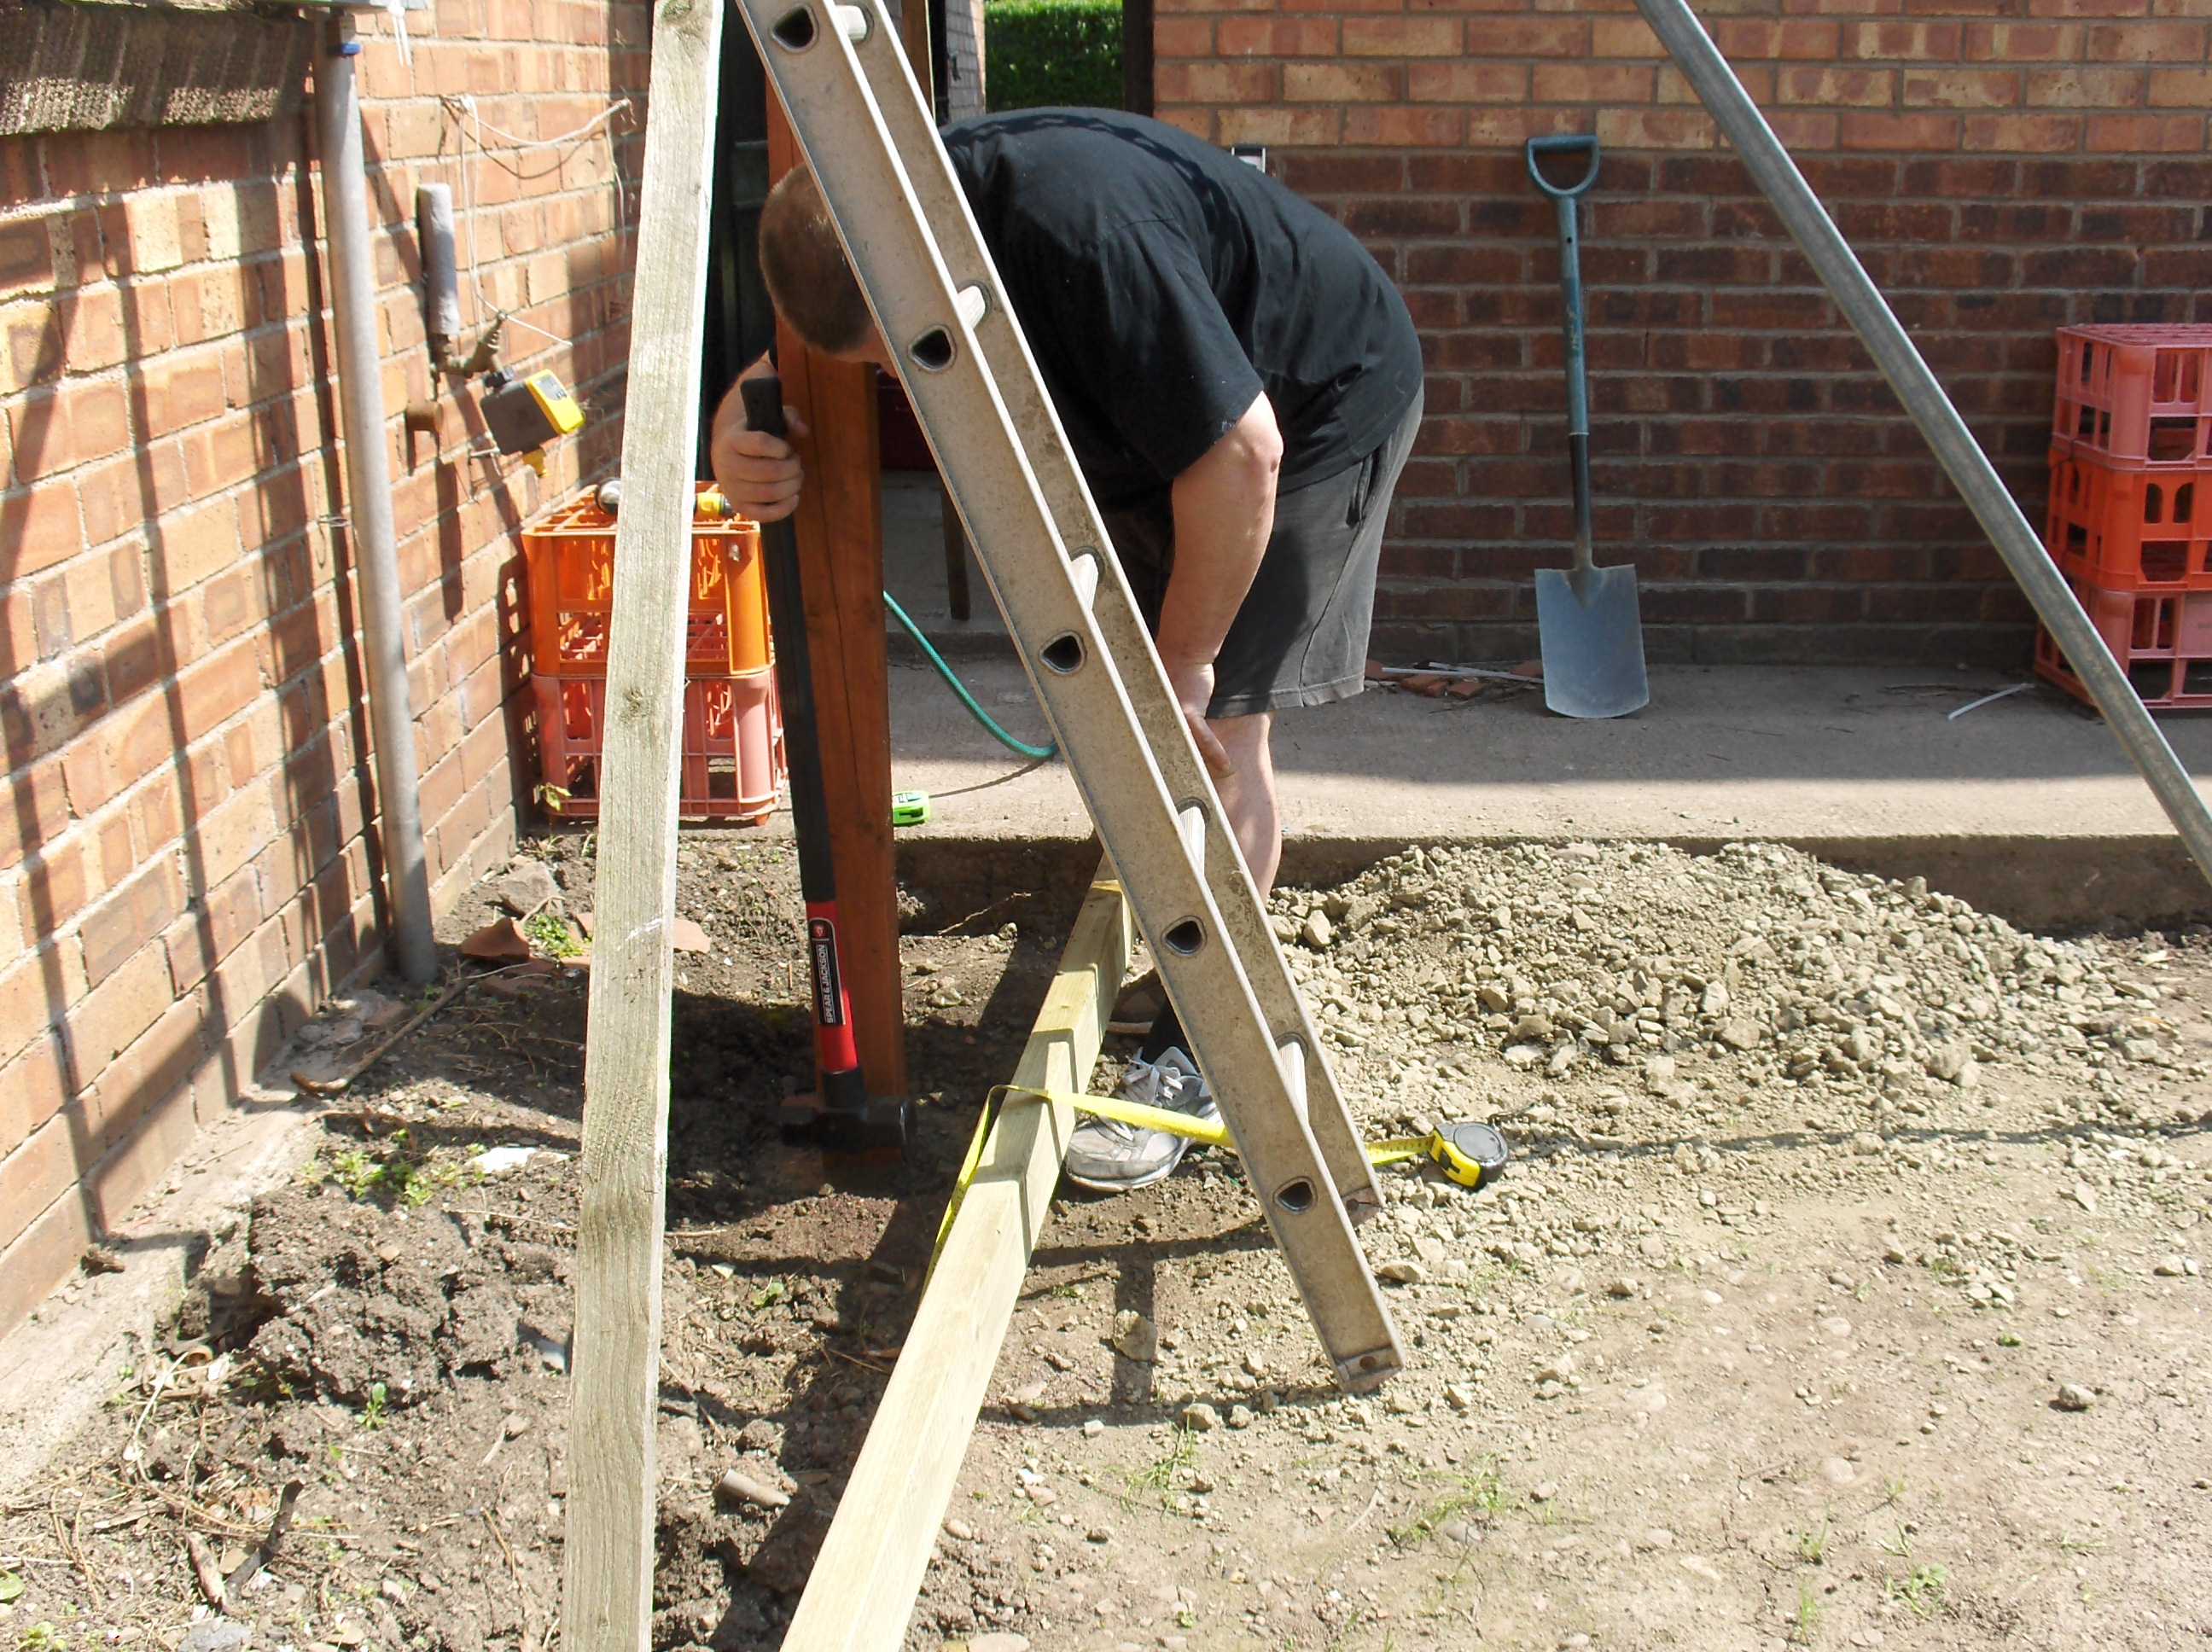
Place the first upright in the first hole and secure in the vertical position the more time you take the better the final job. be patient. then fill the hole in gently from ALL sides
Check for vitical and keep checking adjust gently if you have to. if you fill carefully and tamp down evenly you won't ned to adjust.
Water the scalpins and they will set hard but not as hard a concrete.
A final tamp down and again check for vitical.
Wait for the first upright to harden off about 24 hours and start the second. Use the one main cross piece to steady the second upright to the first and adjust for vitcal and support it.
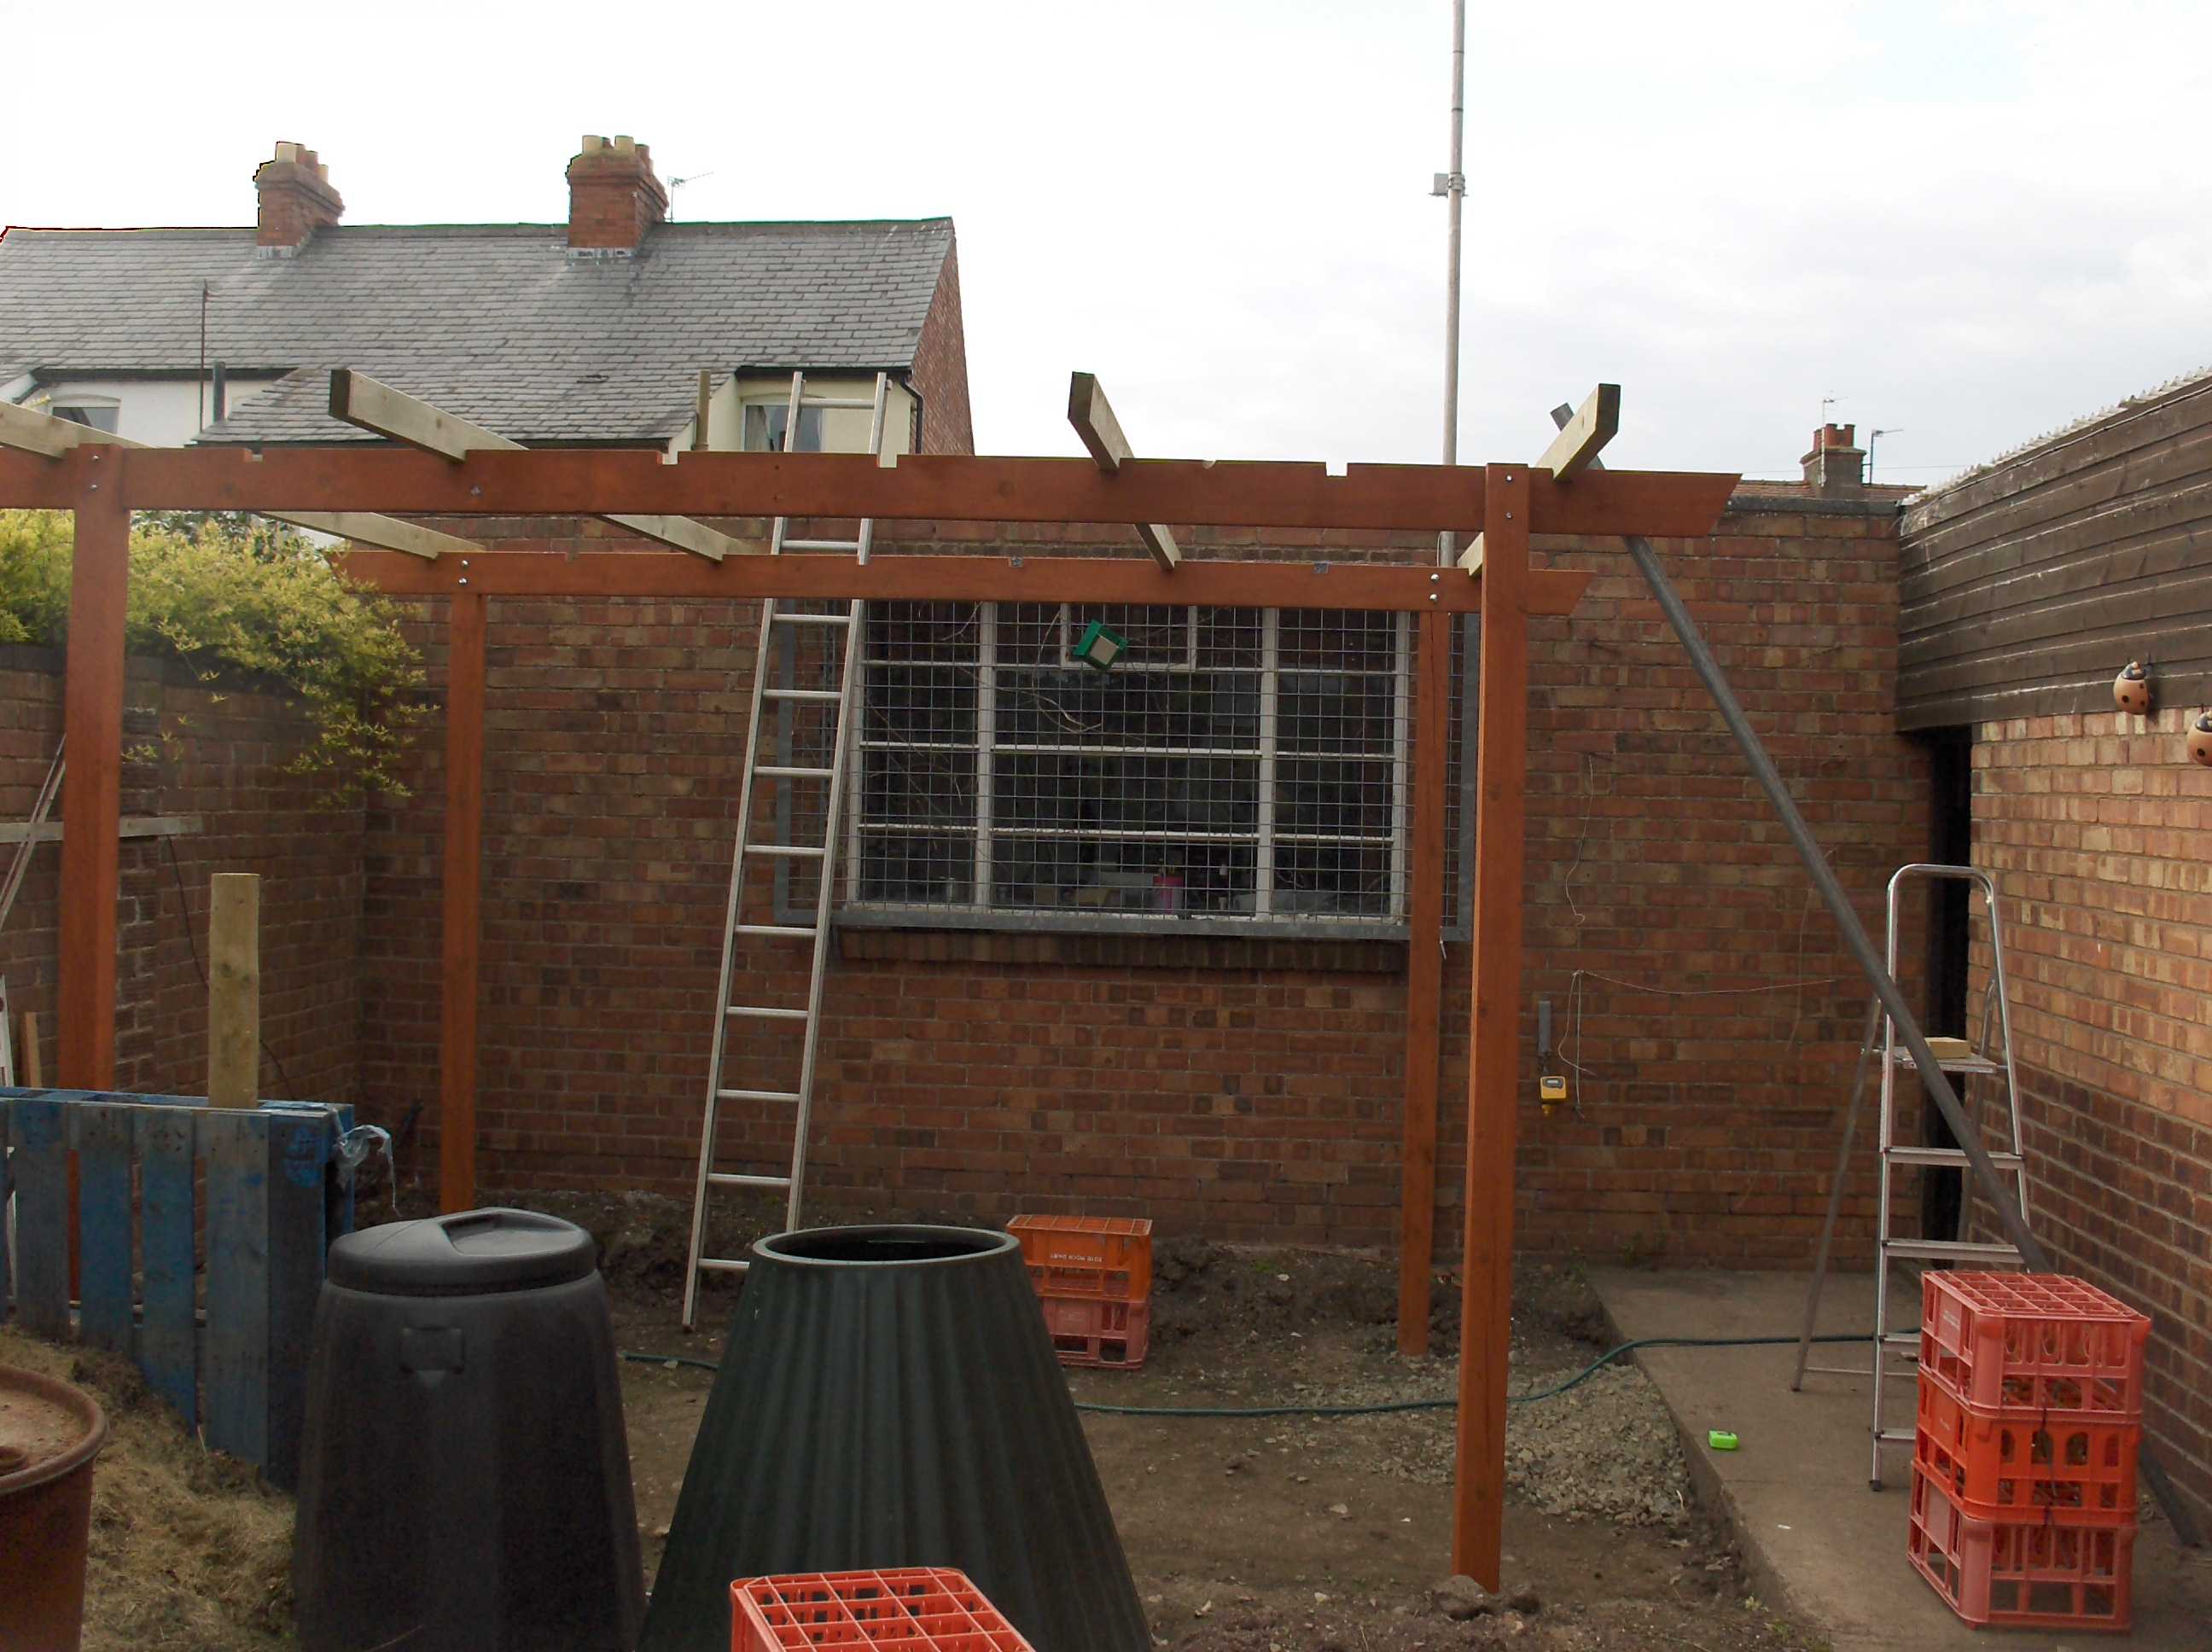
The next two uprights were done simultaniousely and the first two were used to stabalise them.
Ok there is actually three on this side. there would have ben on the other side too but it was in the middle of the window so I used 6"x2" main cross pieces and no middle one near the window.
Same thing again fill the holes keep checking for vertical and tamp down gently and evenly
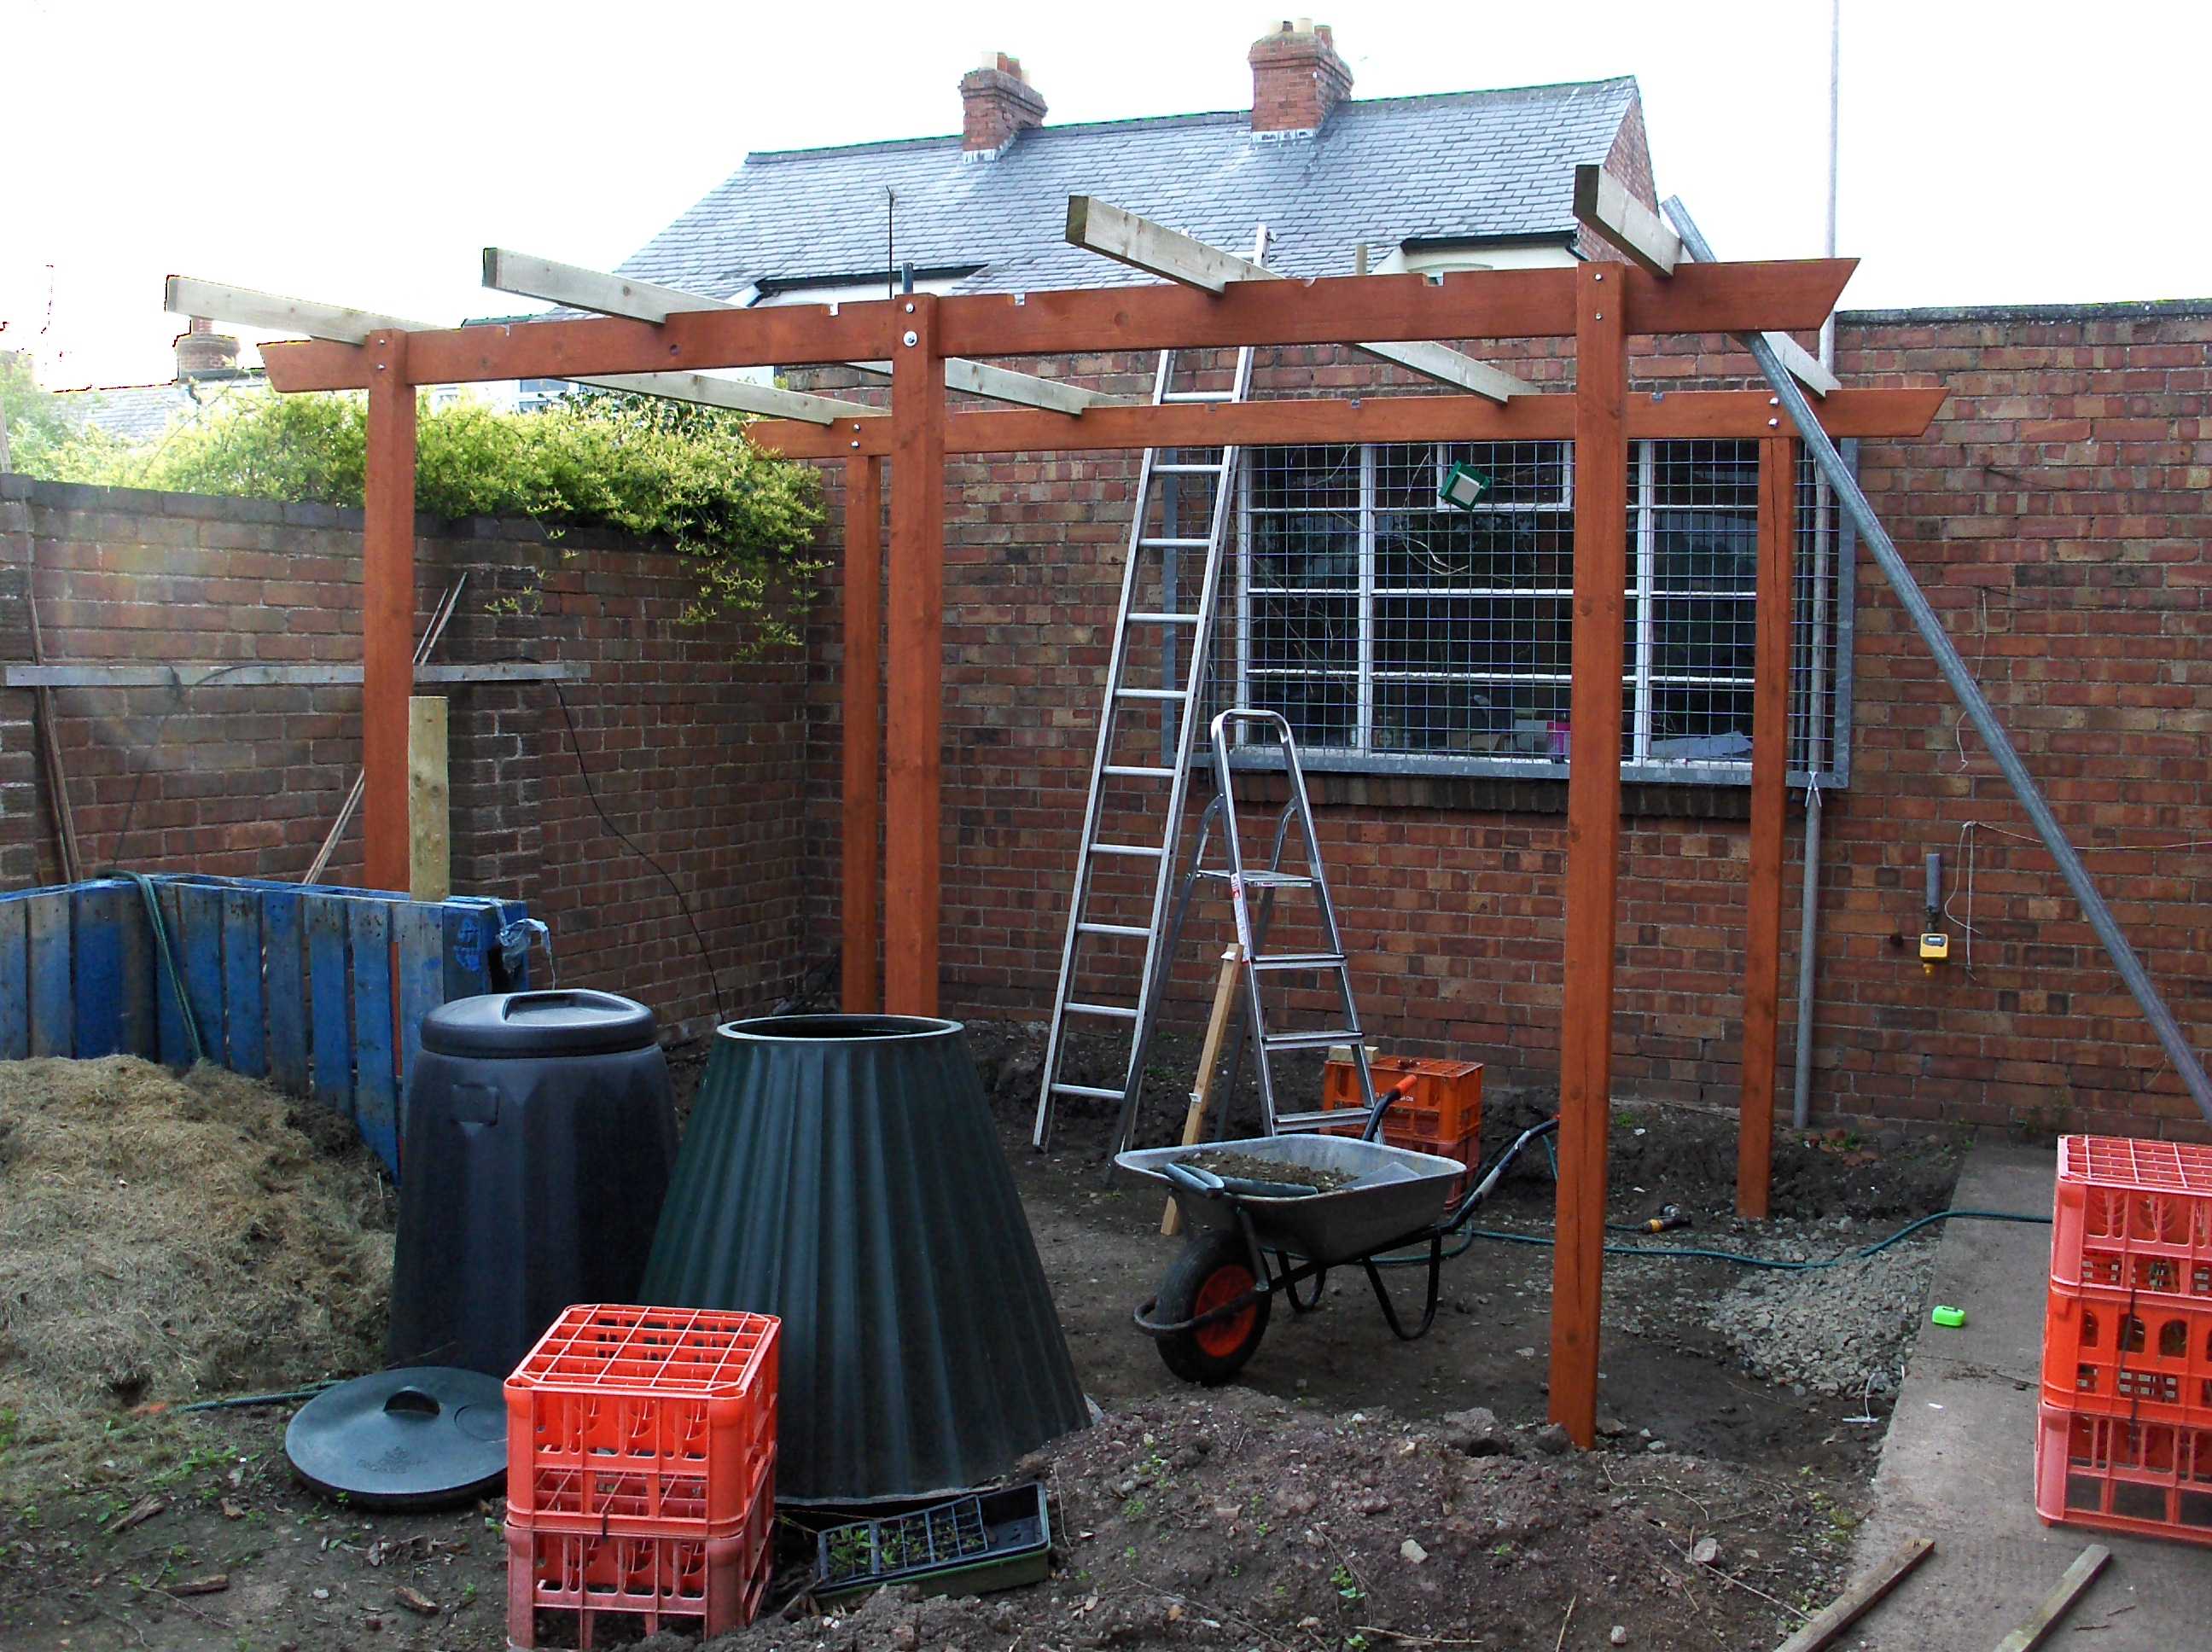
The cross pieces were put in place again with lap joints the first one cut a the measured place the second measure and OFFERED UP to be sure it fitted surprisingly it did... they all did. Bugger me...
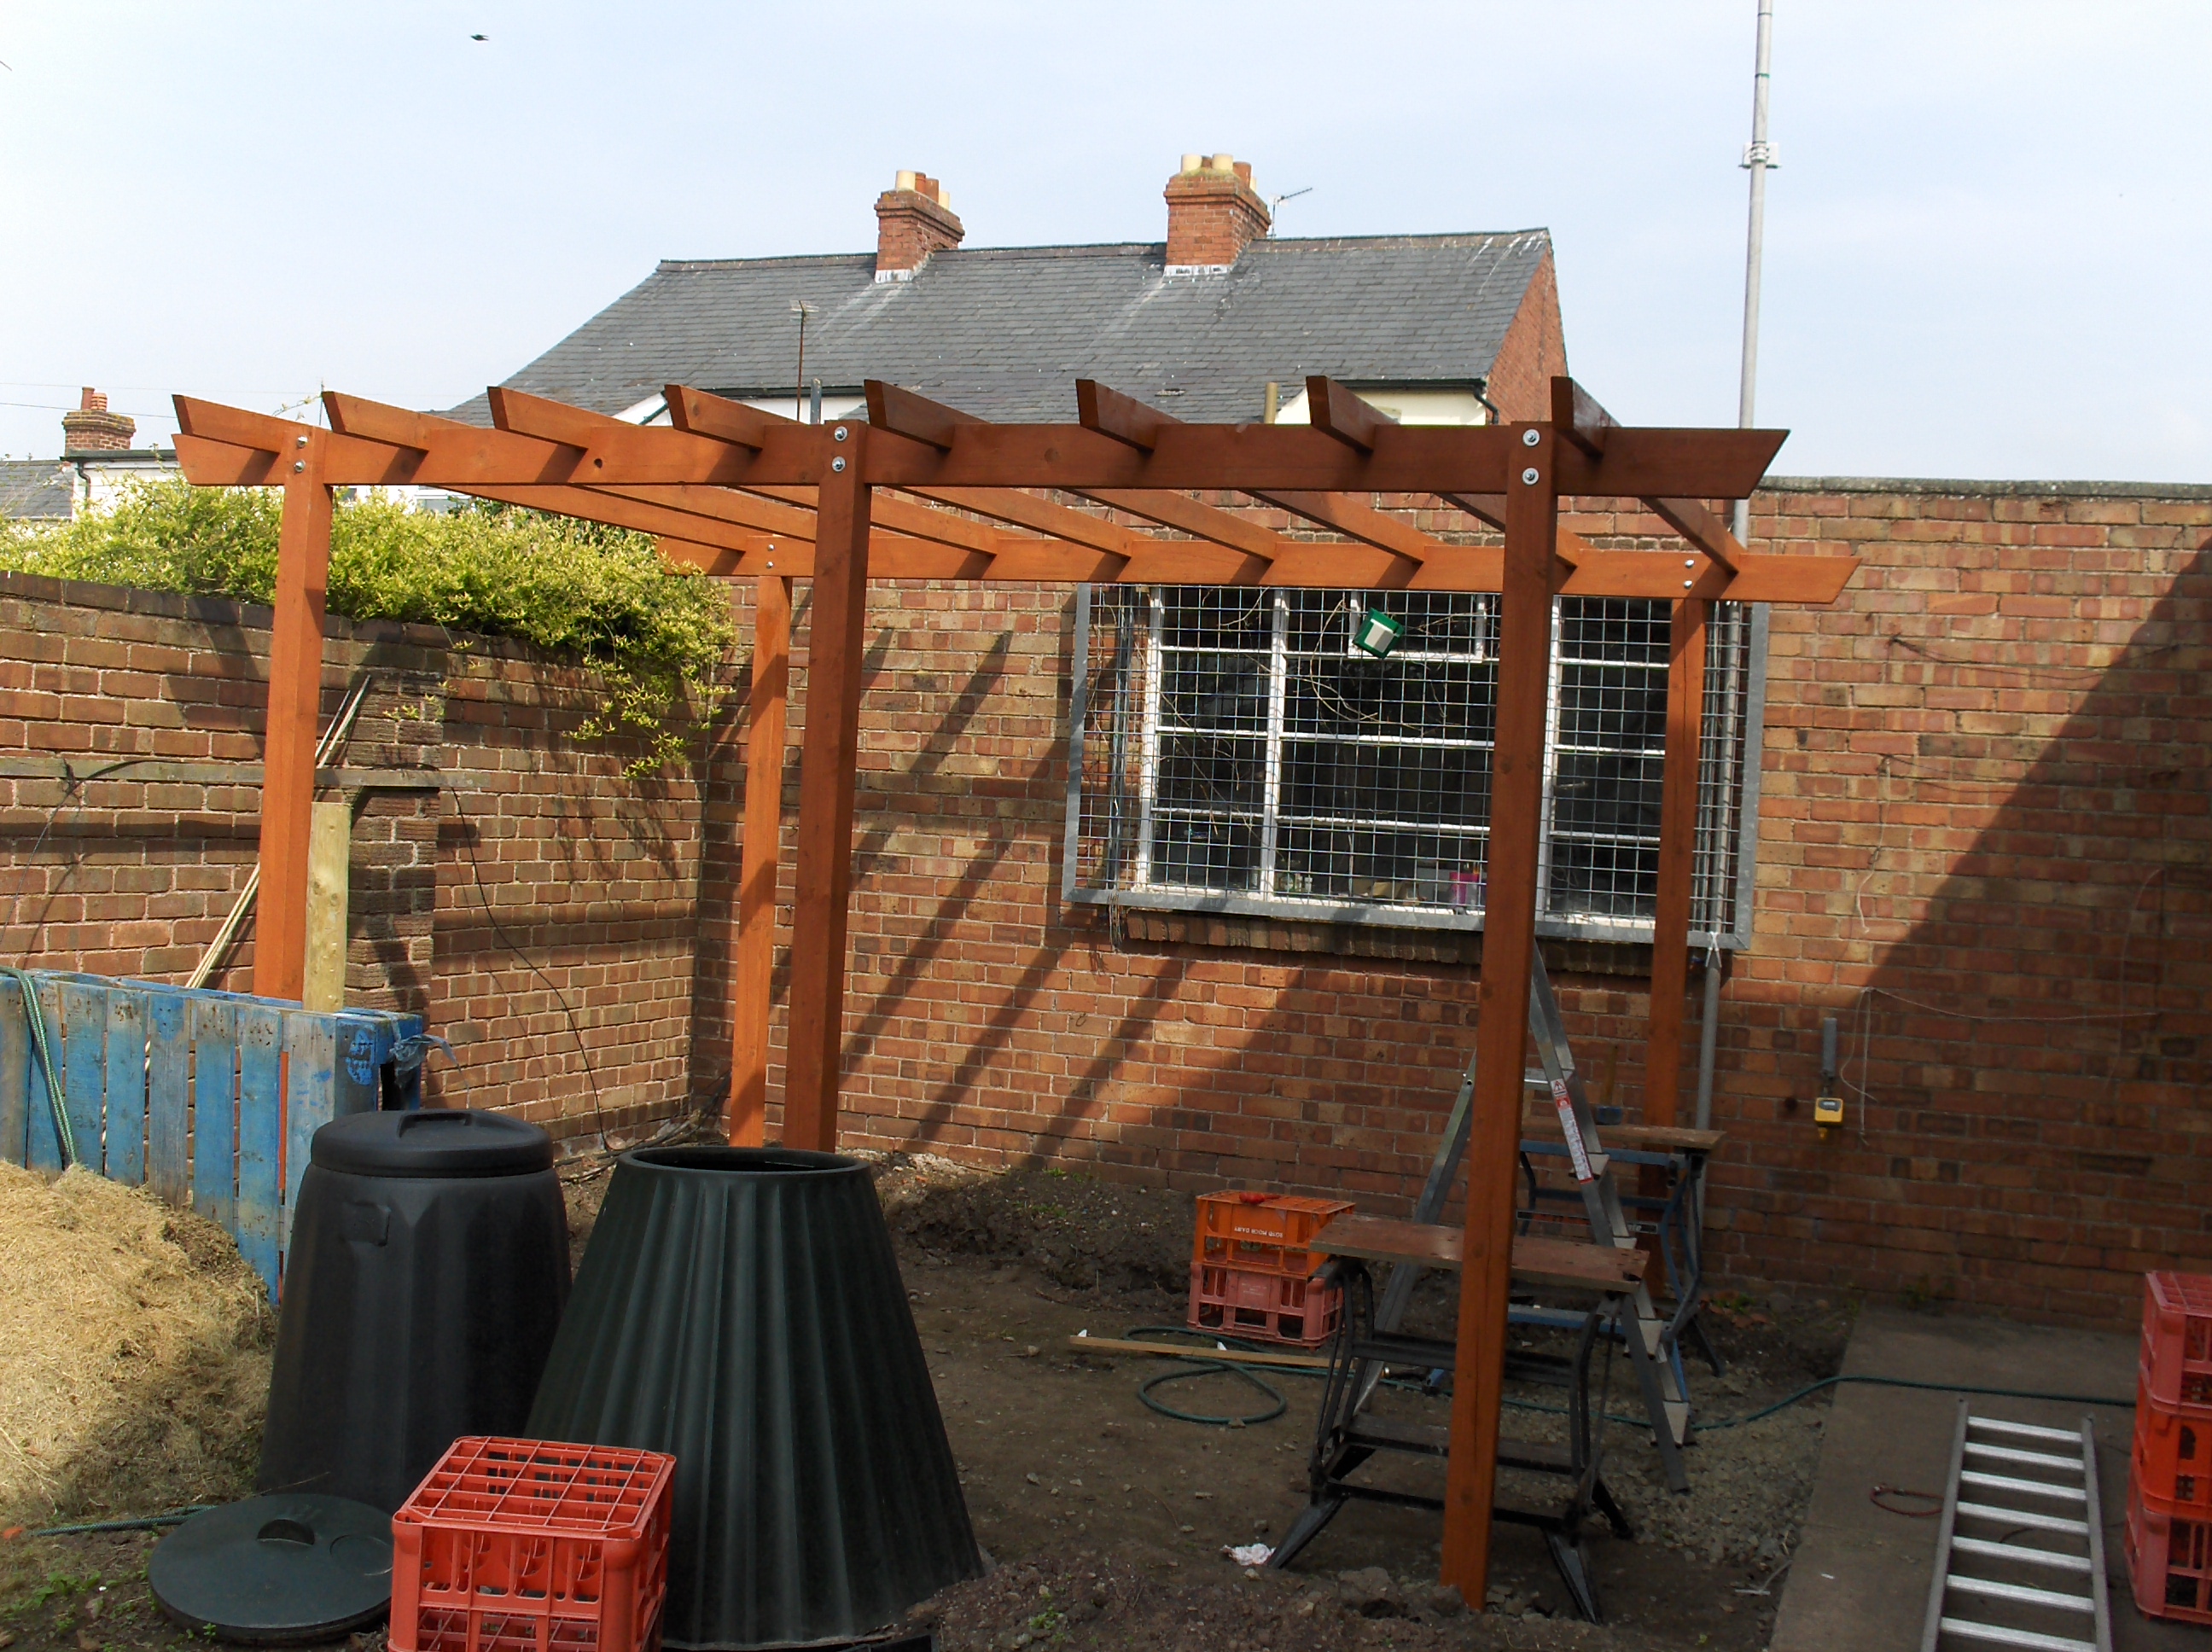
The finished Job just needs a patio underneath now.
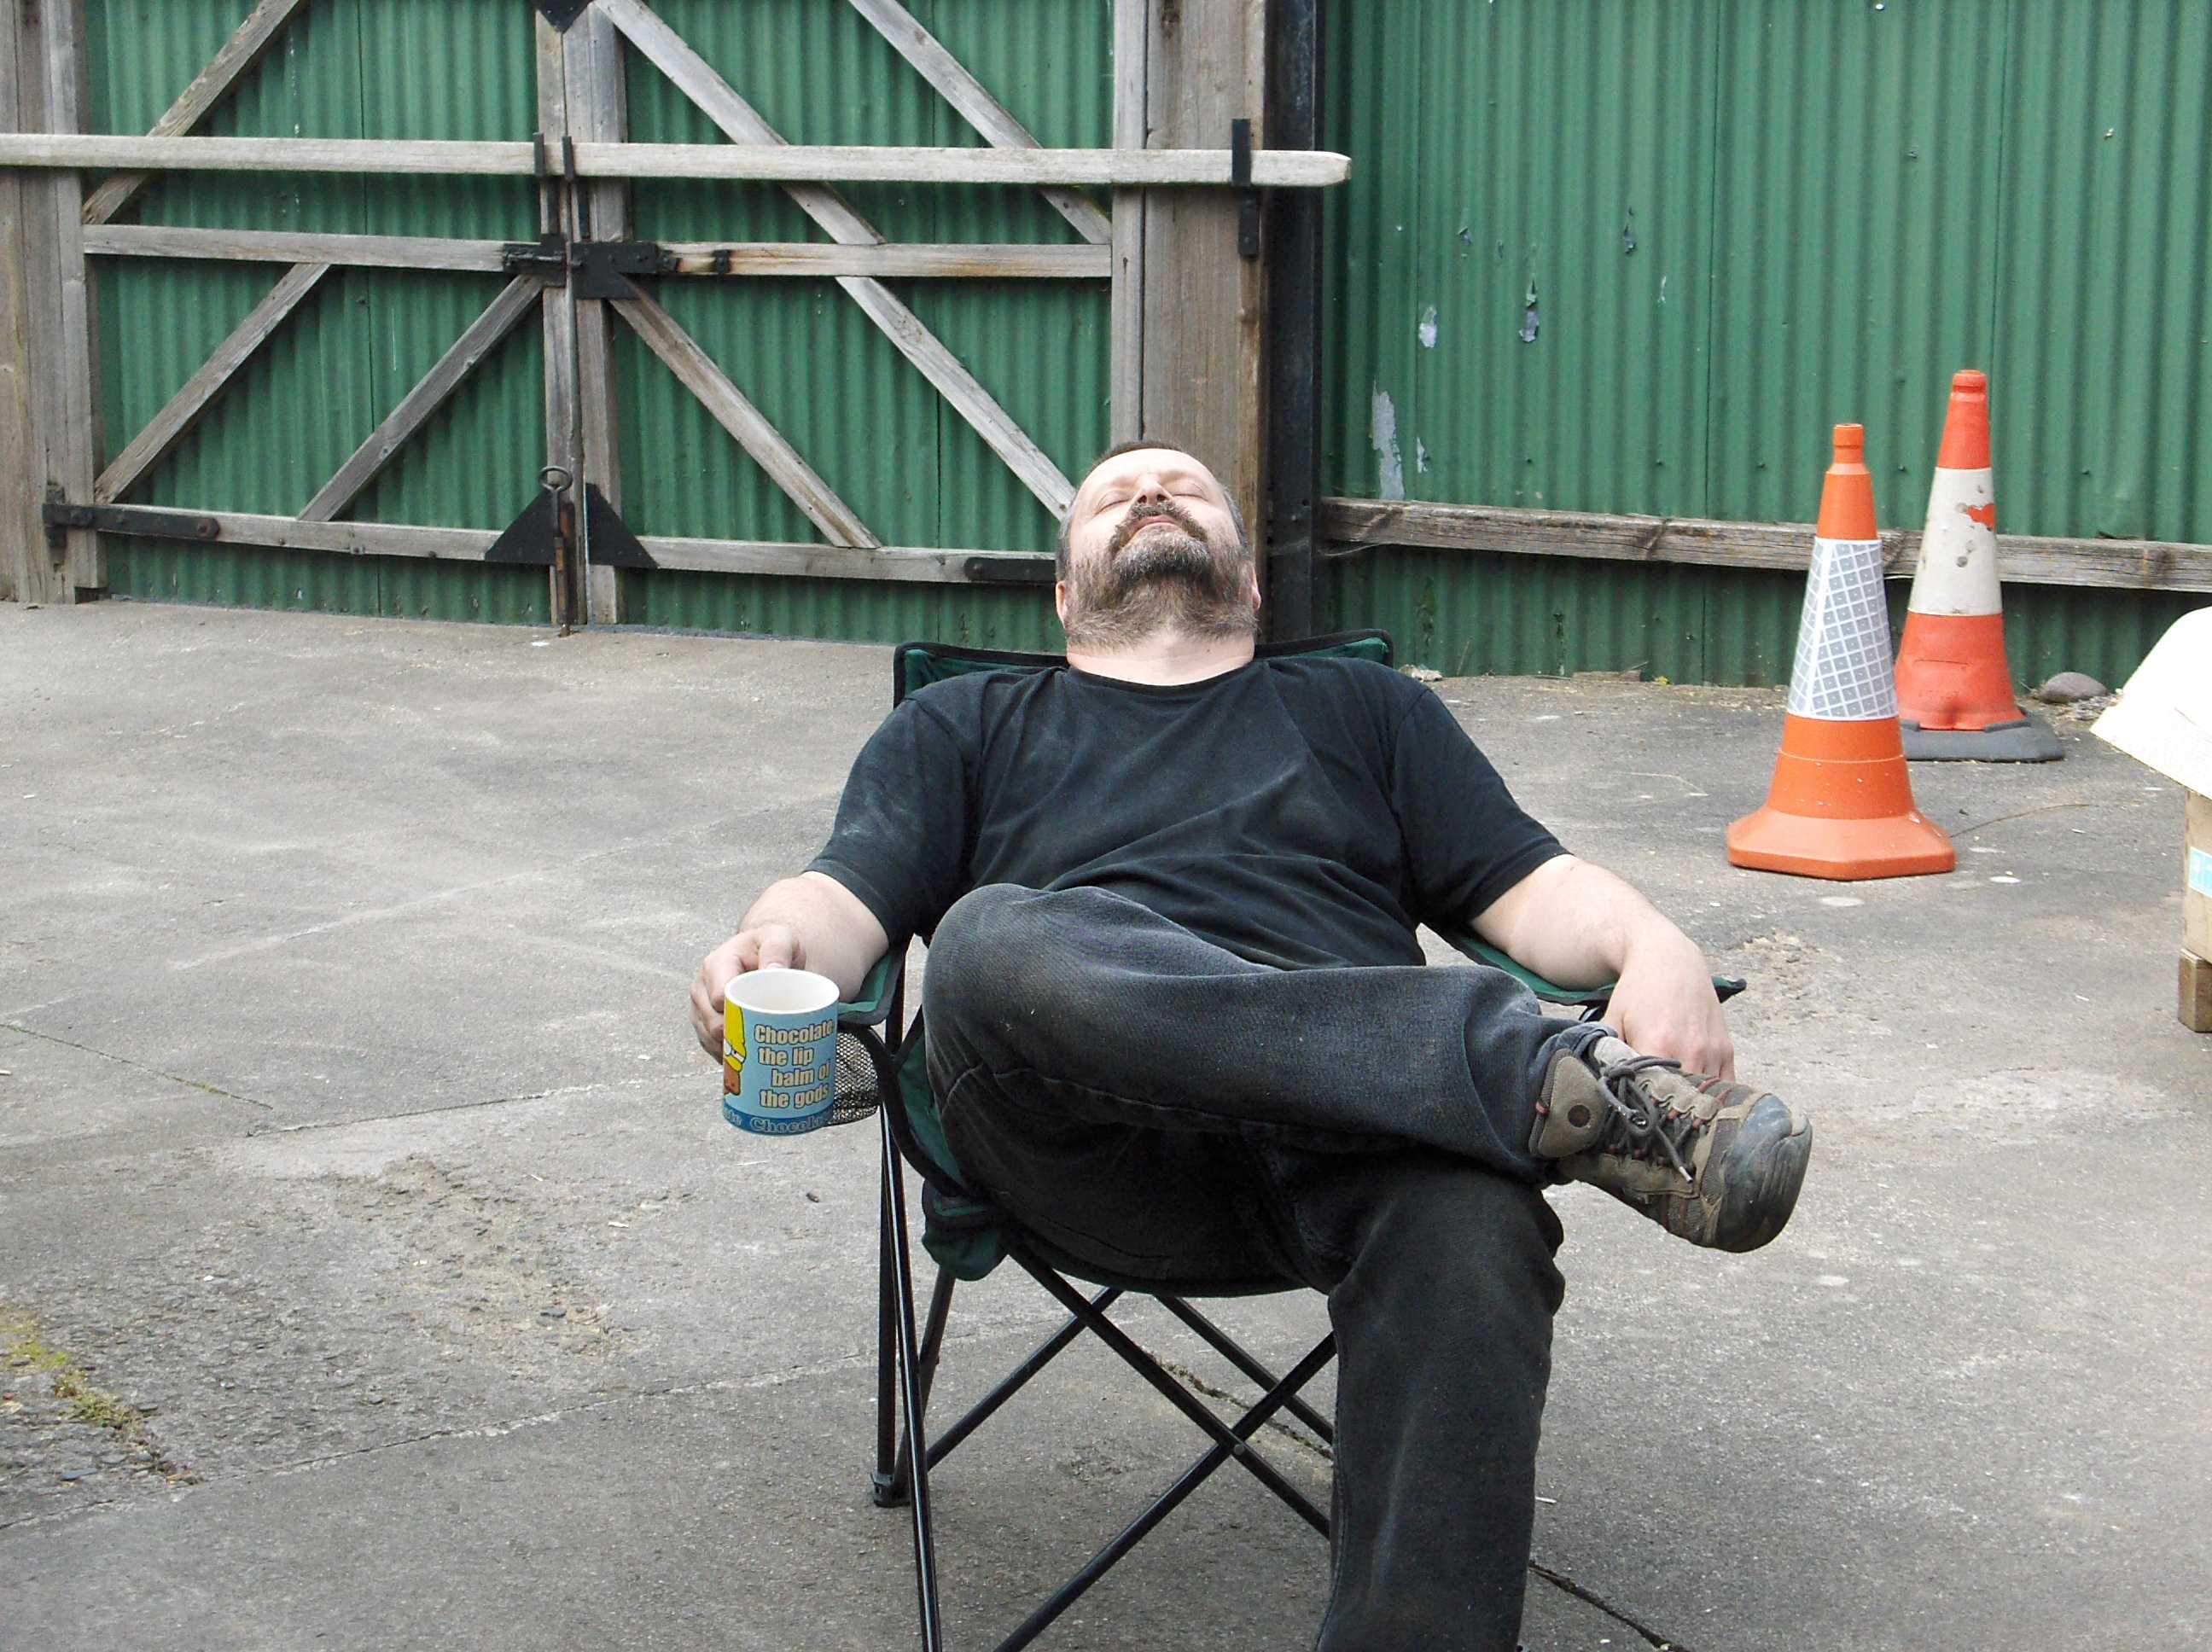
Time to relax :-)