|
|
KDW243 Dishwasher Heating Element Replacement |
|
|
|
|
|
|
First let me give you an unbiased and unemotional opinion of this dishwasher.. OK can't be done it the biggest pile of sh*t I have ever spent money on...
It failed at 14 month old with the heating taking the trip out. then at 20 months old. It failed again. This mainly due to my own stupidity.I removed the upper dish tray because it was sticking cleaned the runners and replaced it at the wrong height. If you change the height your supposed to adjust the rotating washer nossel thingy to mate properly with the delivery pipe at the rear of the dishwasher. I didn't and it leaked. |
|
|
|
|
|
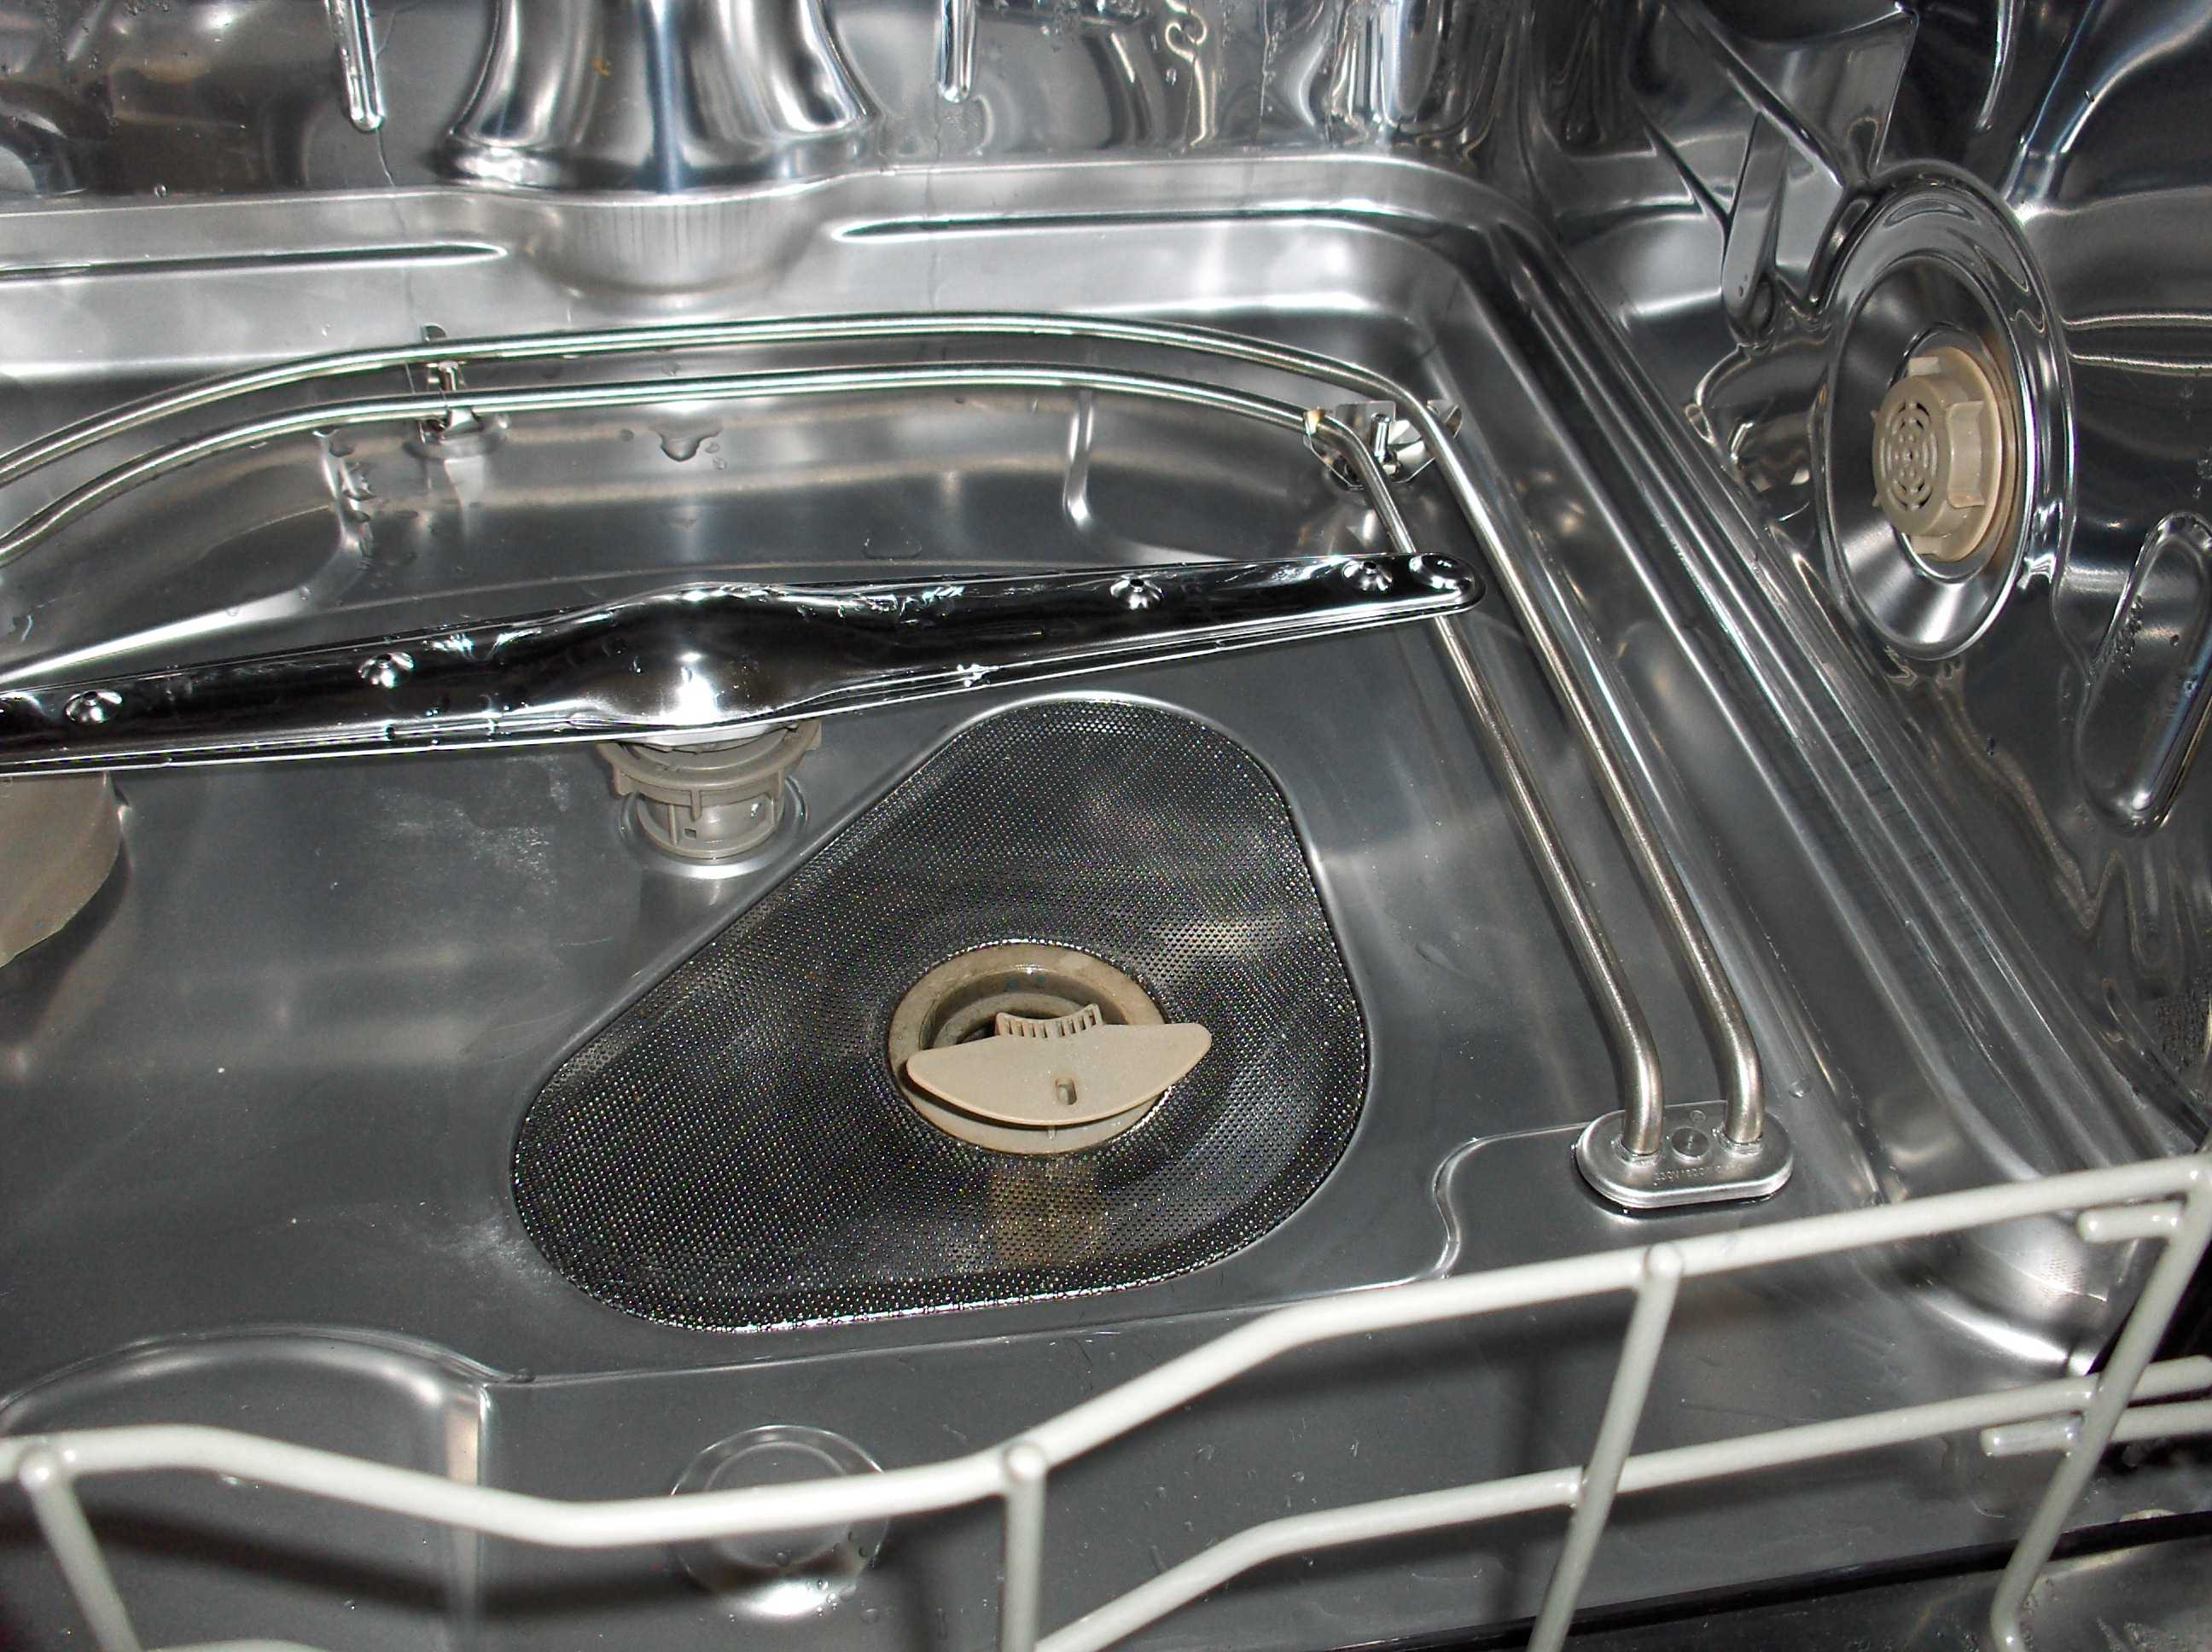
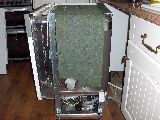
Heating element failure... This manifested itself as the main Earth leakage trip tripping every time the Dishwasher was started and called for the water to be heated... i.e. sometime after the dishwasher was started. I guessed it was the element this is usually the fault when the earth leakage trip goes for no apparent reason. though to be fair it is usually the element in the washing machine... the picture shows the element in question. There was absolutely no sign of damage or overheating (there rarely is) though replacing it cured the fault. |
|
|
|
|
|
In order to replace it. follow the steps listed below Remember however what ever you do you do at your own risk and I accept no blame or liability :- |
|
|
1) Switch off and isolate the Dishwasher the switch above your worktop is ok for this as long as you don't have kids or a wife looking to cash you in by turning it on while your working. Any doubt then remove the fuse... |
|
|
|
|
|
2) Unload the dishwasher and do the chuffing washing up this stack of crap should have done for you. May be get the wife to do it... be sure to mention the size of her feet are just right for the job. |
|
|
|
|
|
3) Empty any residual water in the bottom of the unit. |
|
|
|
|
|
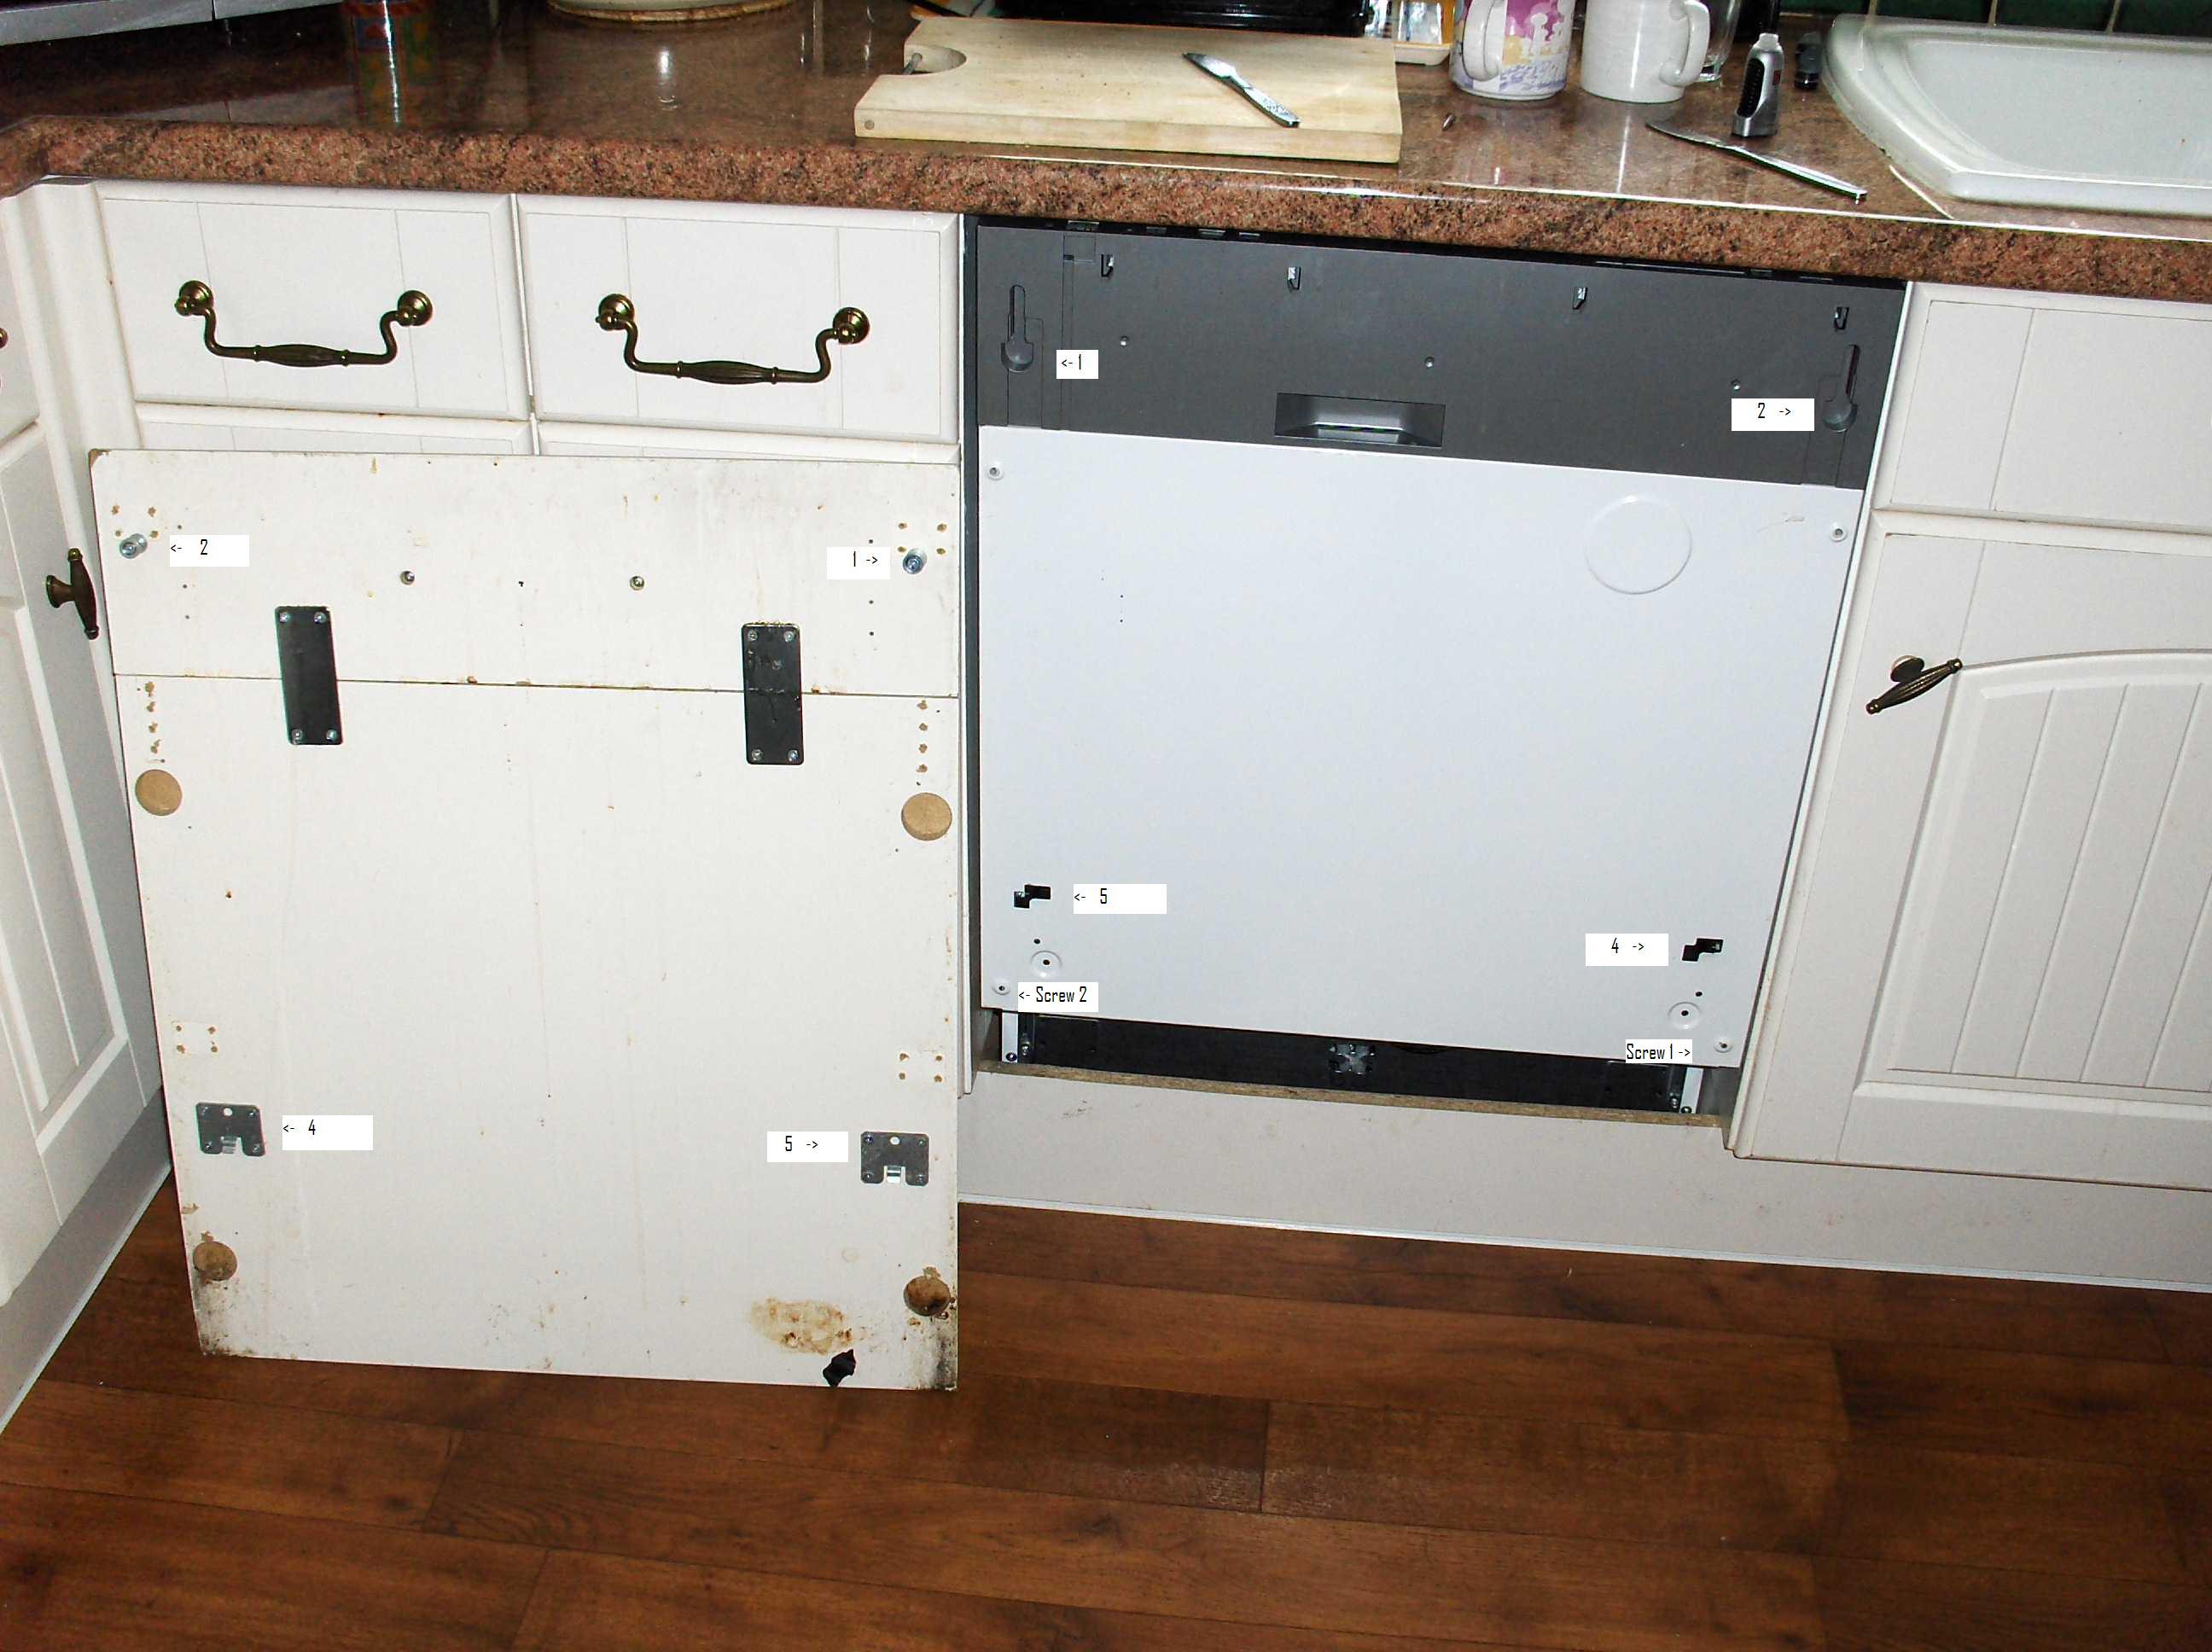
4) Remove Kitchen Unit door front two screw at bottom by hinge then slide up, you can only do this with the door open a bit. Then when bottom of door pops out and away from the dishwasher slide down and remove. |
|
|
|
|
|
5) Remove the kicking board below dishwasher and kitchen units. It usually just pulls out but your on your and it's YOUR fault not mine. |
|
|
|
|
|
6) Remove the two fixing screws under the work top and at the top of the machine assunming they are fitted they are not on mine. |
|
|
|
|
|
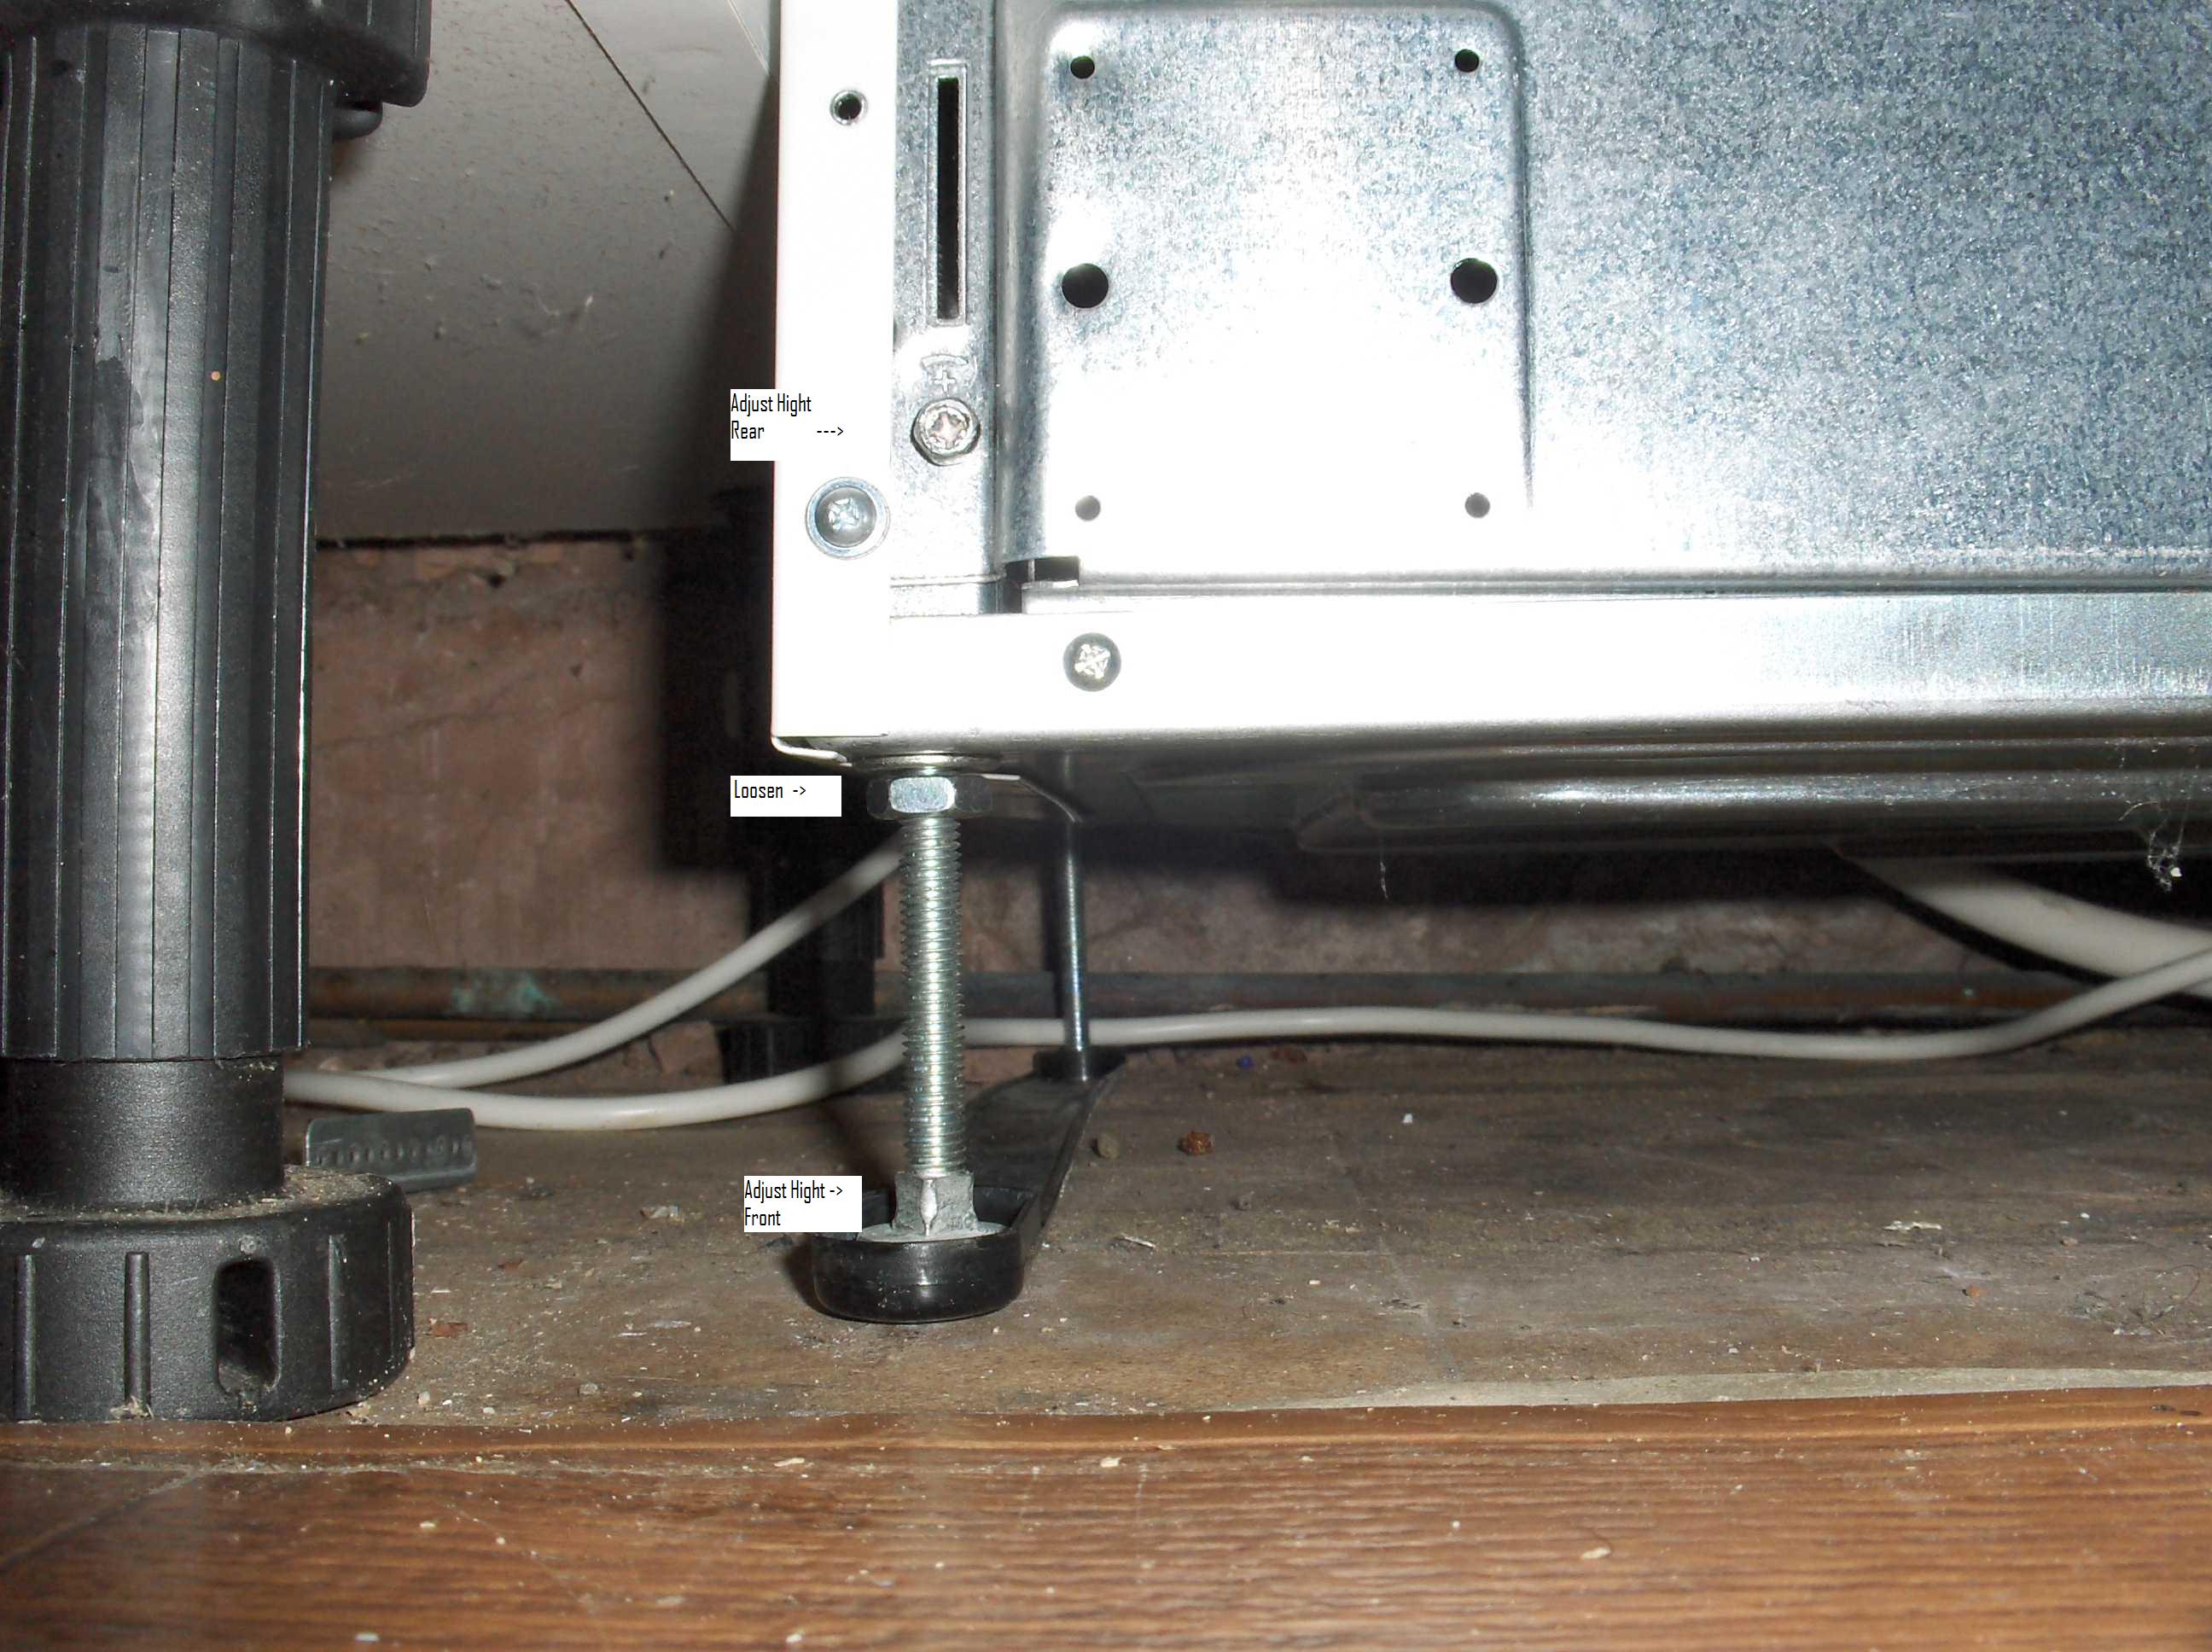
7) Lower the dishwasher using the front and rear adjustable feet. |
|
|
|
|
|
8) Carefully slide the dishwasher out from under the worktop ensureing the cable, water feed pipe and waste water pipe are not damaged again it's your fault not mine... |
|
|
|
|
|
9) the heating element is accessed on by removing the RHS panel there are a total of 11 screws (see picture for locations). |
|
|
|
|
|
10) Once removed at the botton you will see overflow tray that catches the water from (yes) an overflow the two pumps waste nearest you and washer pump buried much deeper to the right . |
|
|
|
|
|
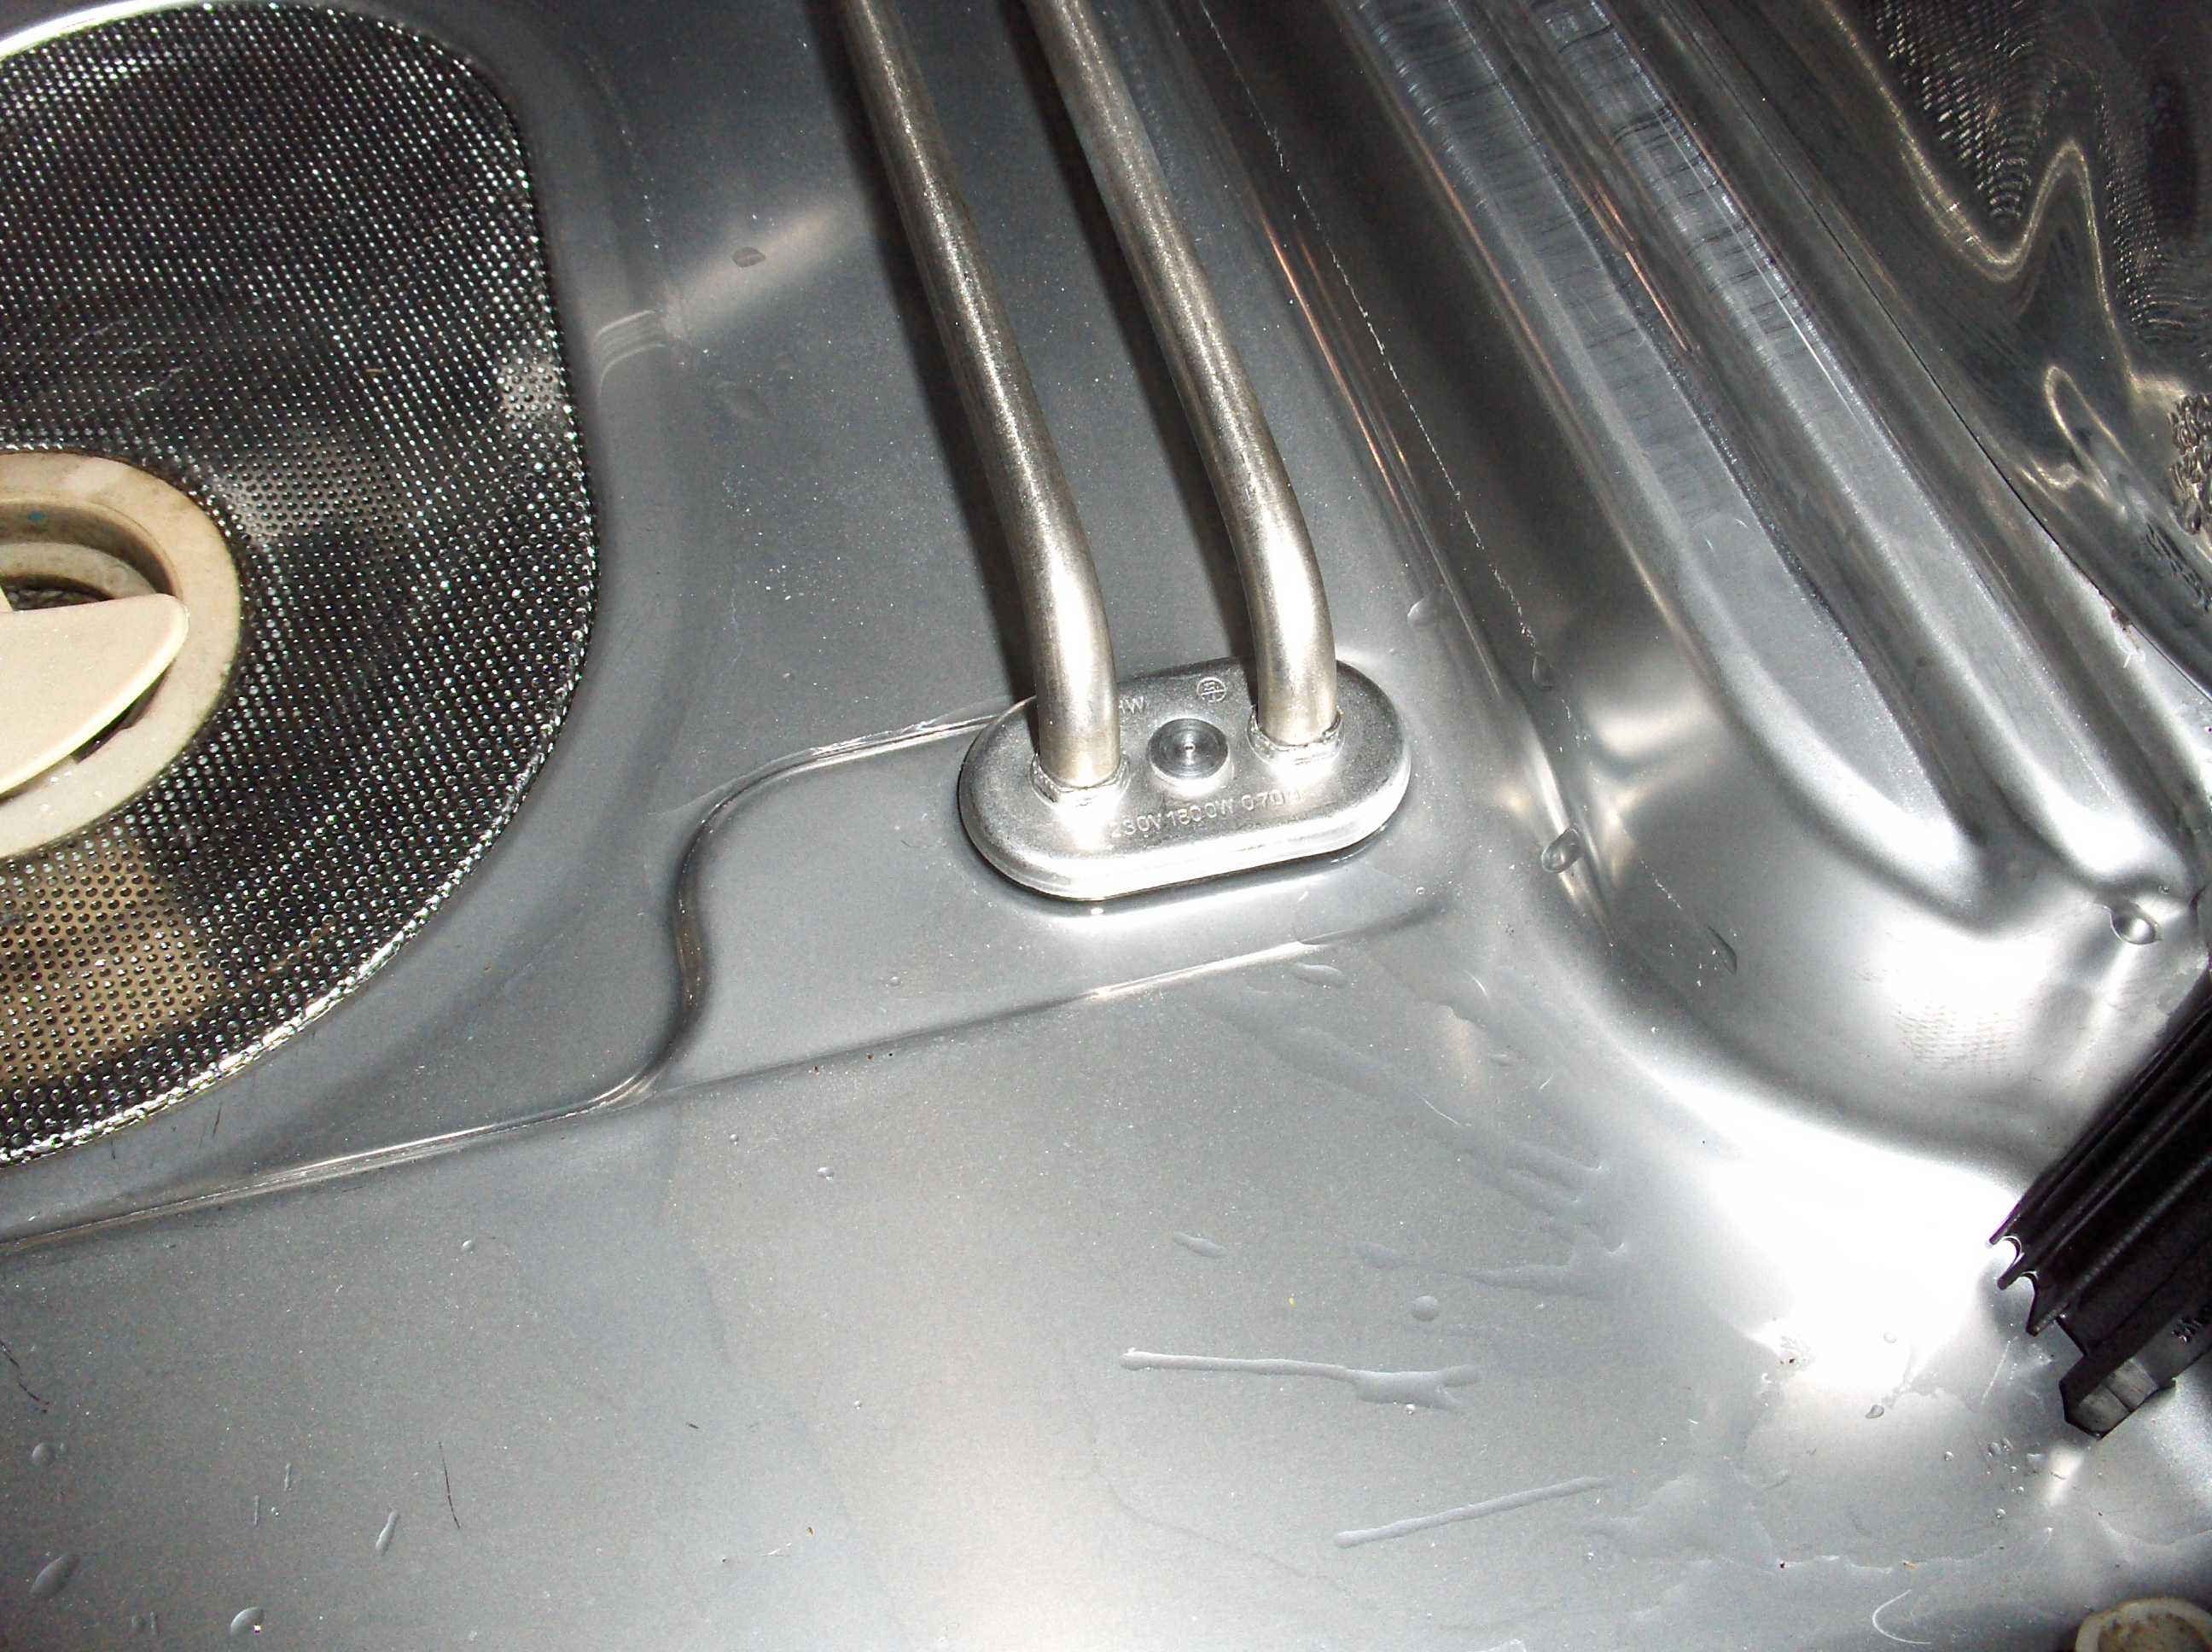
Towards the front of the machine you will see the element. ENSURE YOU HAVE ISOLATED THE SUPPLY. |
|
|
|
|
|
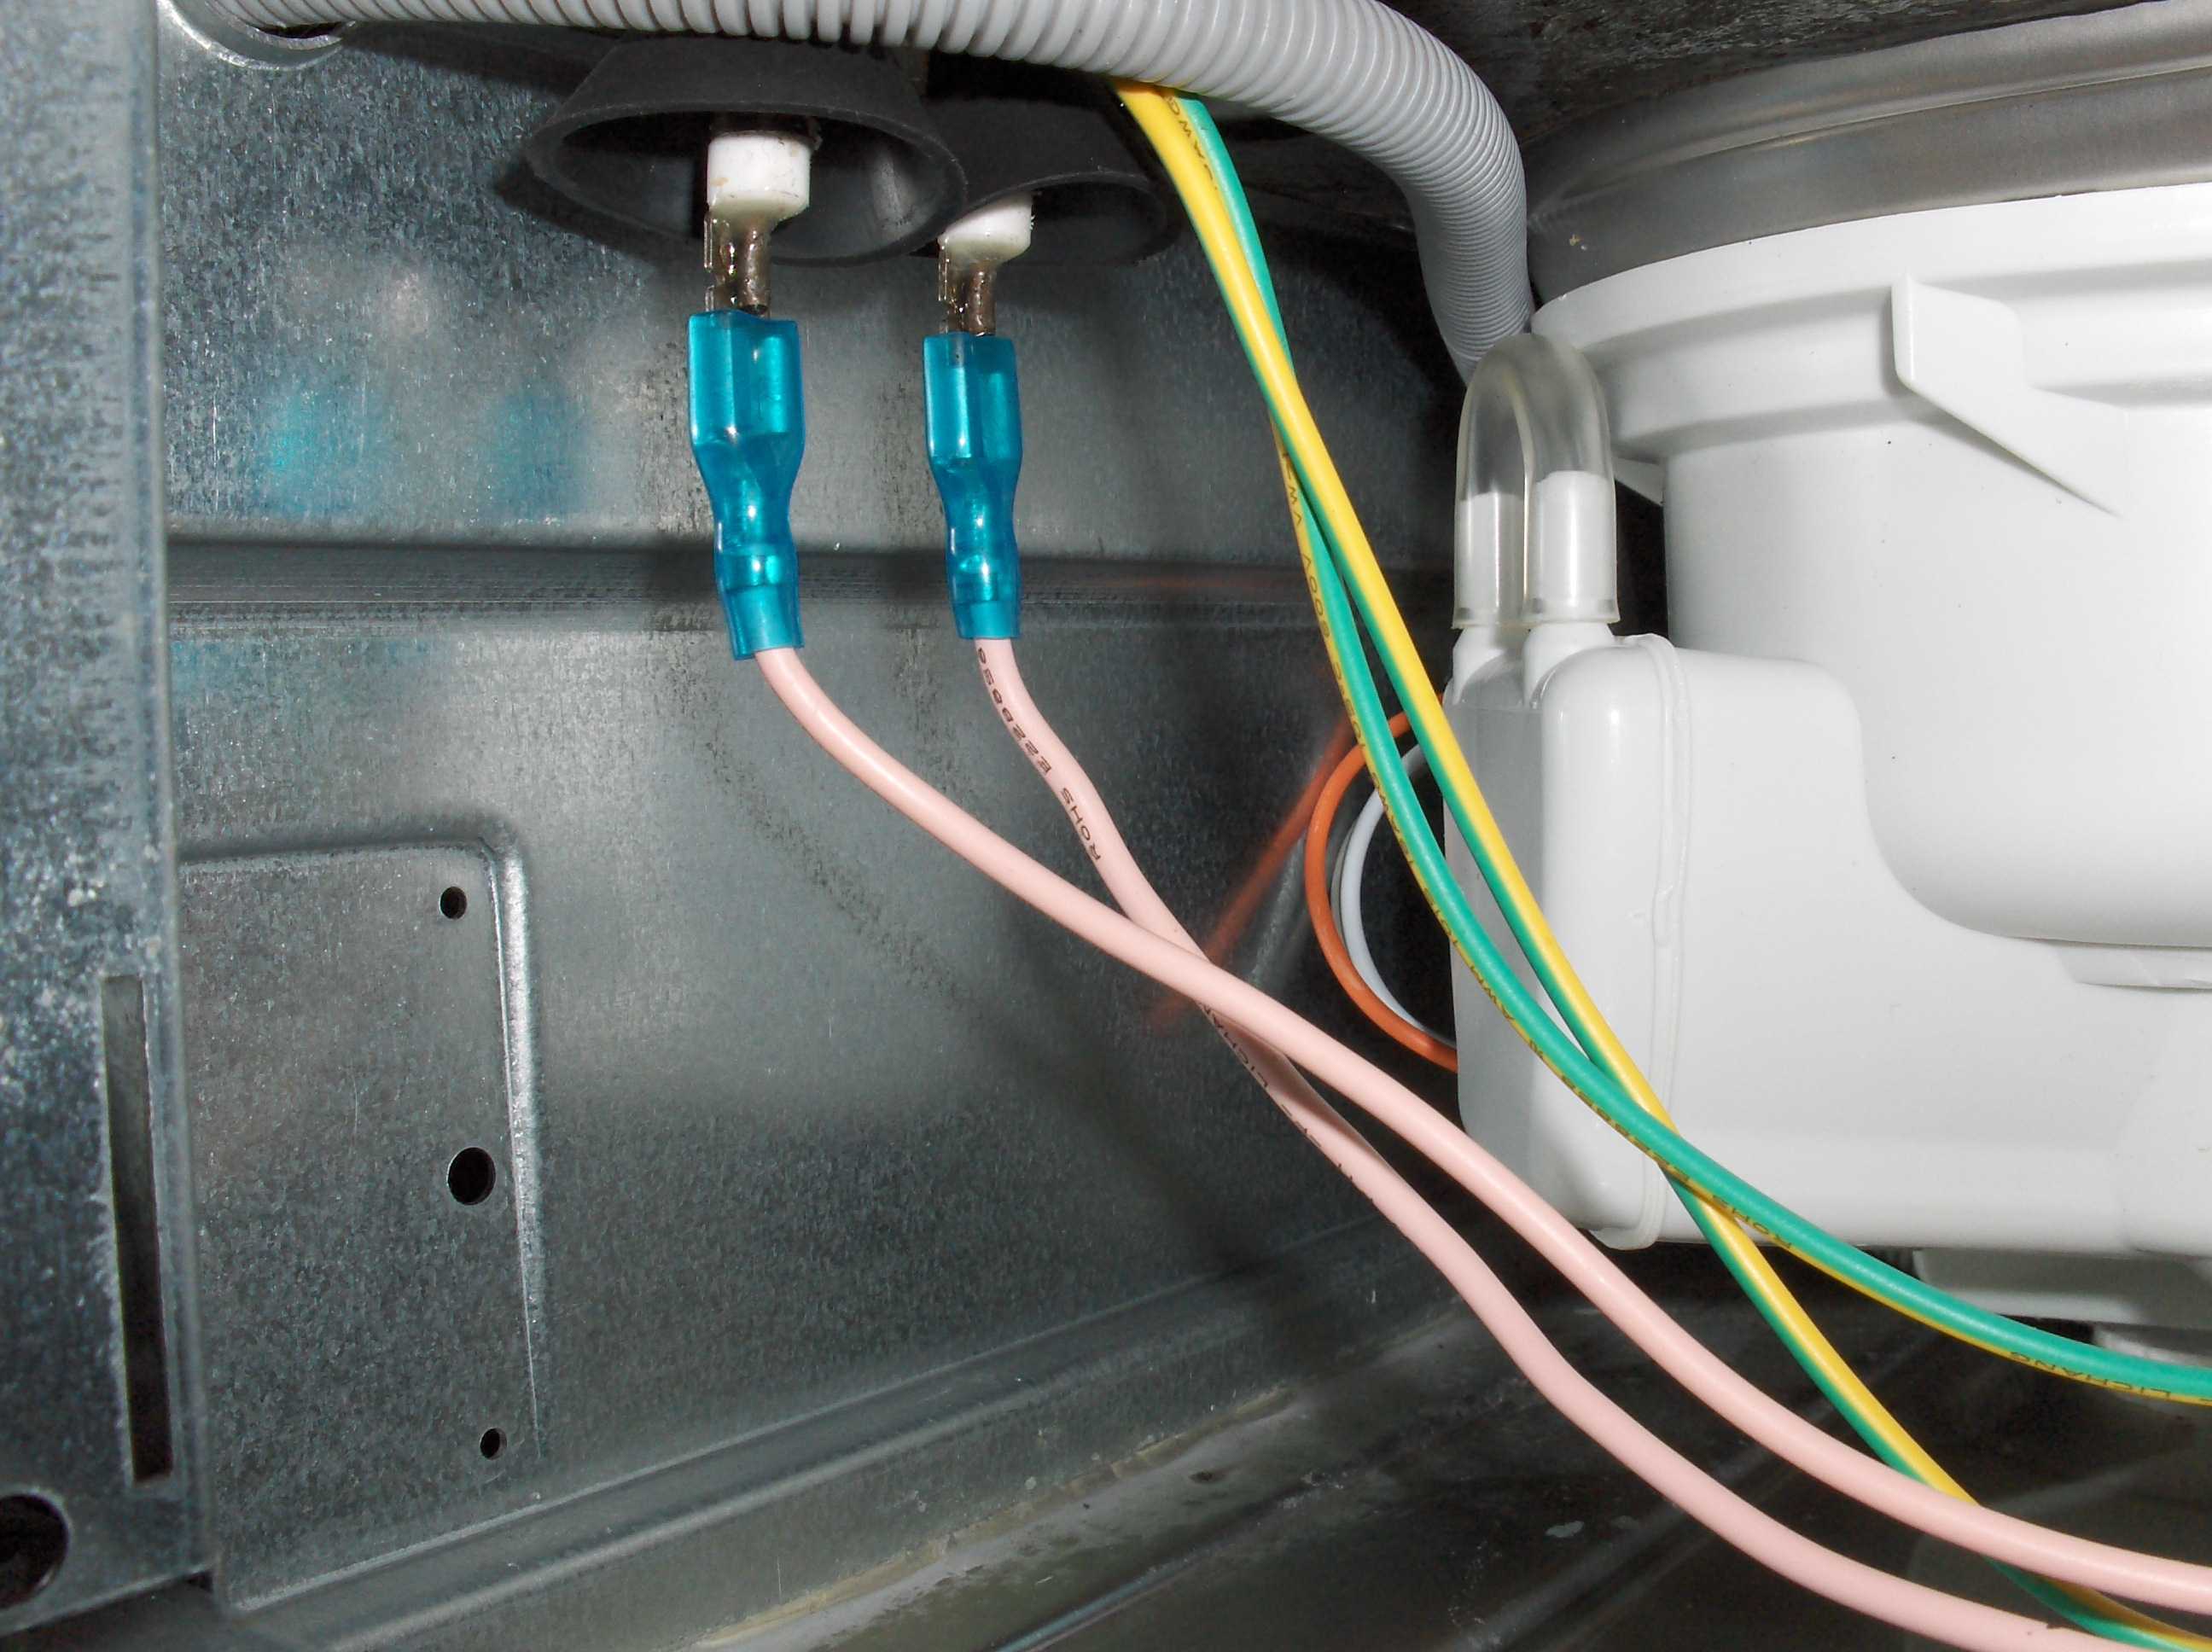
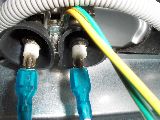
11) The element is fixed with a single bolt witch also connects the earth bonding wire to the element this MUST be replaced. The bolt squashes a big rubber bung that the expands to seal the element in place and stop leaks. Unscrew the bolt shown and remove old element. Take Care NOT to loose the rubber shrouds around each terminal you will need these to put on the new element. They stop water running down the wires and touching the live parts if there is a leak. |
|
|
|
|
|
12) Once the element is replaced put it all back together. Yes it's easy just the reverse process. but remember the two screws that are different from the rest go on the front i.e. positions 3 and 4 |
|
|
|