New Fireplace for Log Burning Stove
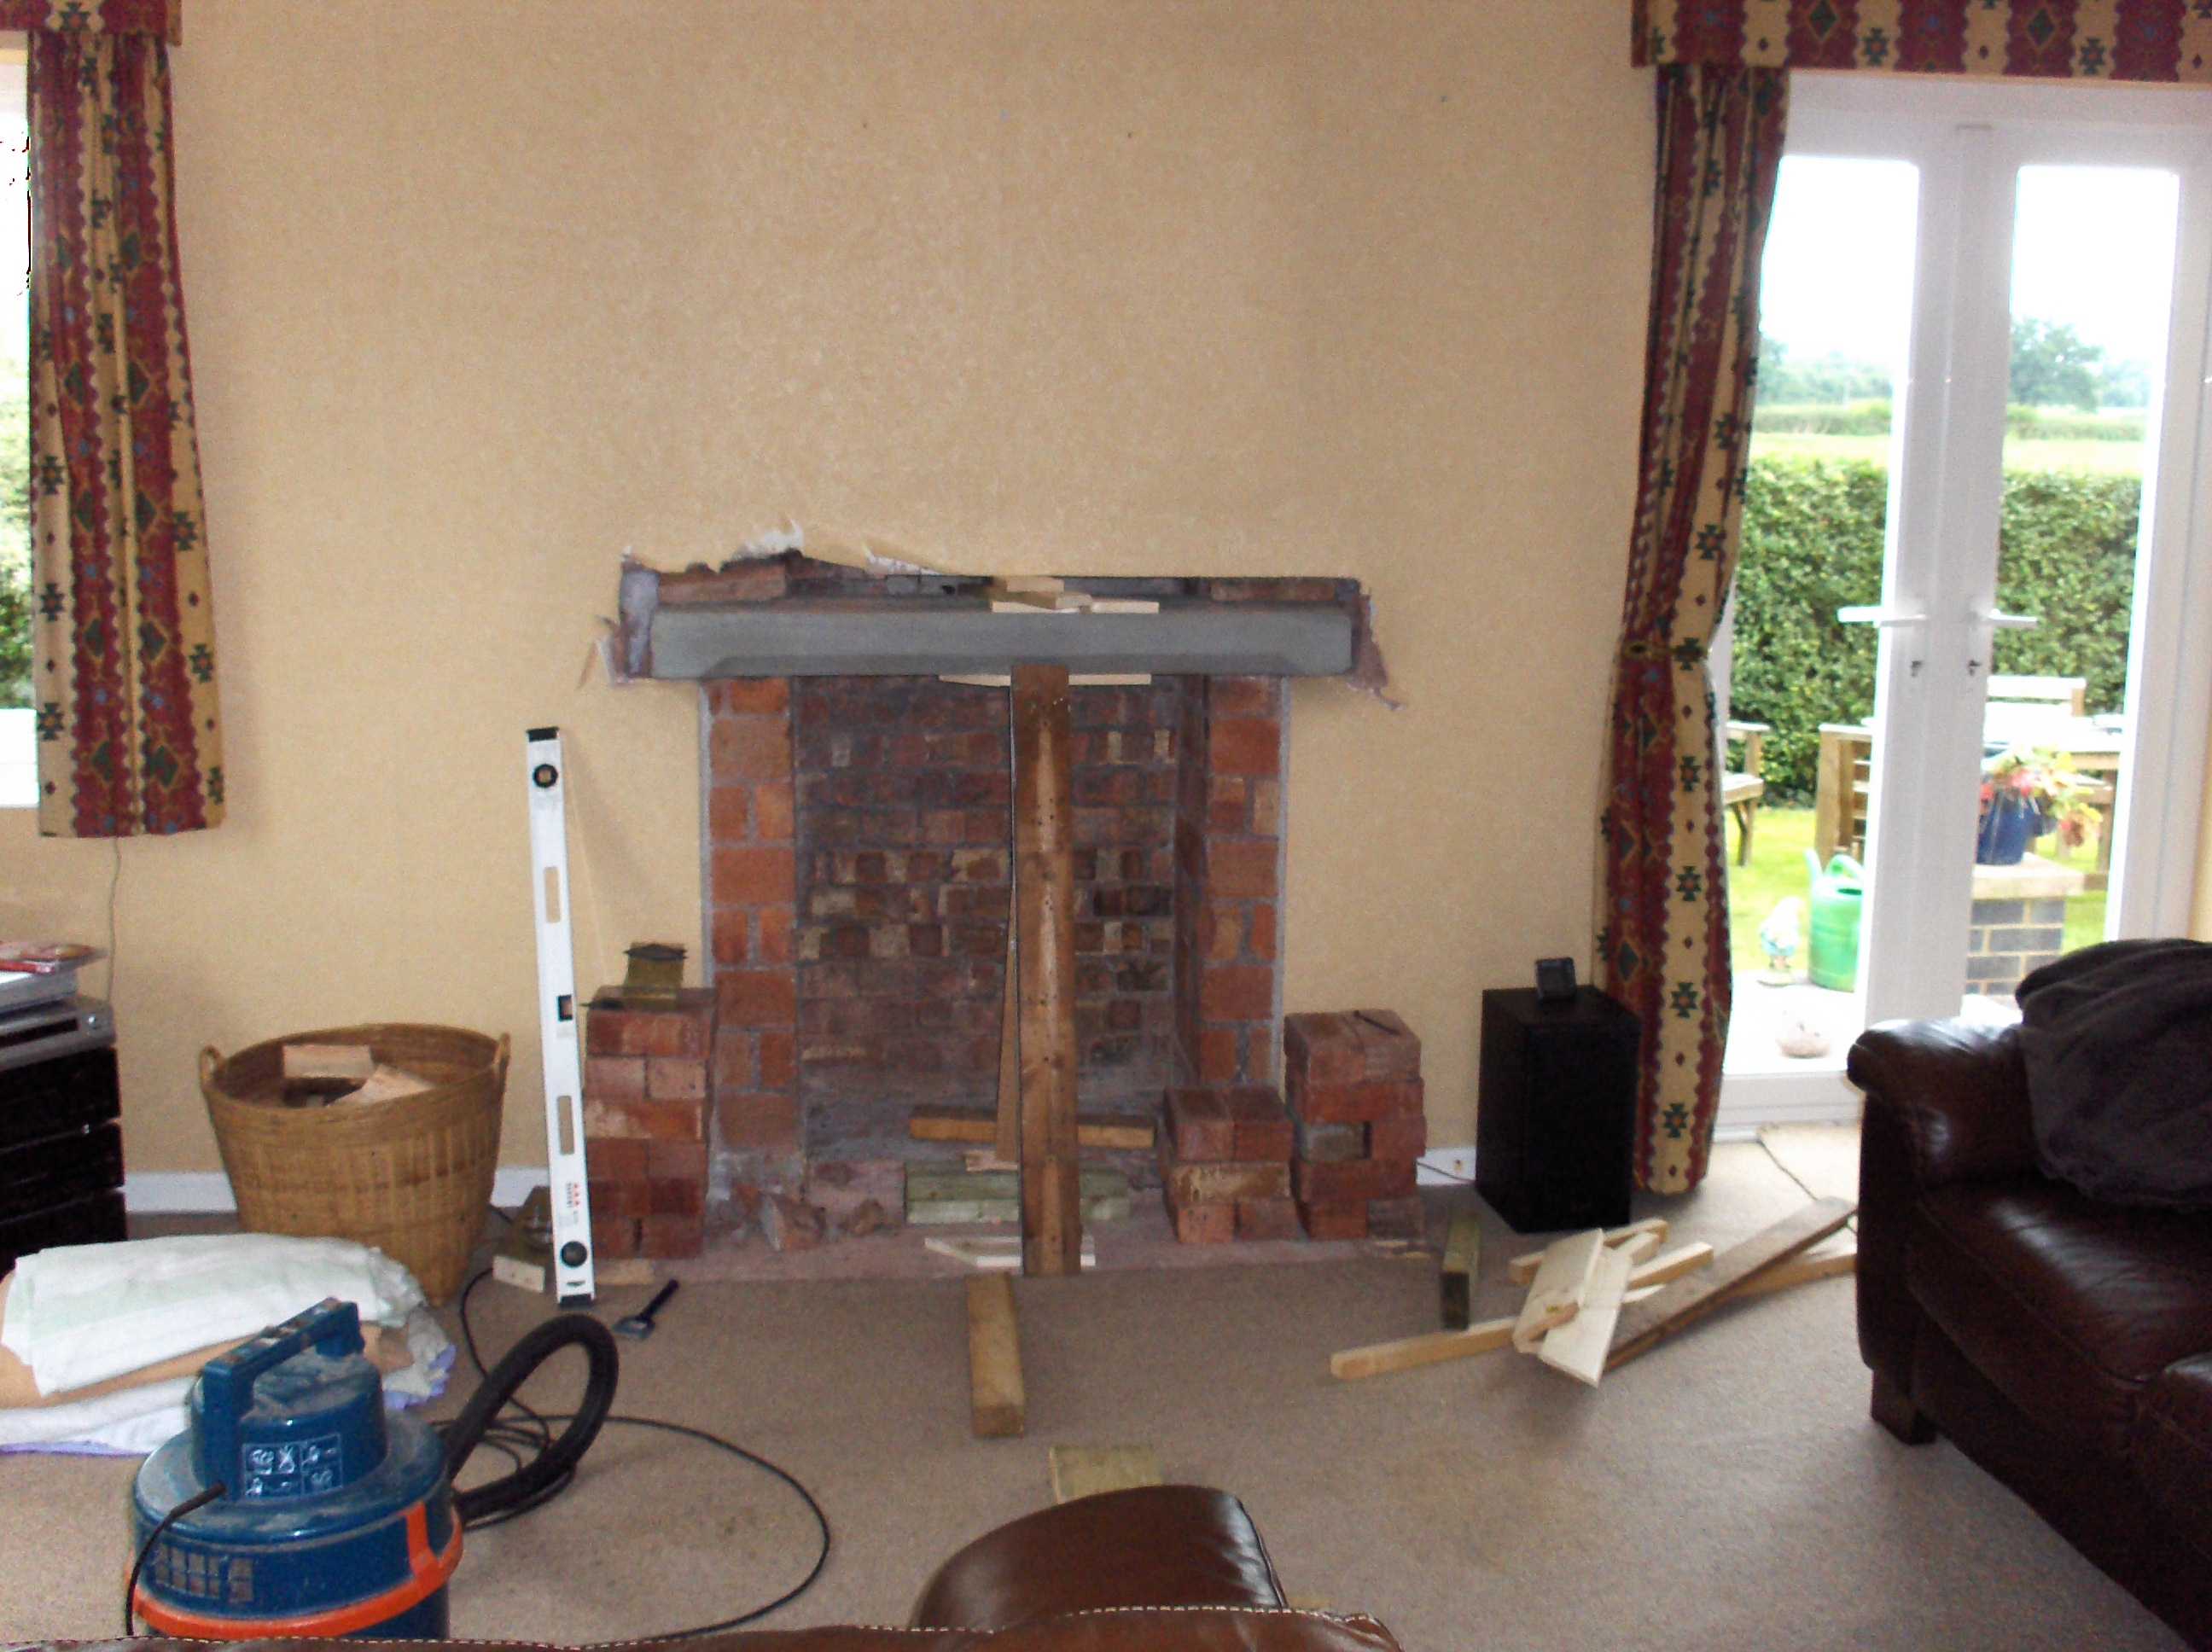
The original gas fire and fireplace This looked ok but the heat output was NEGLIGABLE When Susie was alive she used to have to sit right next to it to feel any warmth. It needed replacing with something that looked good and more importantly actually put out some heat.
I have tried to have a greener outlook to my energy use. I.e. My solar panels, low energy lamps A rated appliances. Due diligence turning stuff off, Time switches to ensure the stuff goes off even when the kids forget. Bearing this in mind something that used short carbon cycle fuel would be ideal.
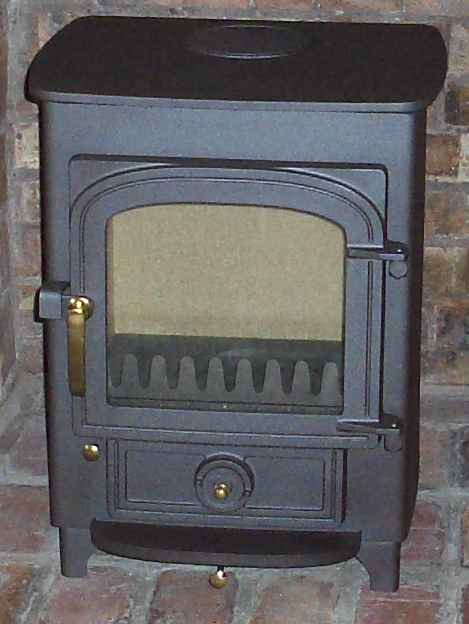
A good efficient LOG burning stove was what was needed. Especially as with gas prices going up as they are now (June 2008). This is the Clearview Pioneer Flattop. 5KW on full chat. this was chosen as the fireplace is small and this is the smallest clearview that would fit. In MHO Clearview make the best I have seen.
Fuel supply would not be expensive either as Collecting the wood from my fathers farm would only cost the Work the chainsaw Fuel, Lube oil, maintenance and Transport costs. Significantly less than buying it or the gas bill.
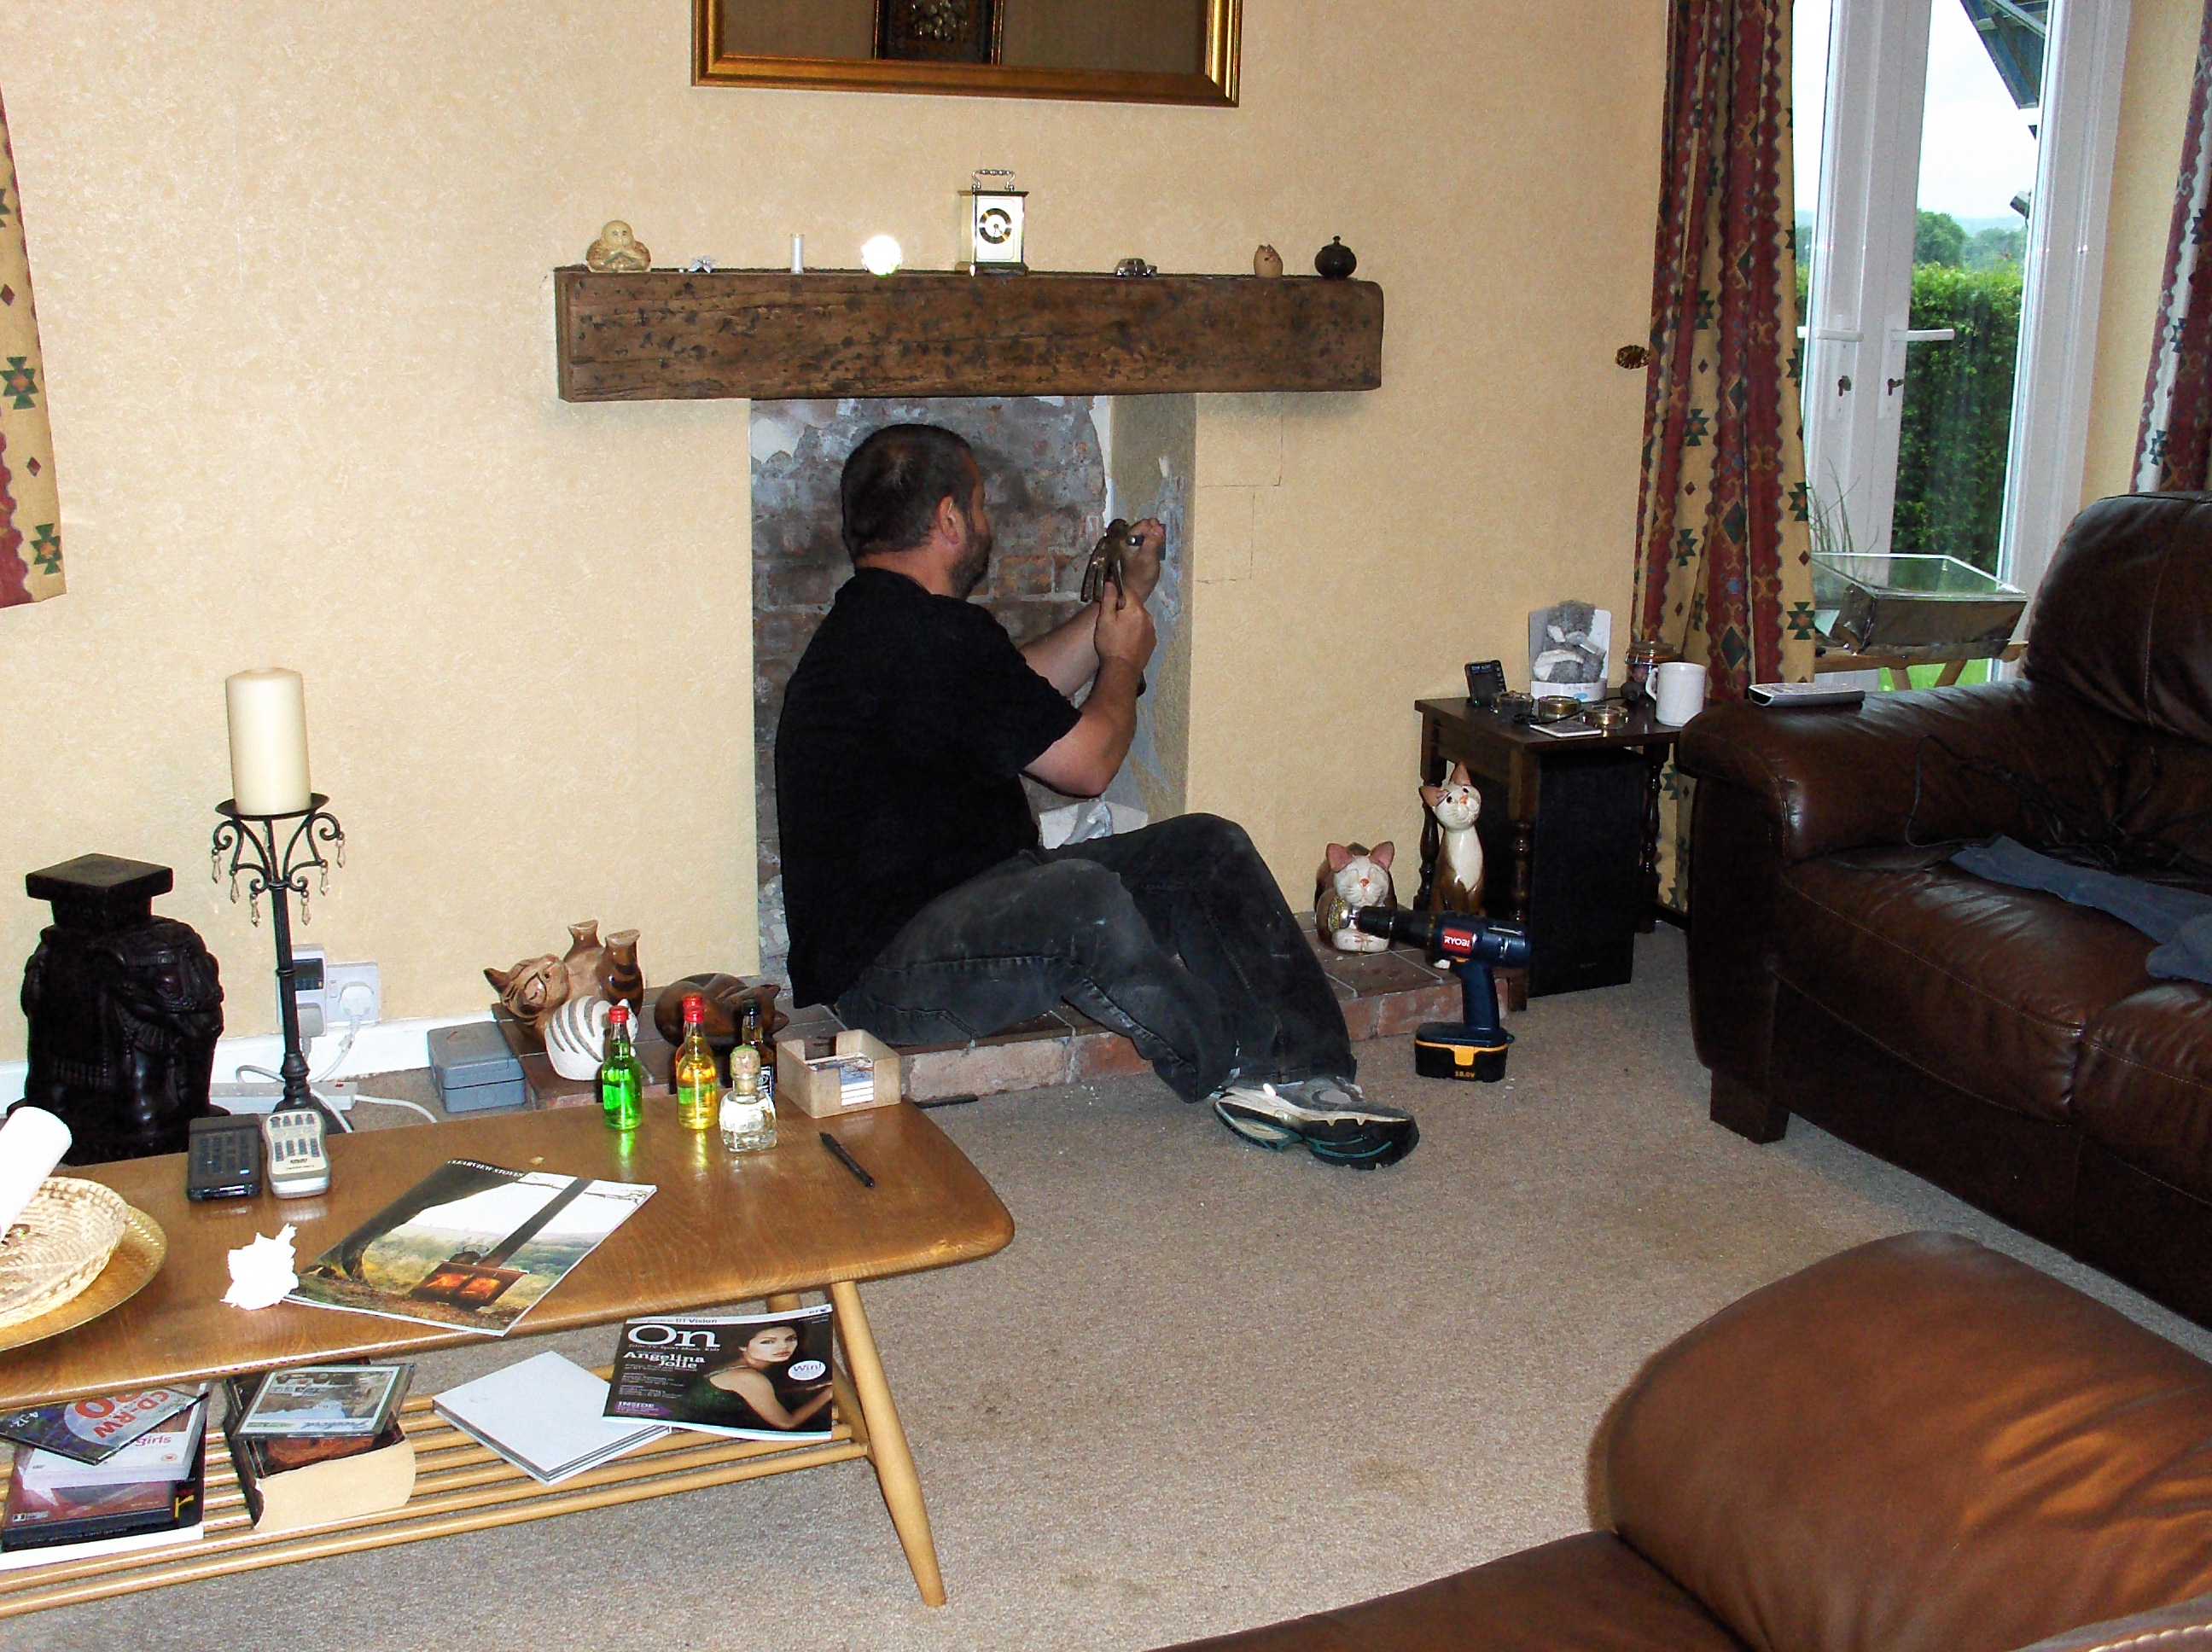
I fancied a rustic look no fancy marble etc stone or even brick maybe. I called in a chap to quote me for lining the chimney as this was a task I did not fancy (Damn chimney is high). That went ok but also discussed the fireplace with him the wood about being flammable need to be 600mm from the fire as did any wallpaper and the hearth need to come out to a total of 600mm too. So I set about removing the wallpaper and plaster from existing fireplace so see what I had to work with.
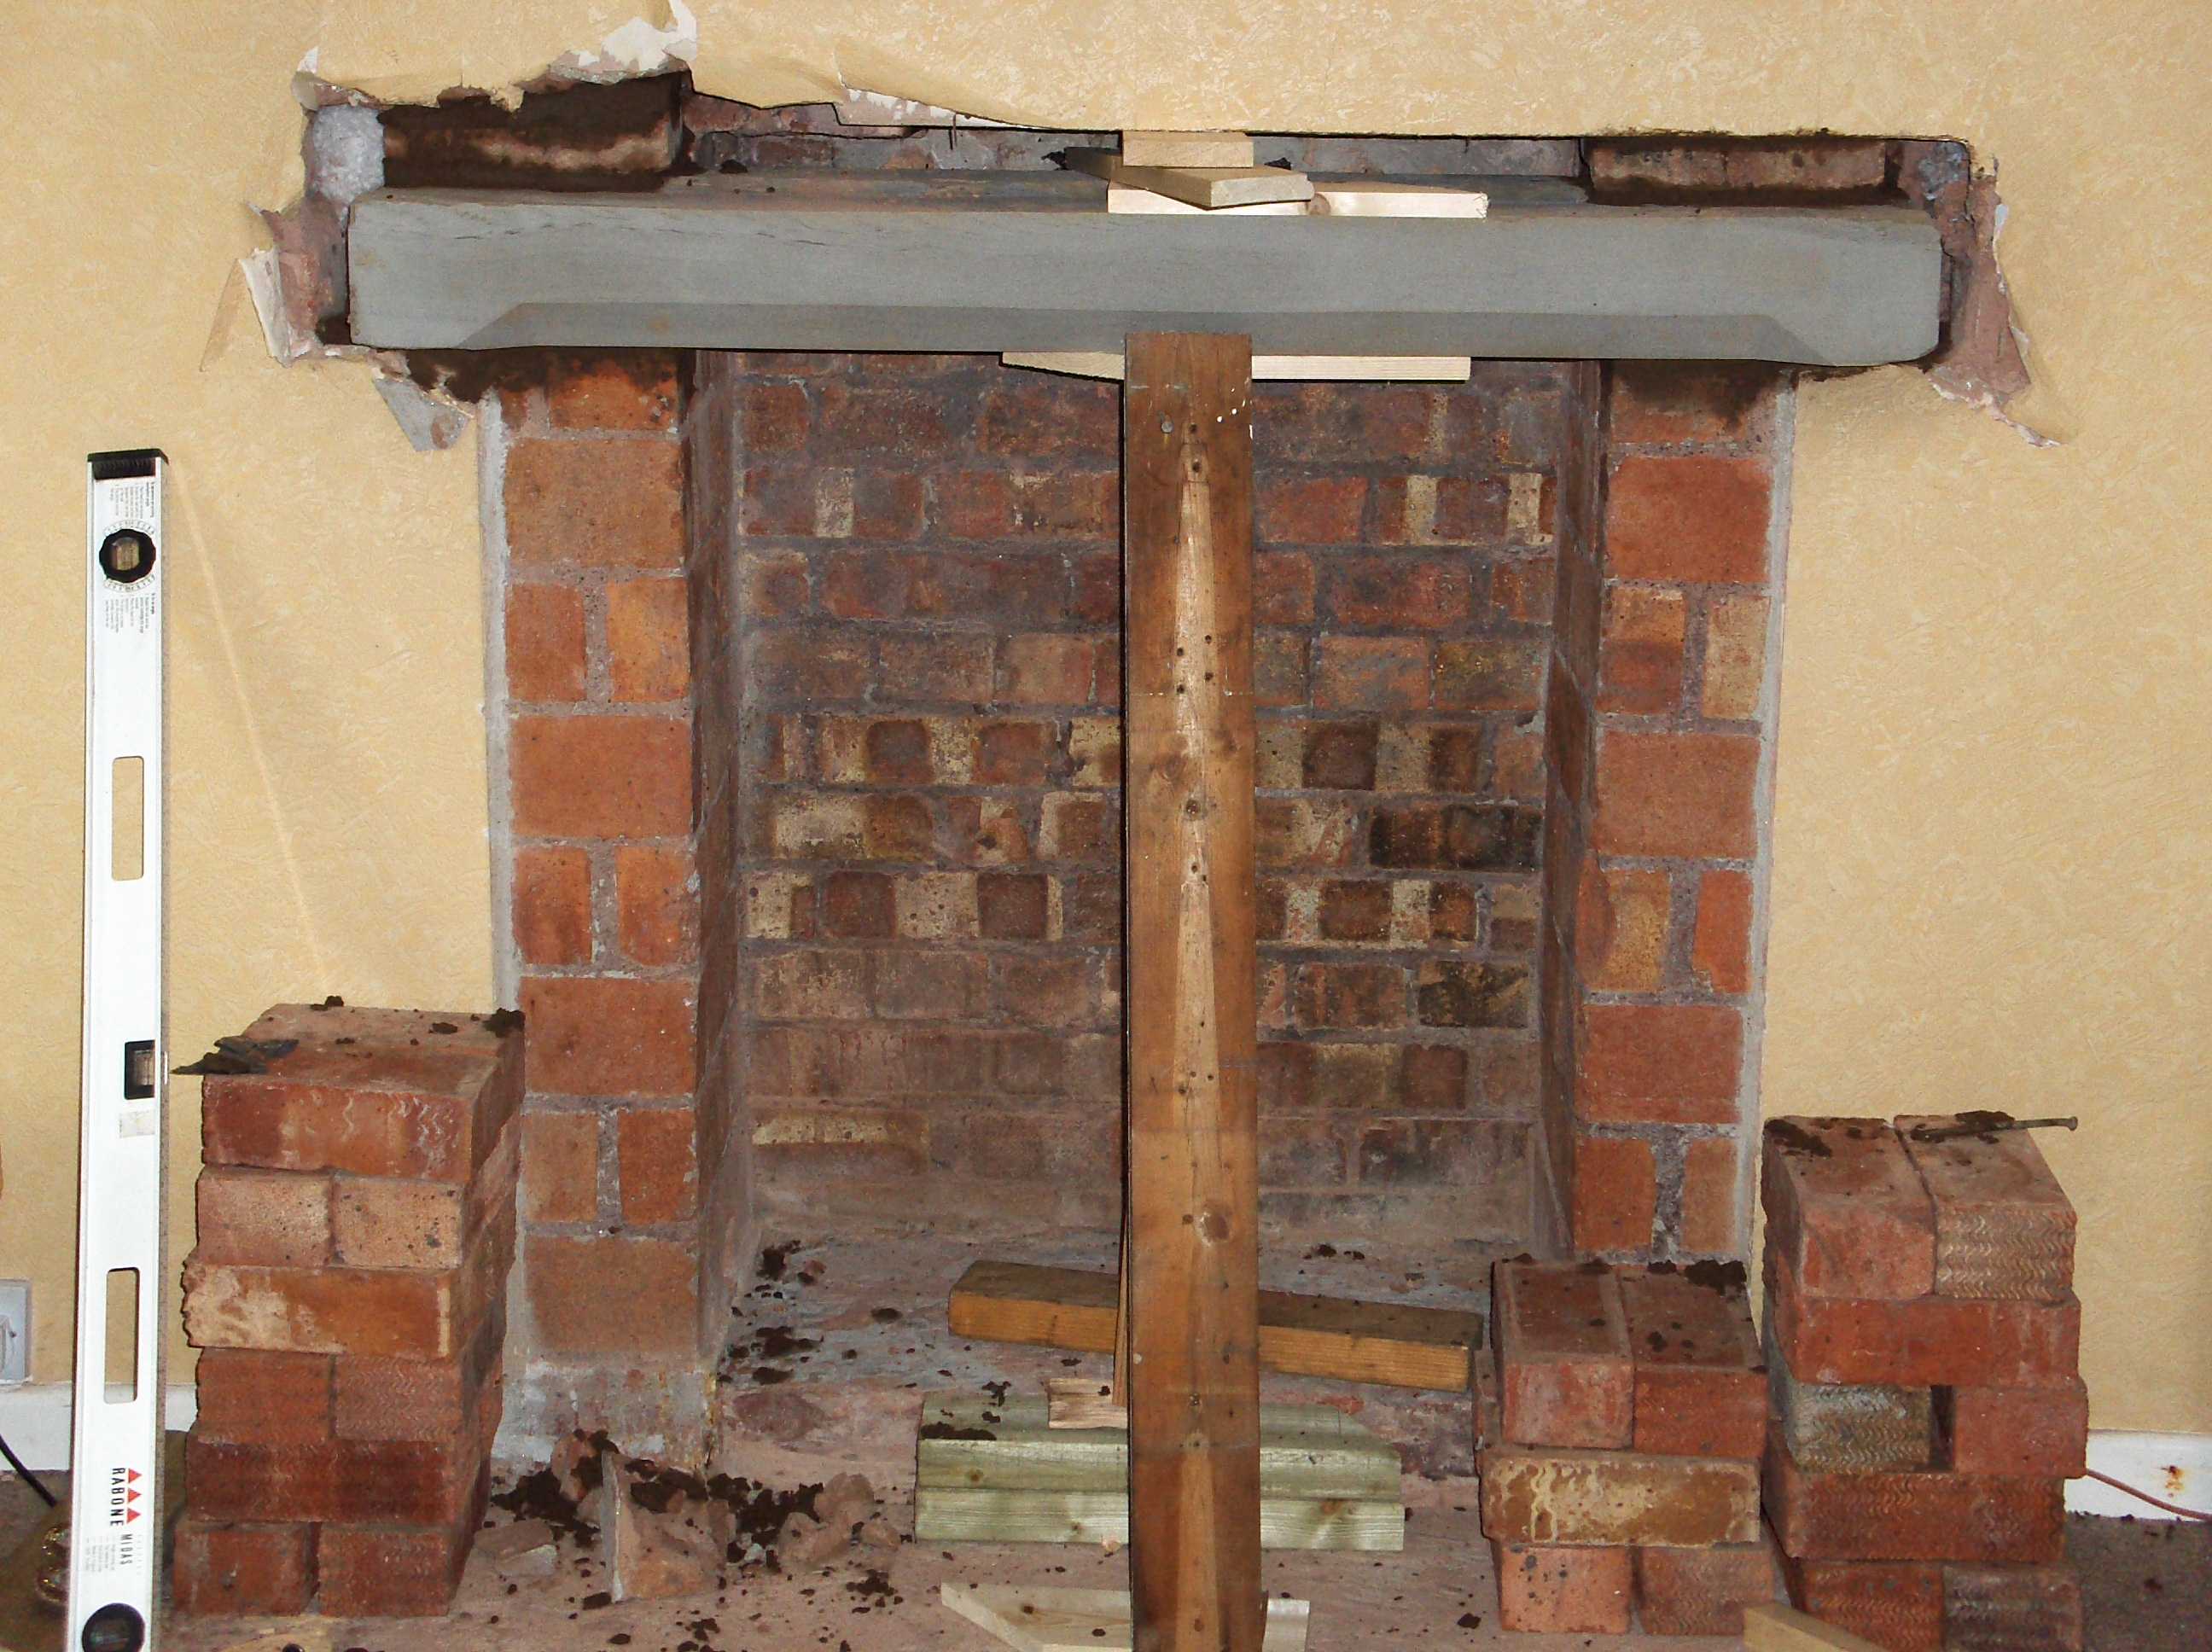
Underneath was brickwork not perfect but the sort of thing I had hoped for. So I shifted the rest in the fireplace and the cheeks either side of it. This picture shows most of the plaster removed just needs cleaning up.
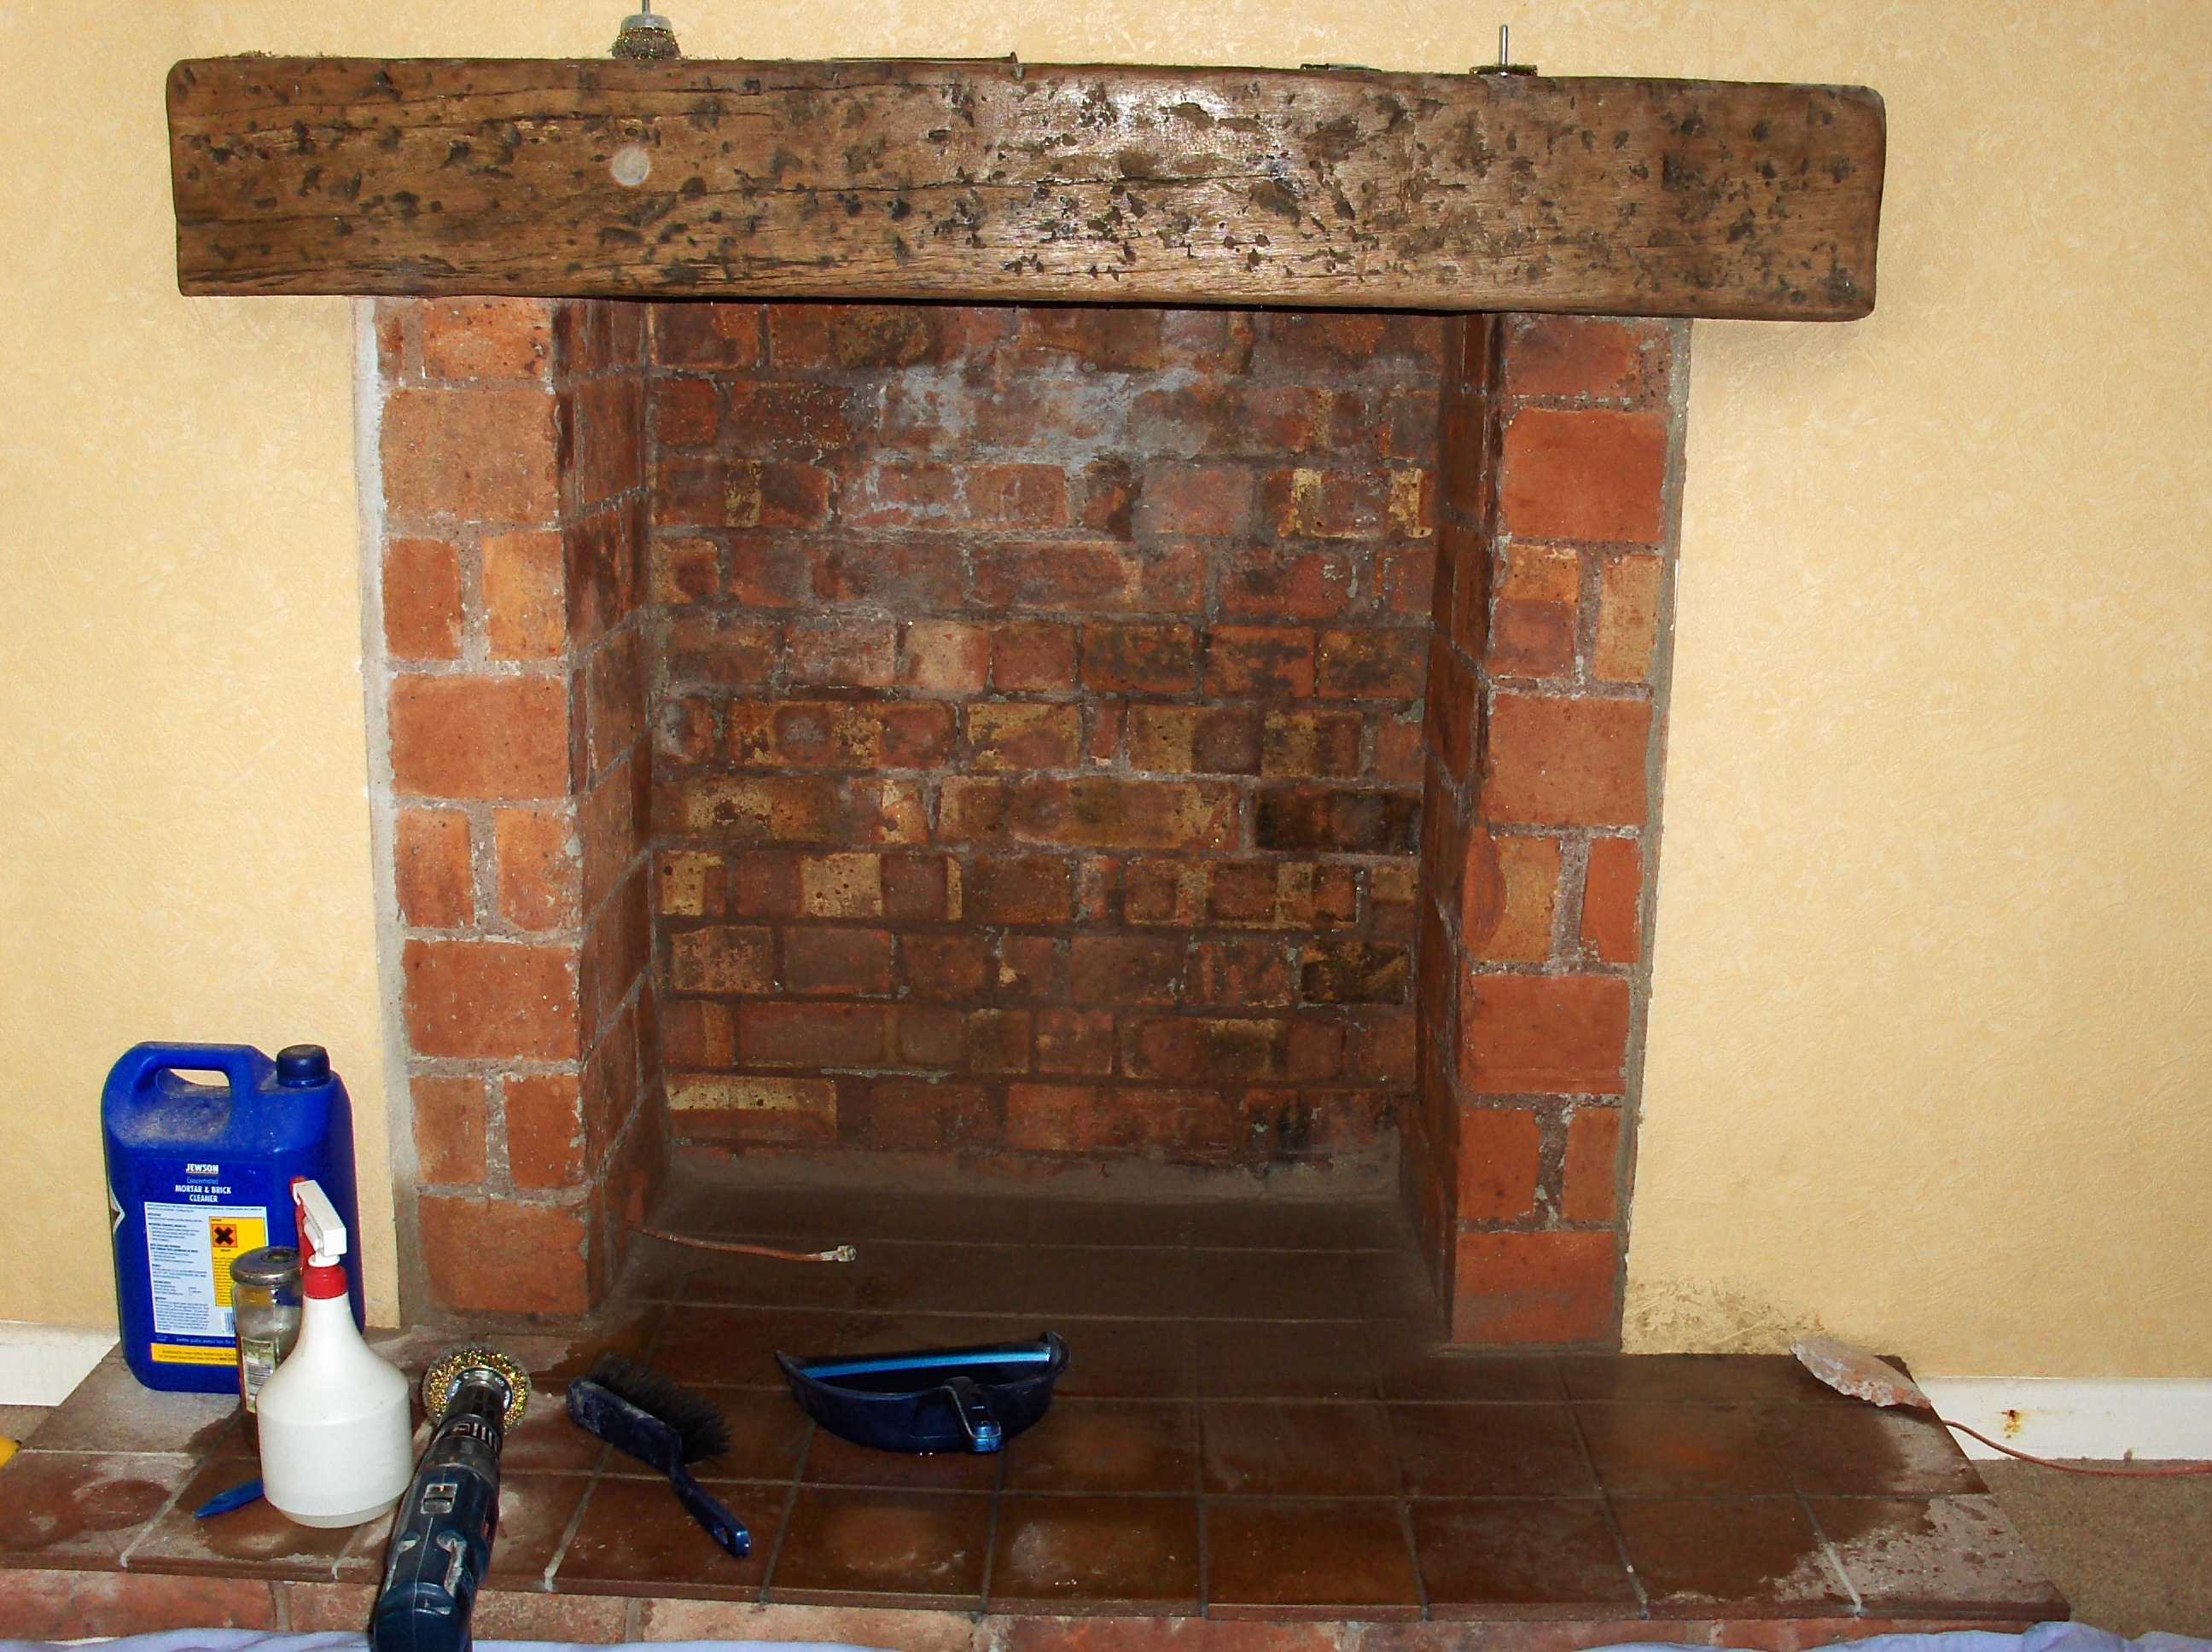
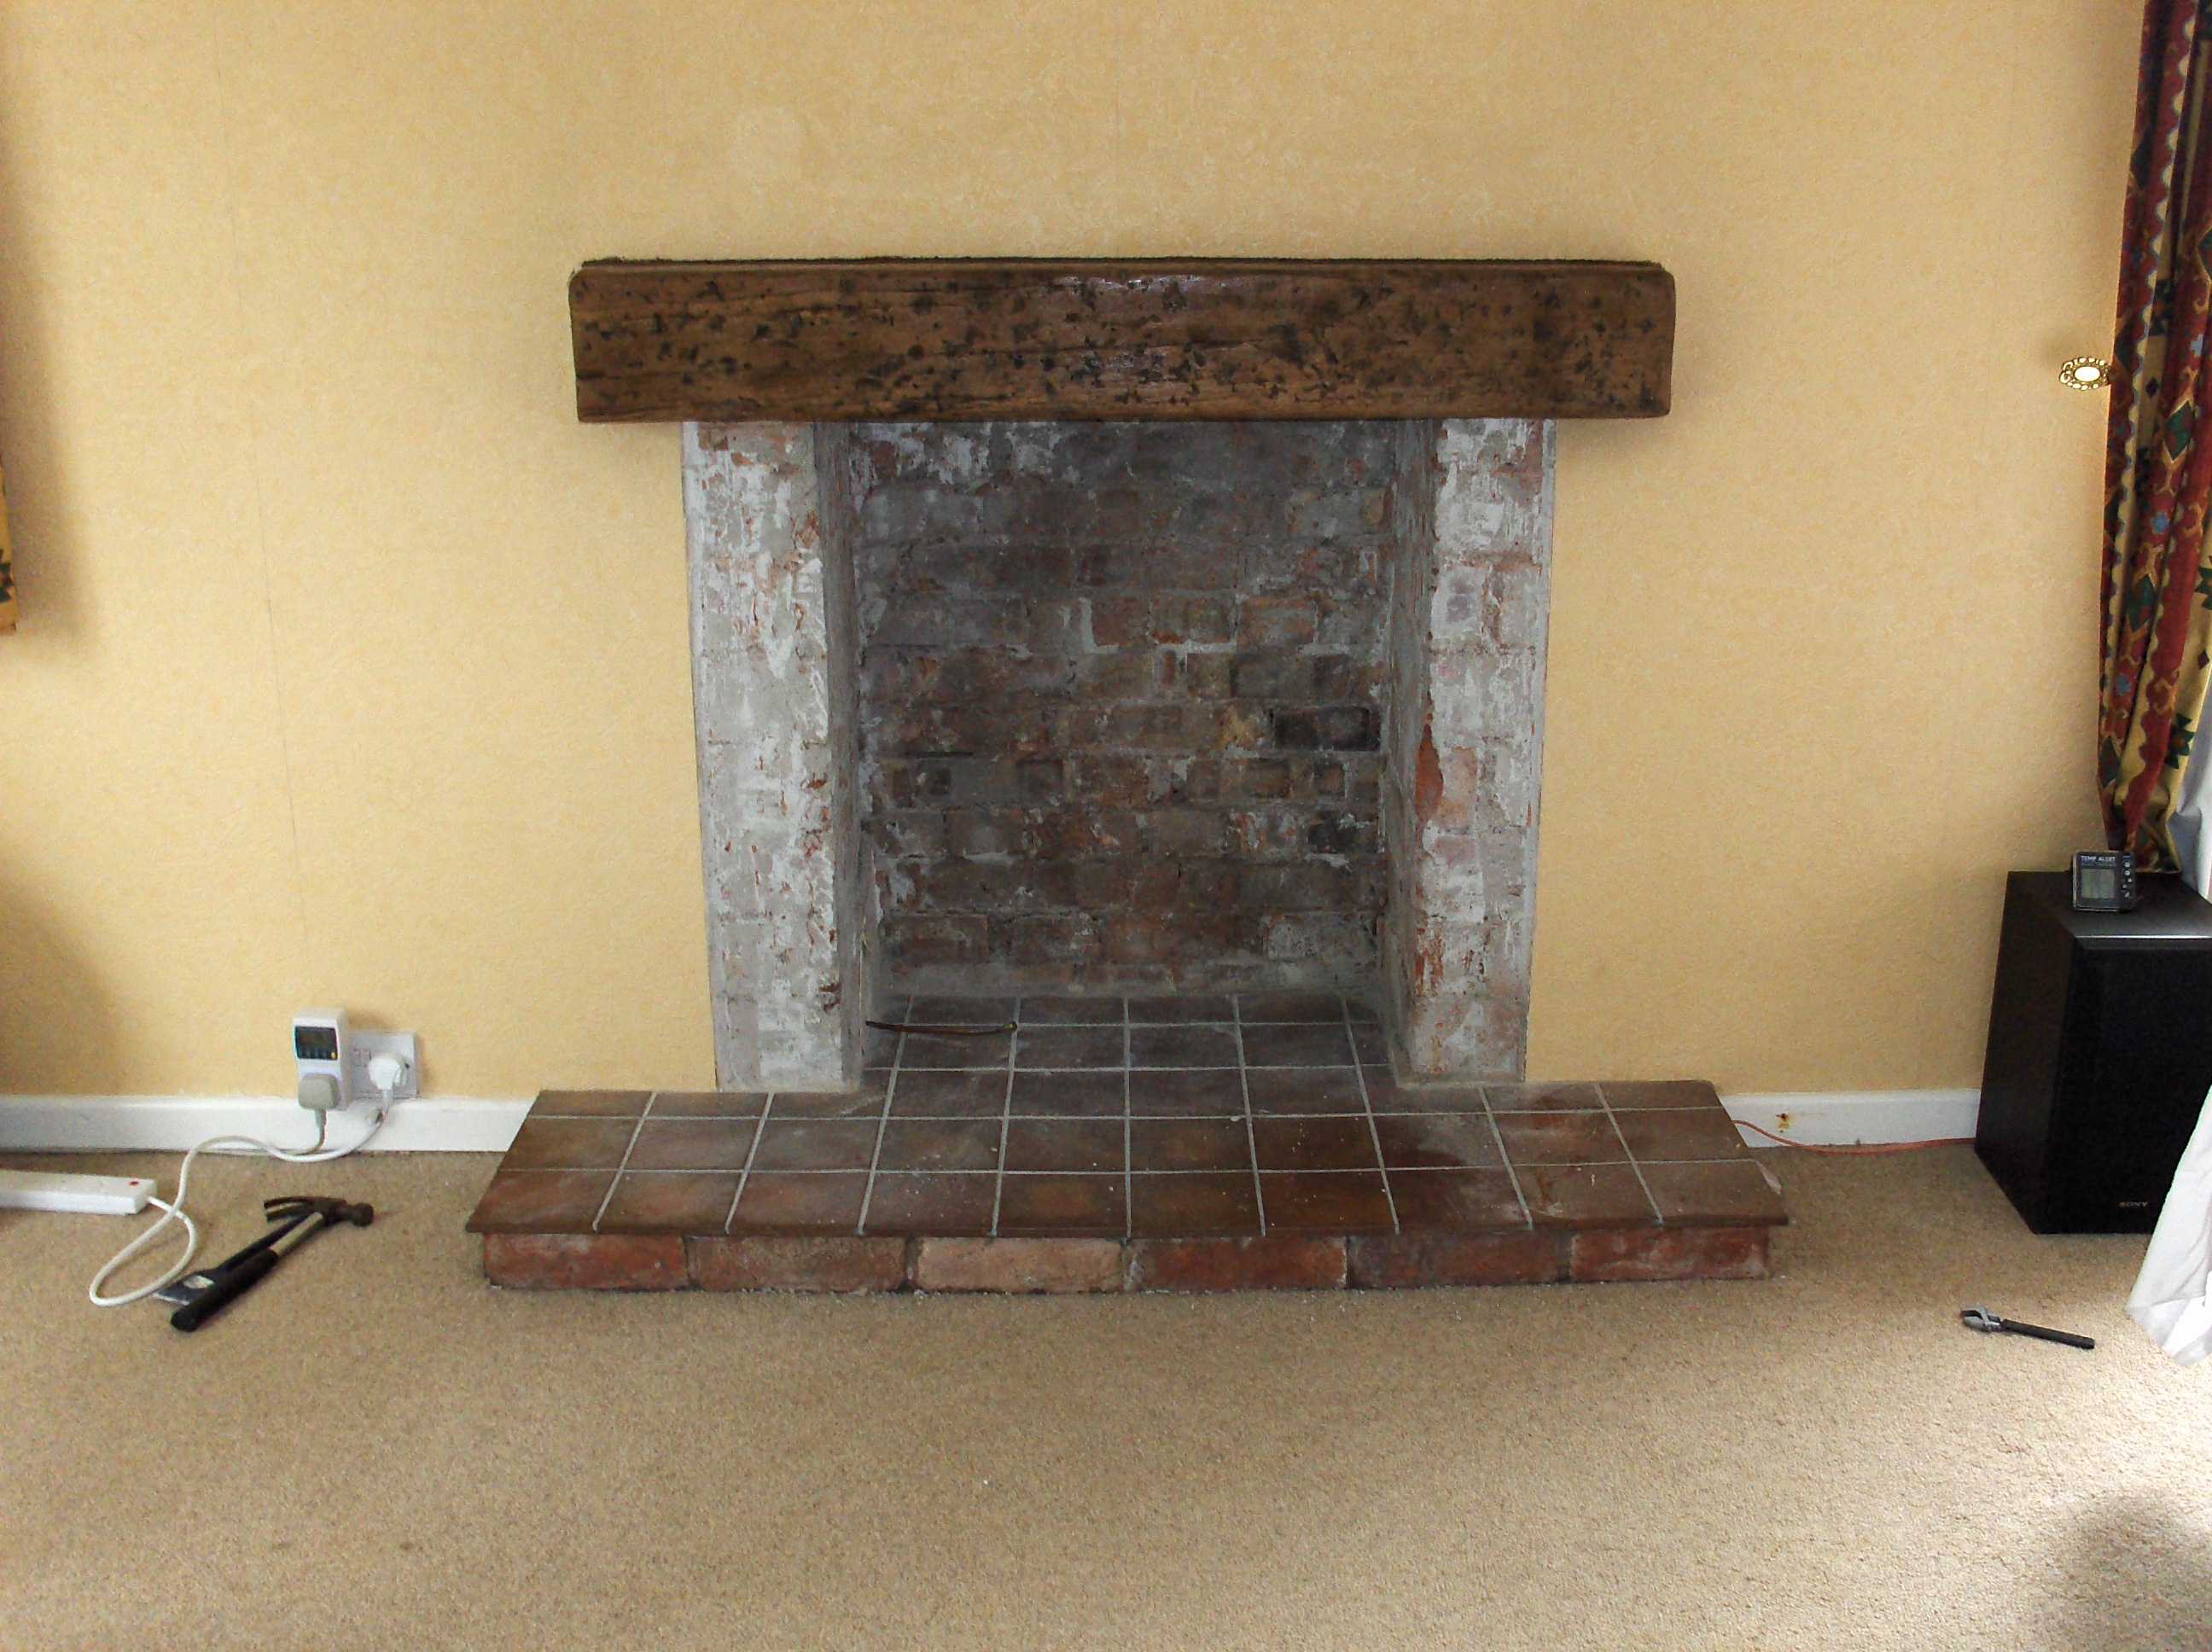
The plaster removed and brick cleaned up the original hearth is still there as is the Timber Lintel.
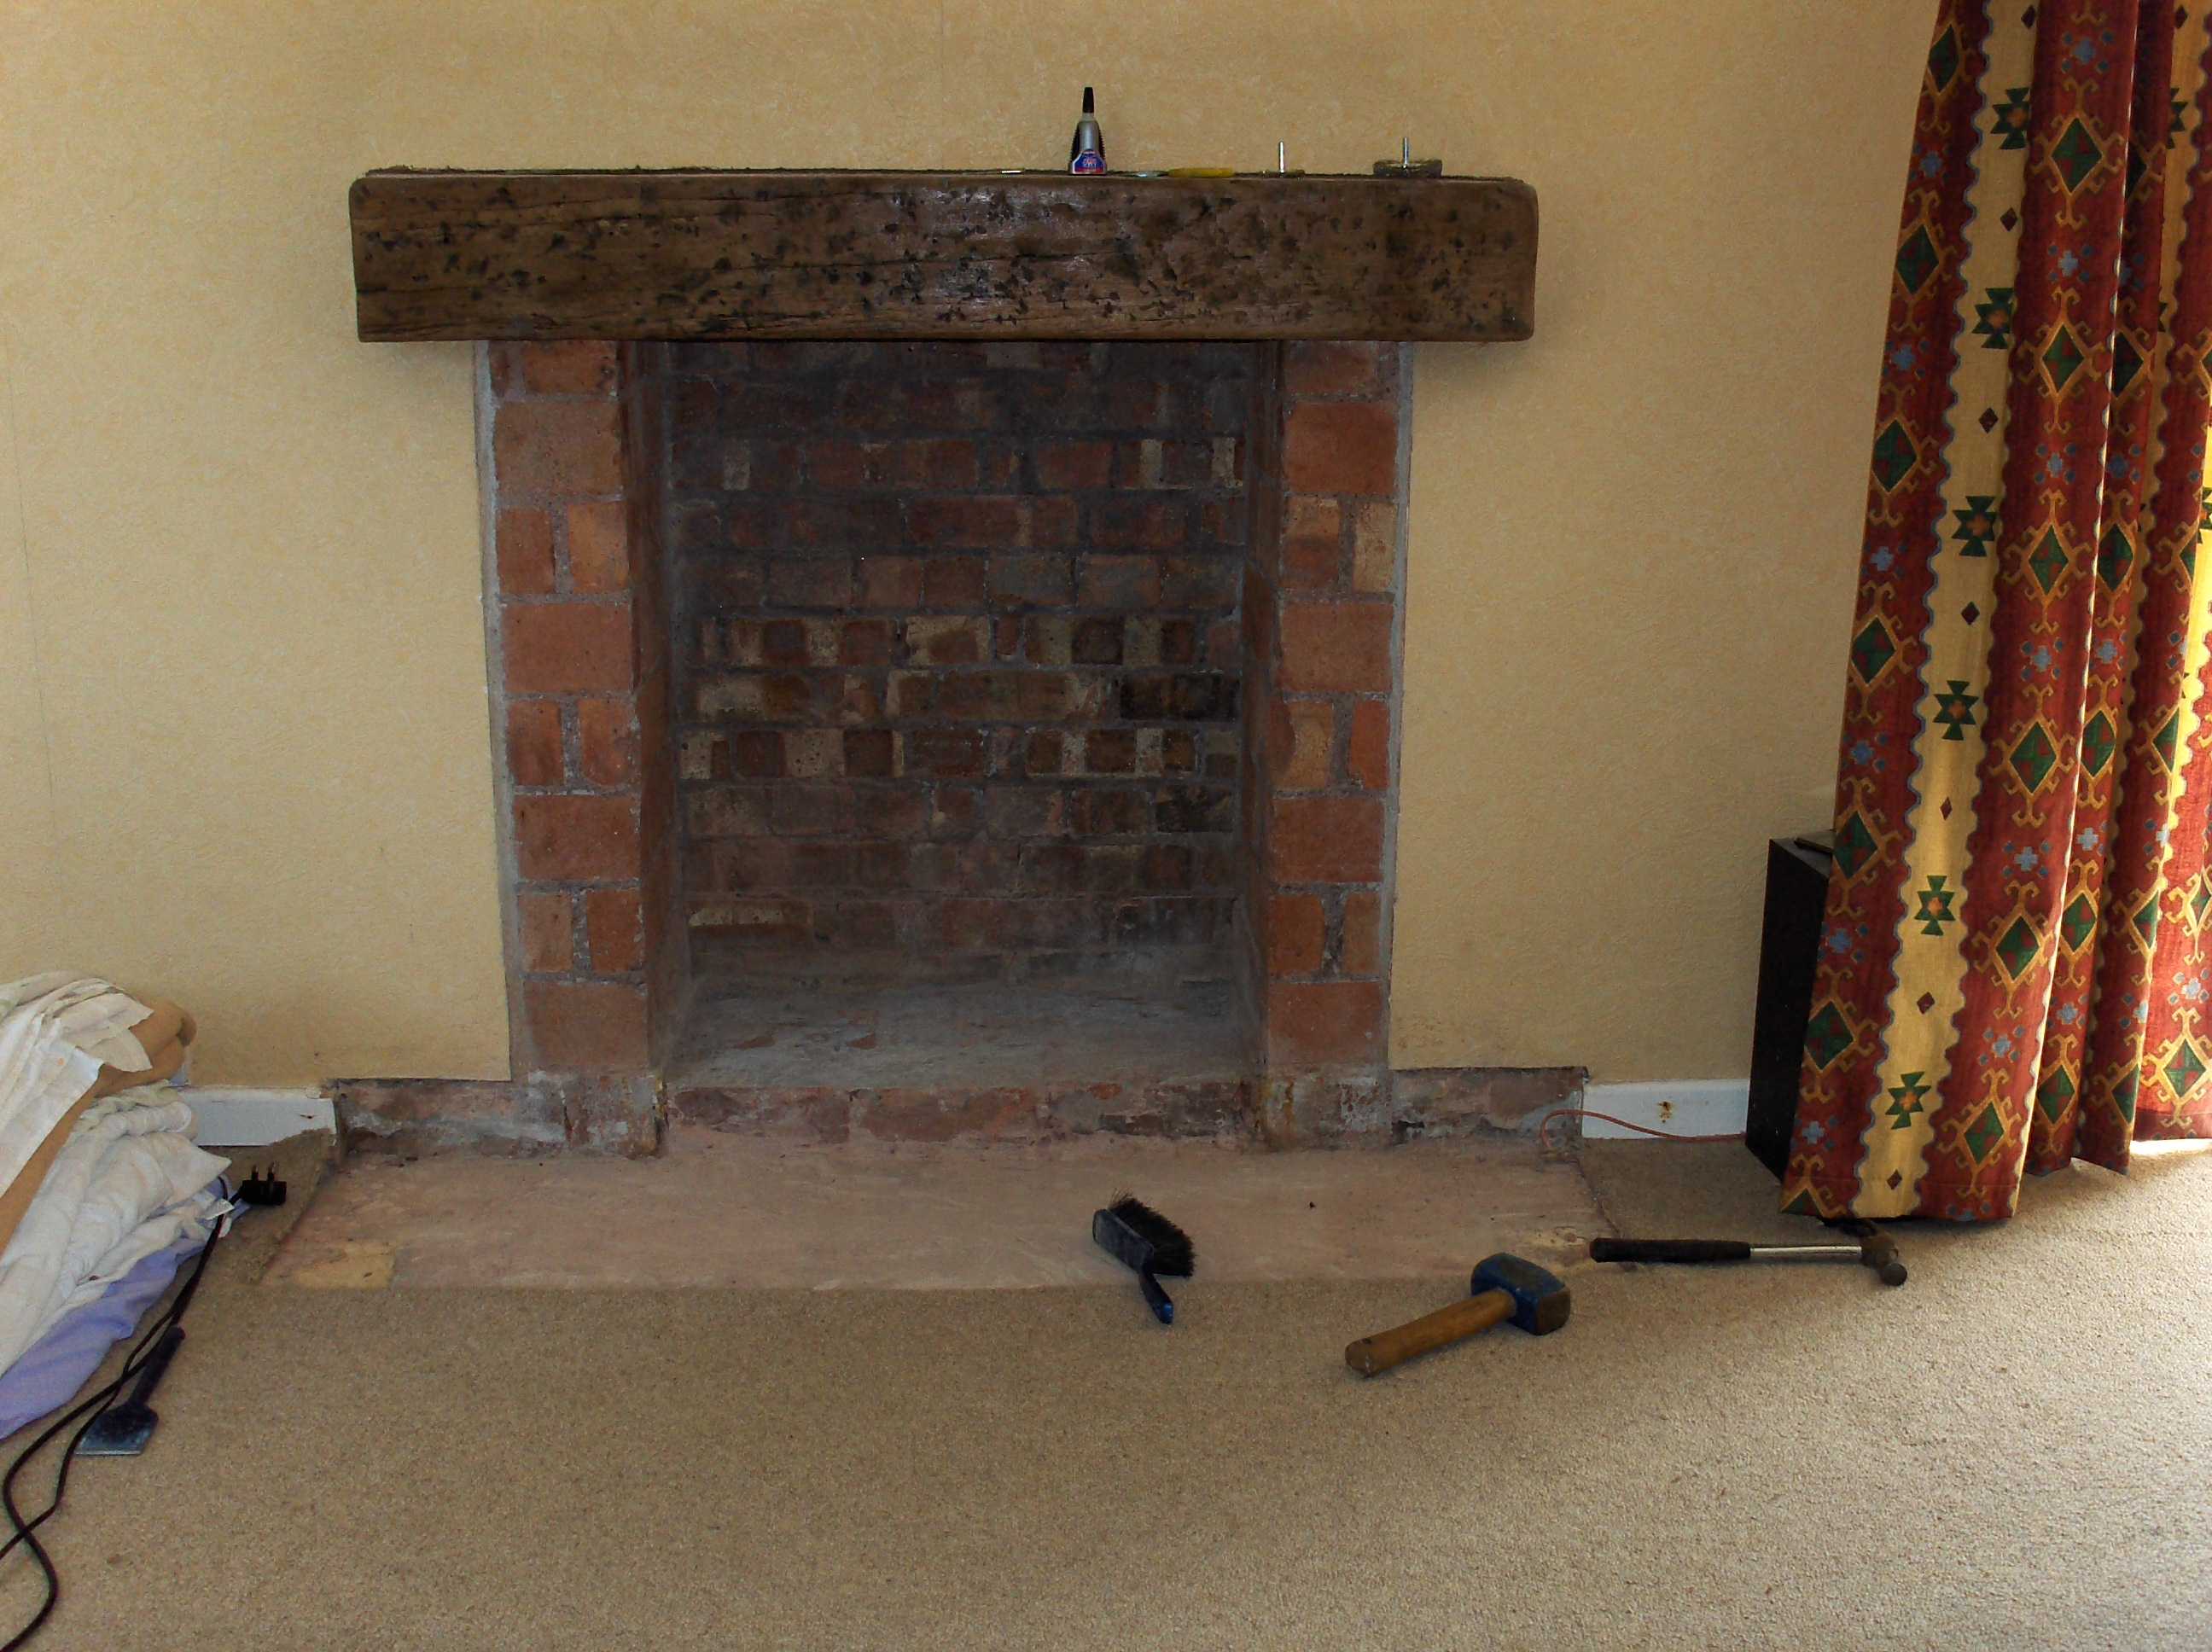
I next removed most of the original hearth I at this time was still thinking I was going to tile it as the original had been as i quite liked it. so I left the bit in the actually fireplace as this could be reused.
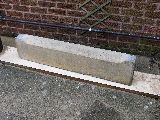
My Brother-in-Law is a bit of a part time builder amongst other things I asked him about the lintel and he took it upon himself to solve the lintel finding problem for me... (Nice Chap). He found this at Leominster reclamation. This had some rather nice weathered colouring but in the end I had to be harsh with it. BUGGER...
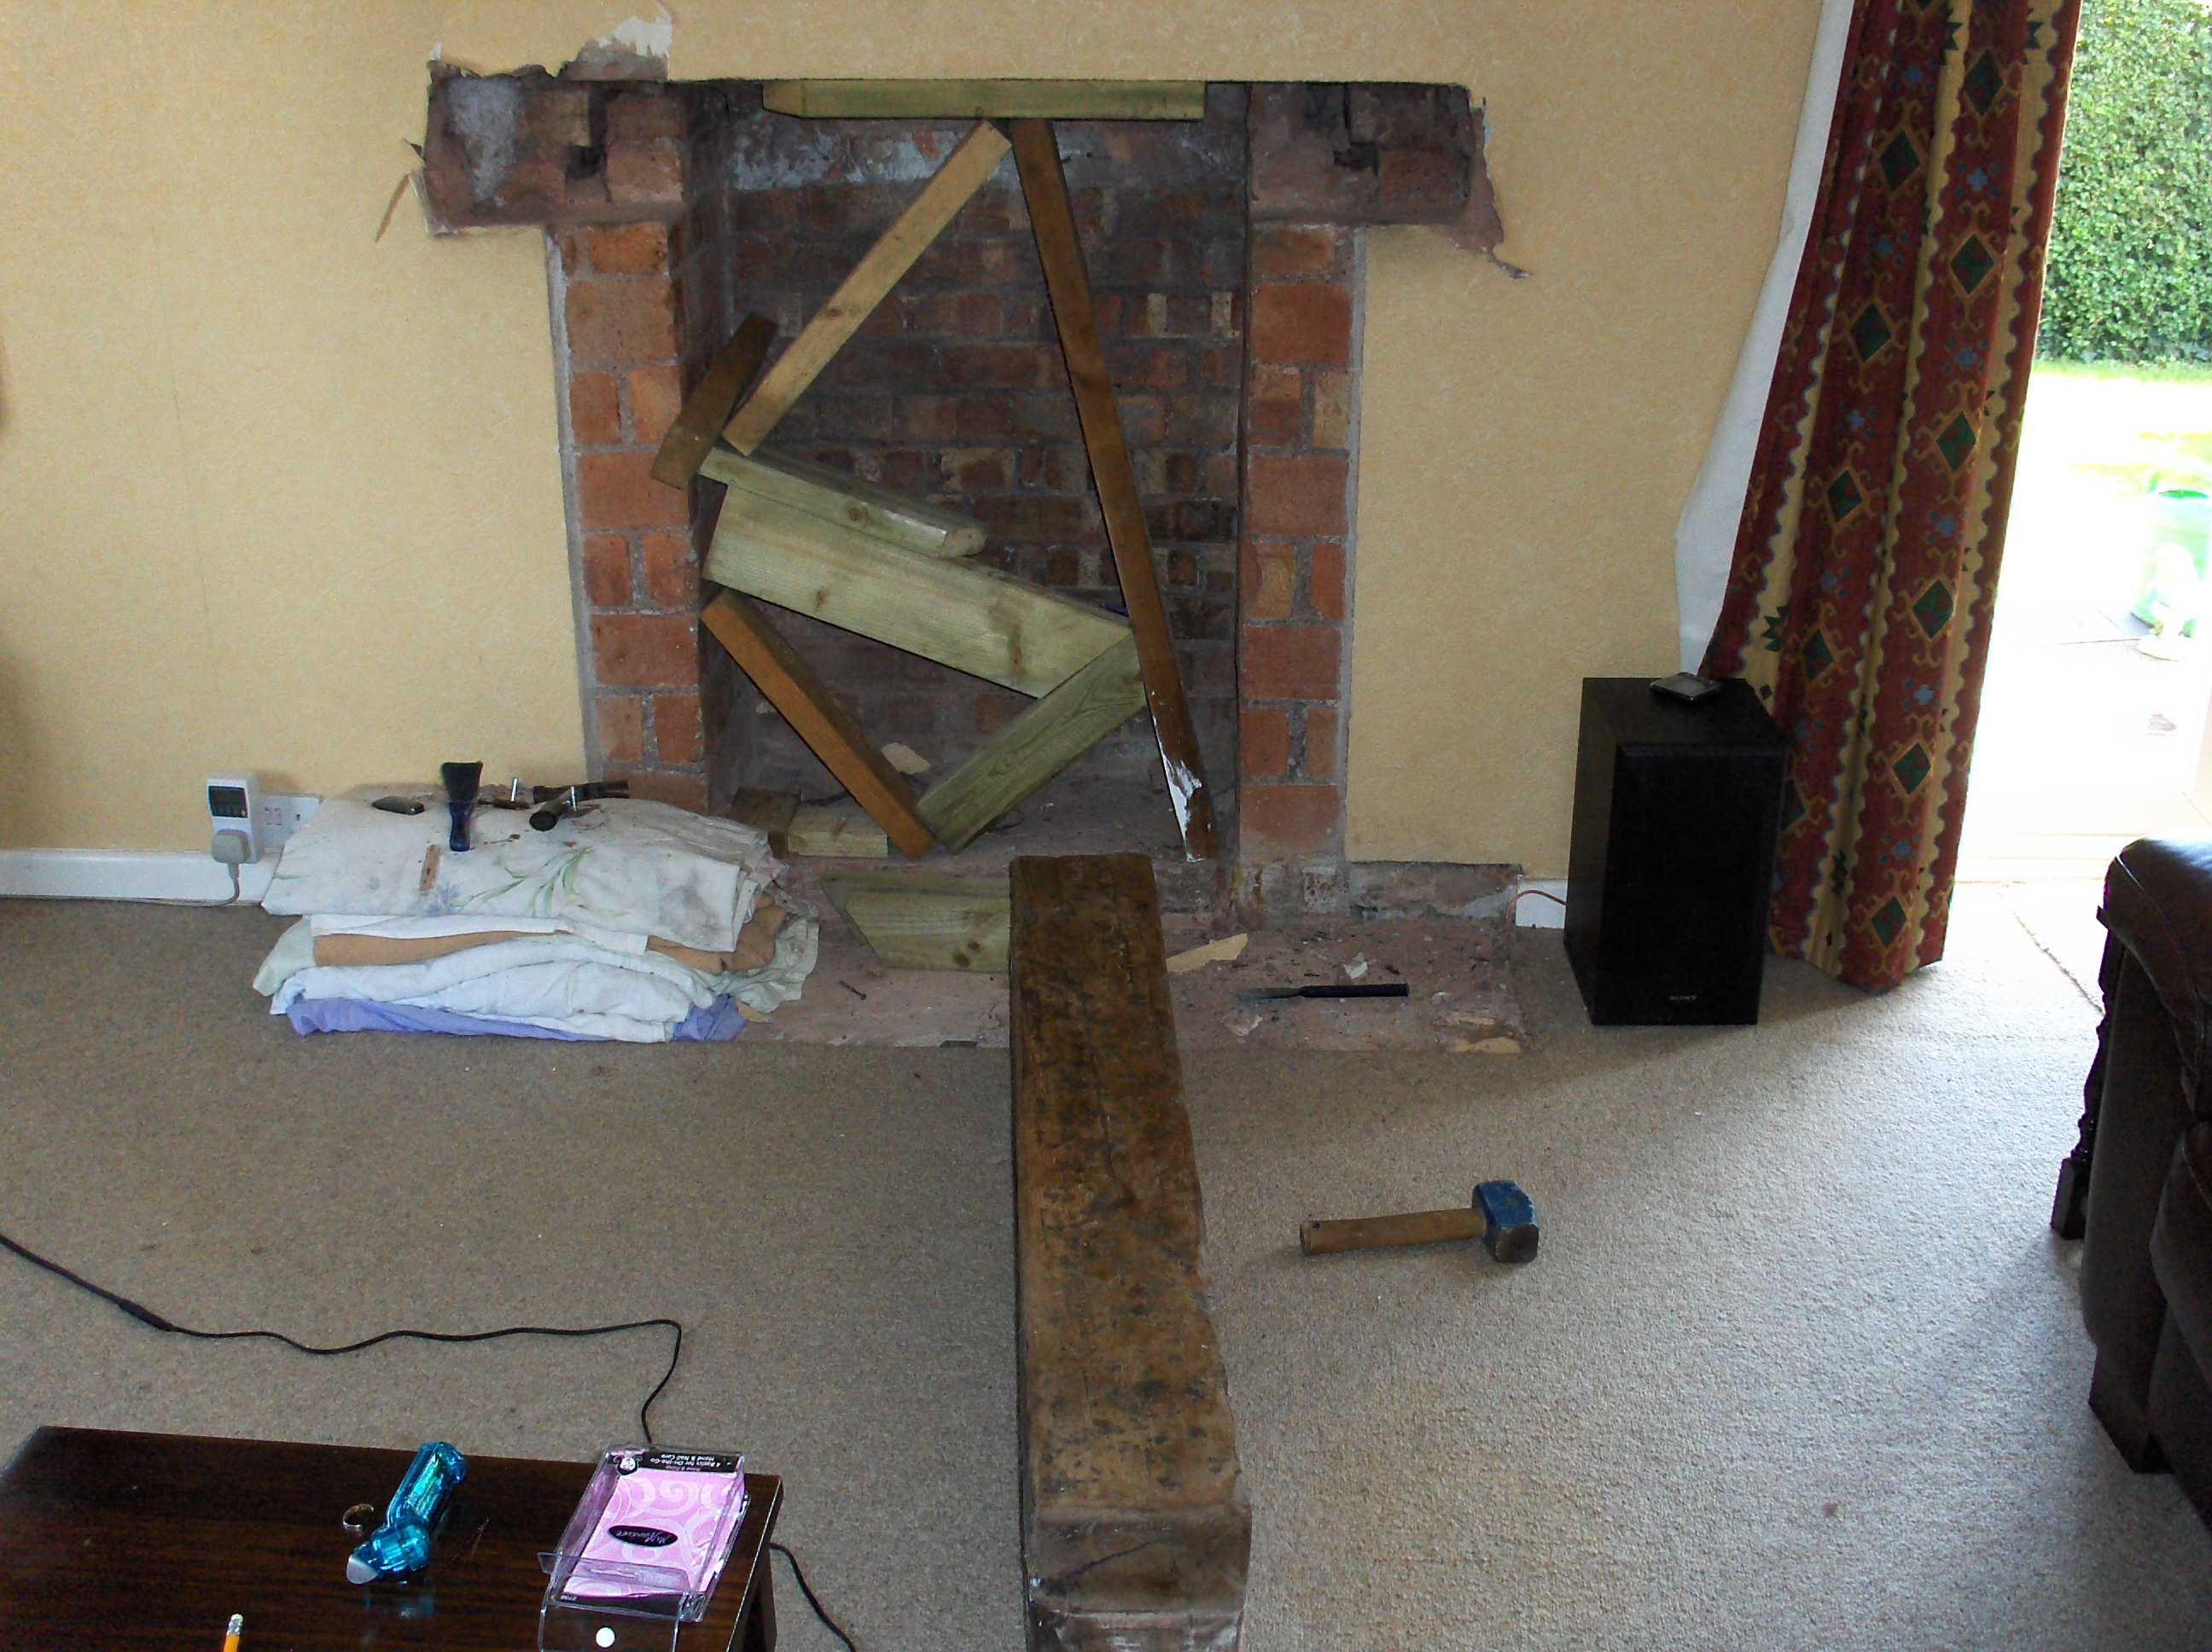
When I had finally finished the stone to my satisfaction I removed the timber lintel and supported the brickwork above. (scaffolding by the same chaps who did the bridge over the river Kwai)
Inserted the new stone lintel (mantelpiece) each end raised up on slate to level and allow for mortar and the center supporting the above brickwork.

Inserted slate to support and level lintel.
Mortar was packed under the lintel and cut bricks and mortar inserted above it. this was allowed to harden.
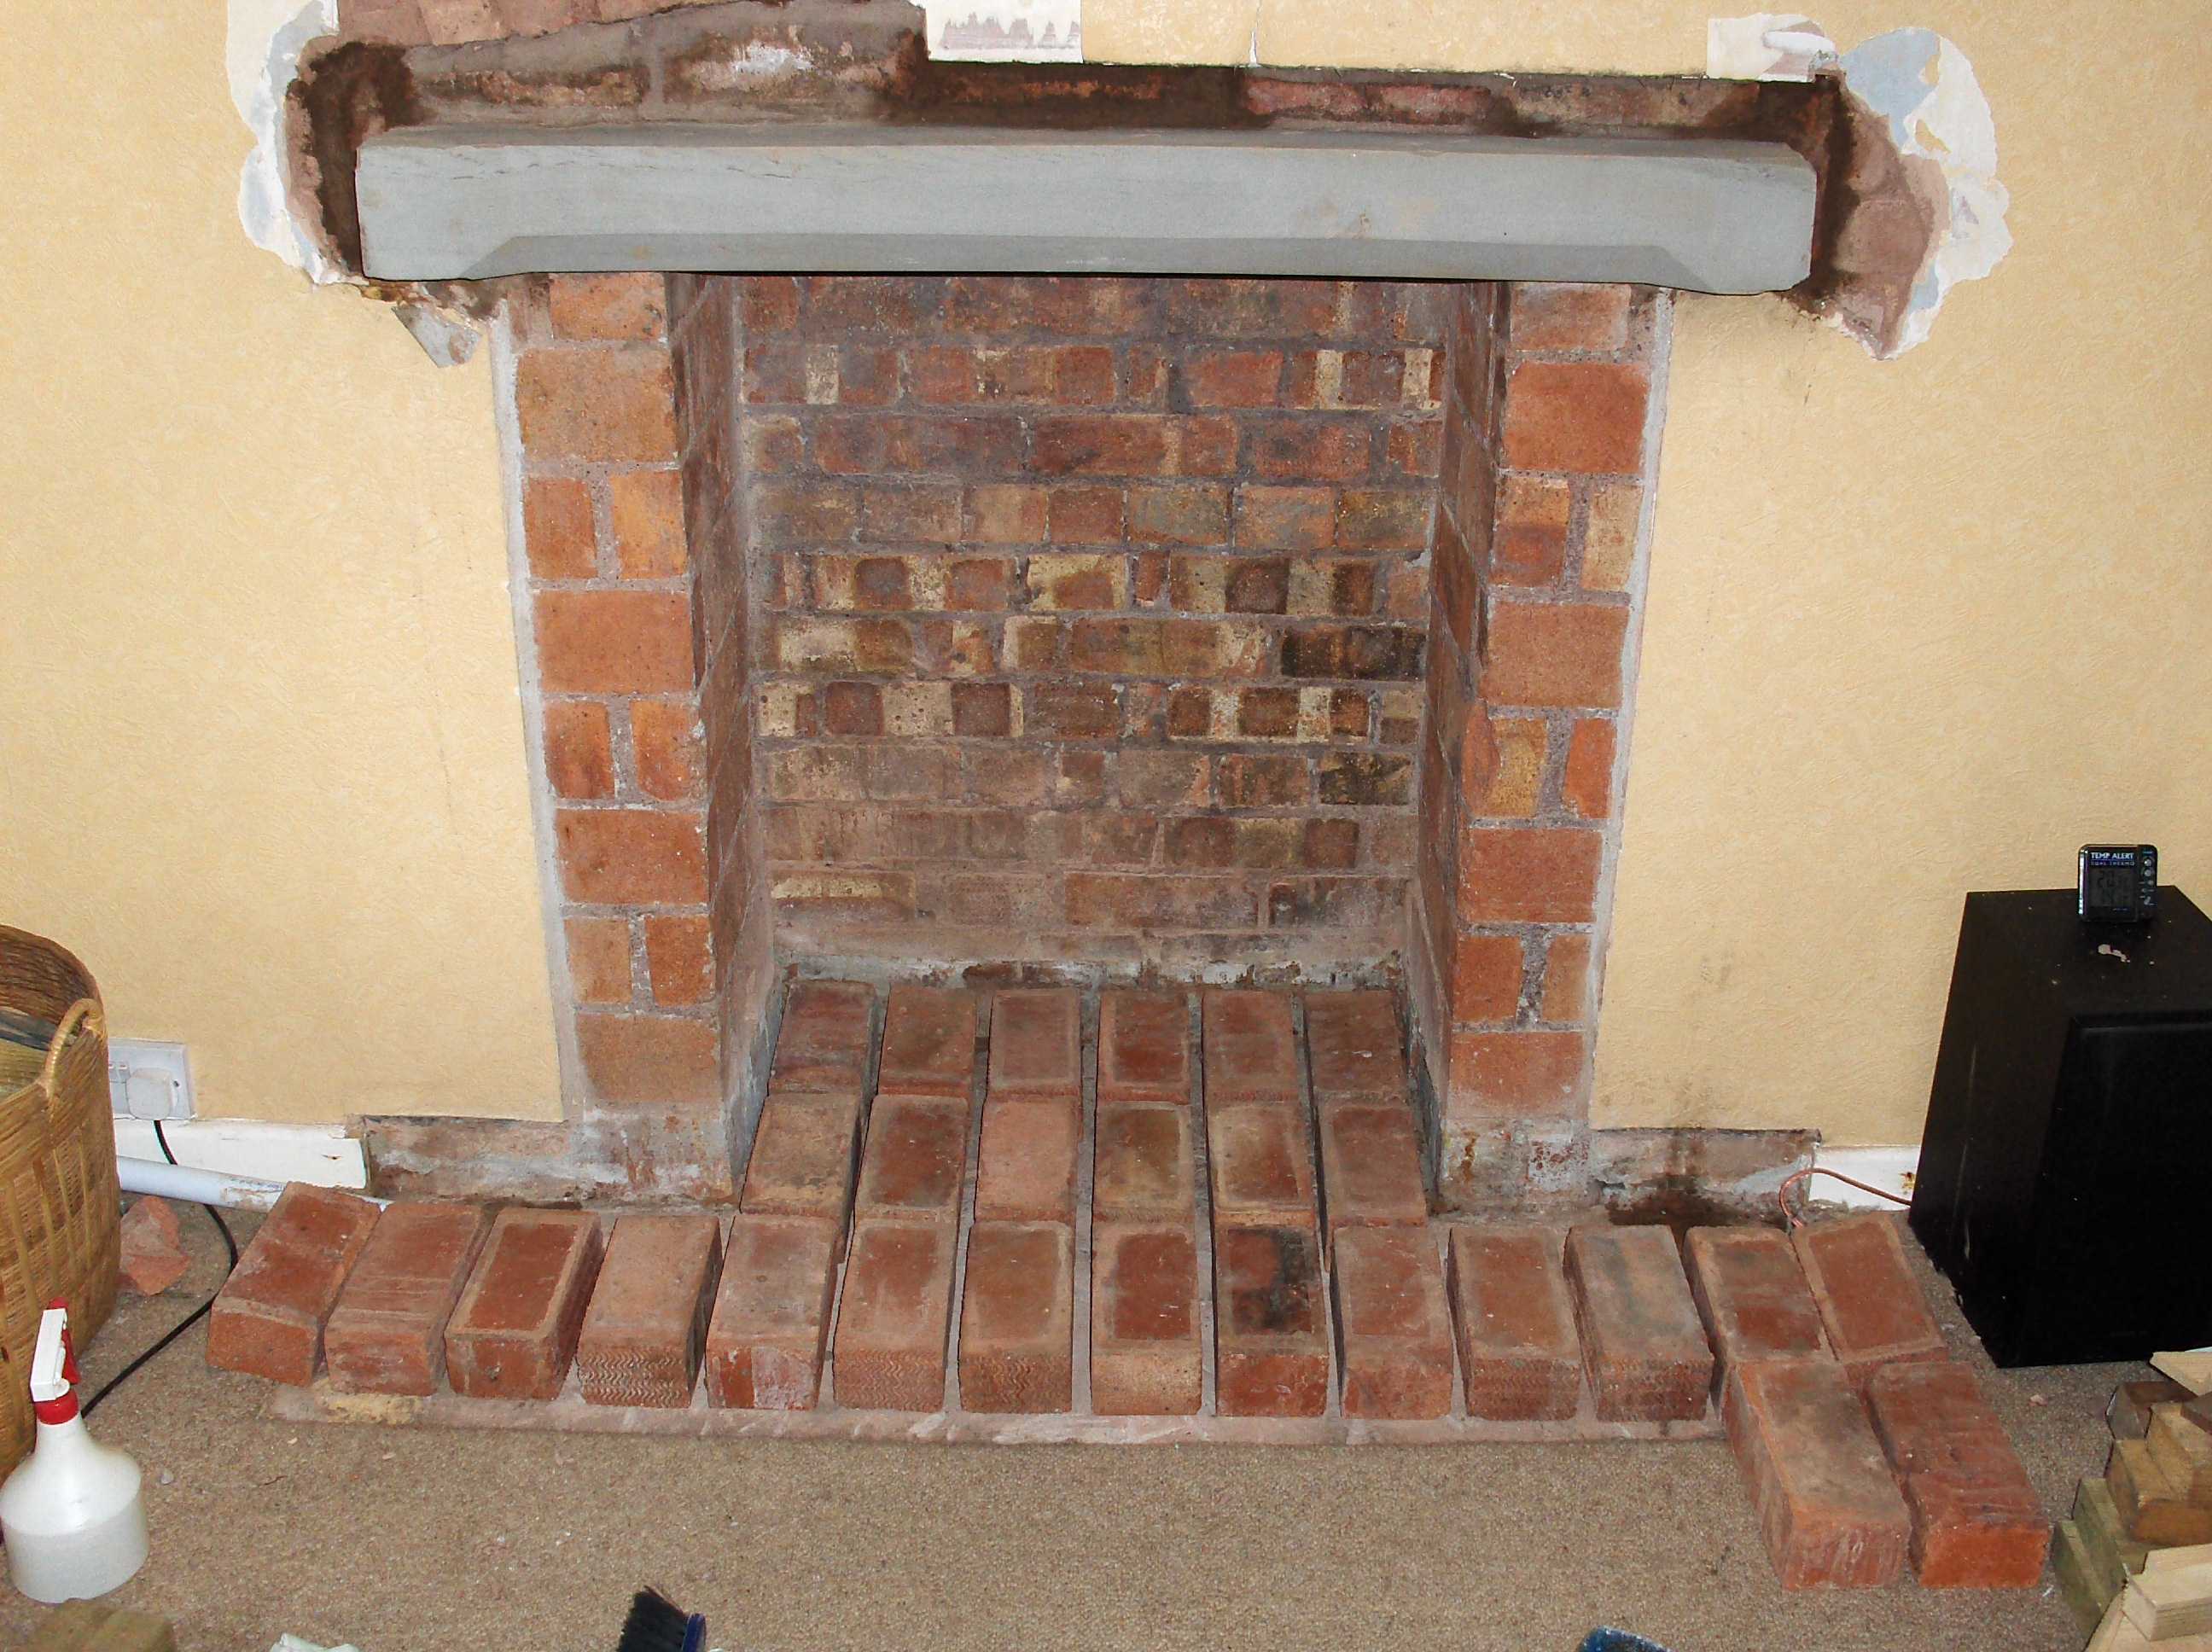
Supports removed and last couple of bricks and mortar done. You can see I am already thinking about what i am going to do with the hearth. I have removed the rest of the bricks that were the old hearth and am thinking about using just the bricks.
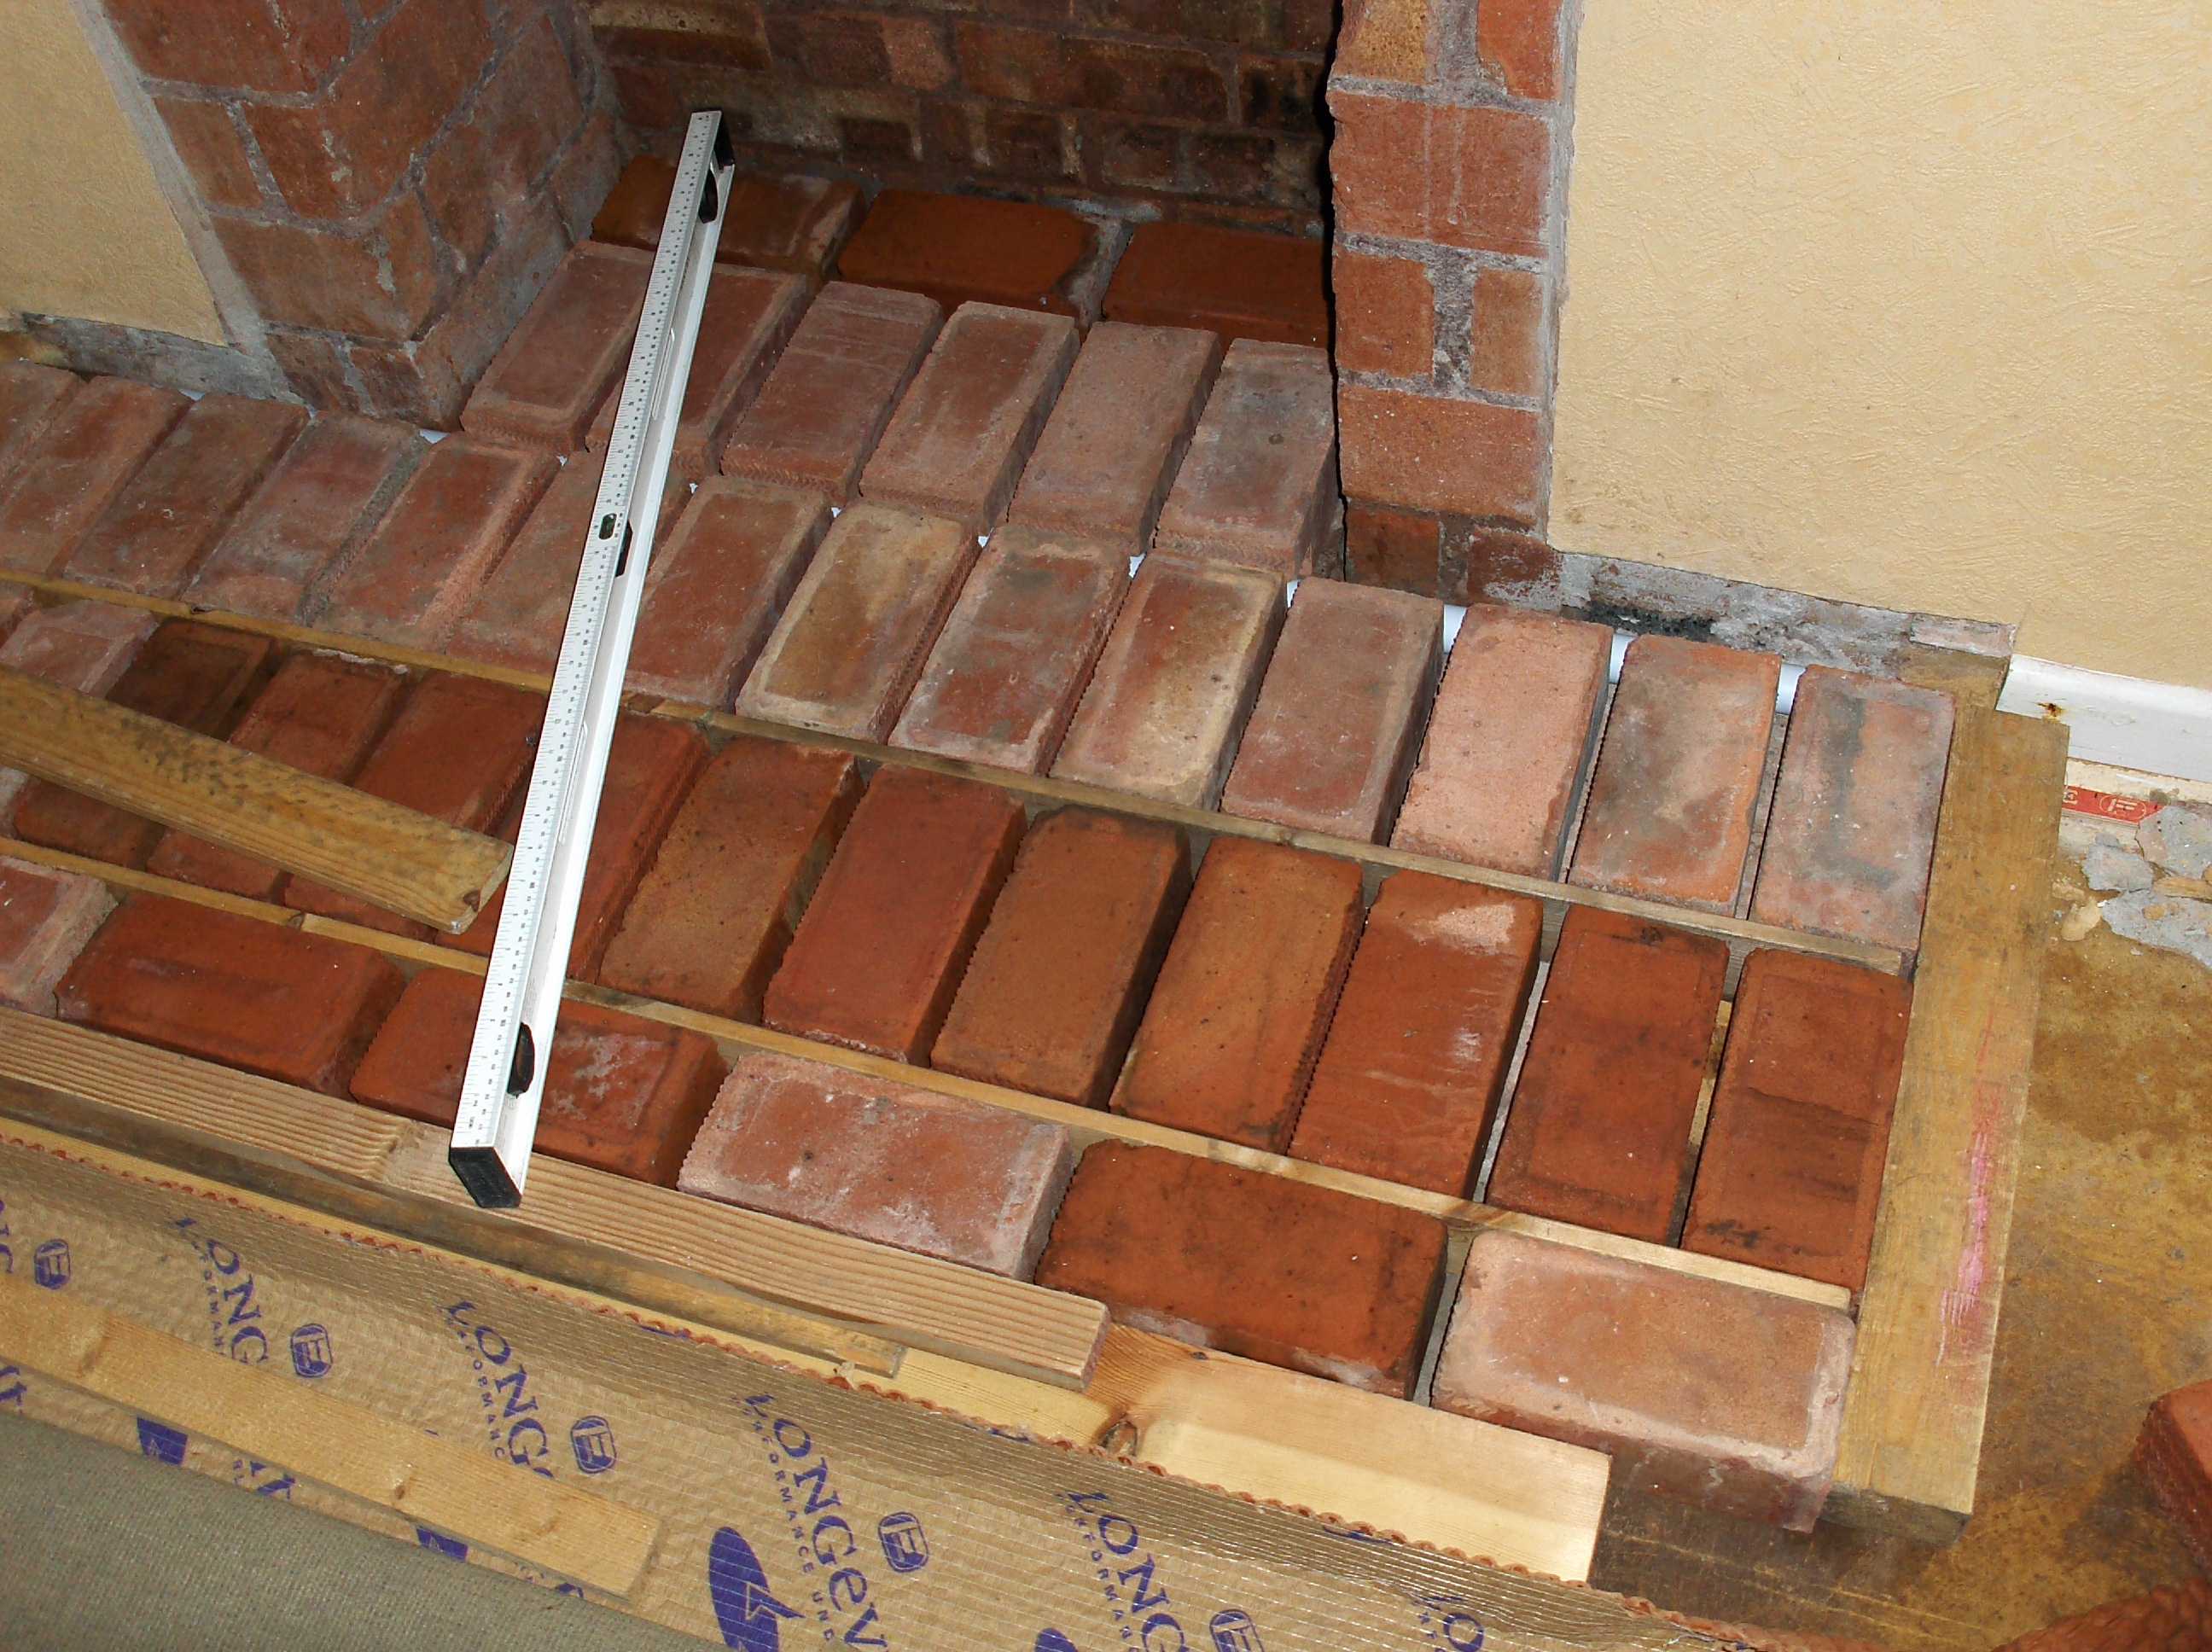
Finally decided on this arrangement of bricks and the wood between the bricks helped me keep everything lined up the wood at the front of what will be the hearth (picture foreground) it to help me get the bricks level and flat. If this is not the correct method remember I am neither a bricky or a plasterer I'm an electronics engineer and I don't actually give a rats ass as it worked for me :-)
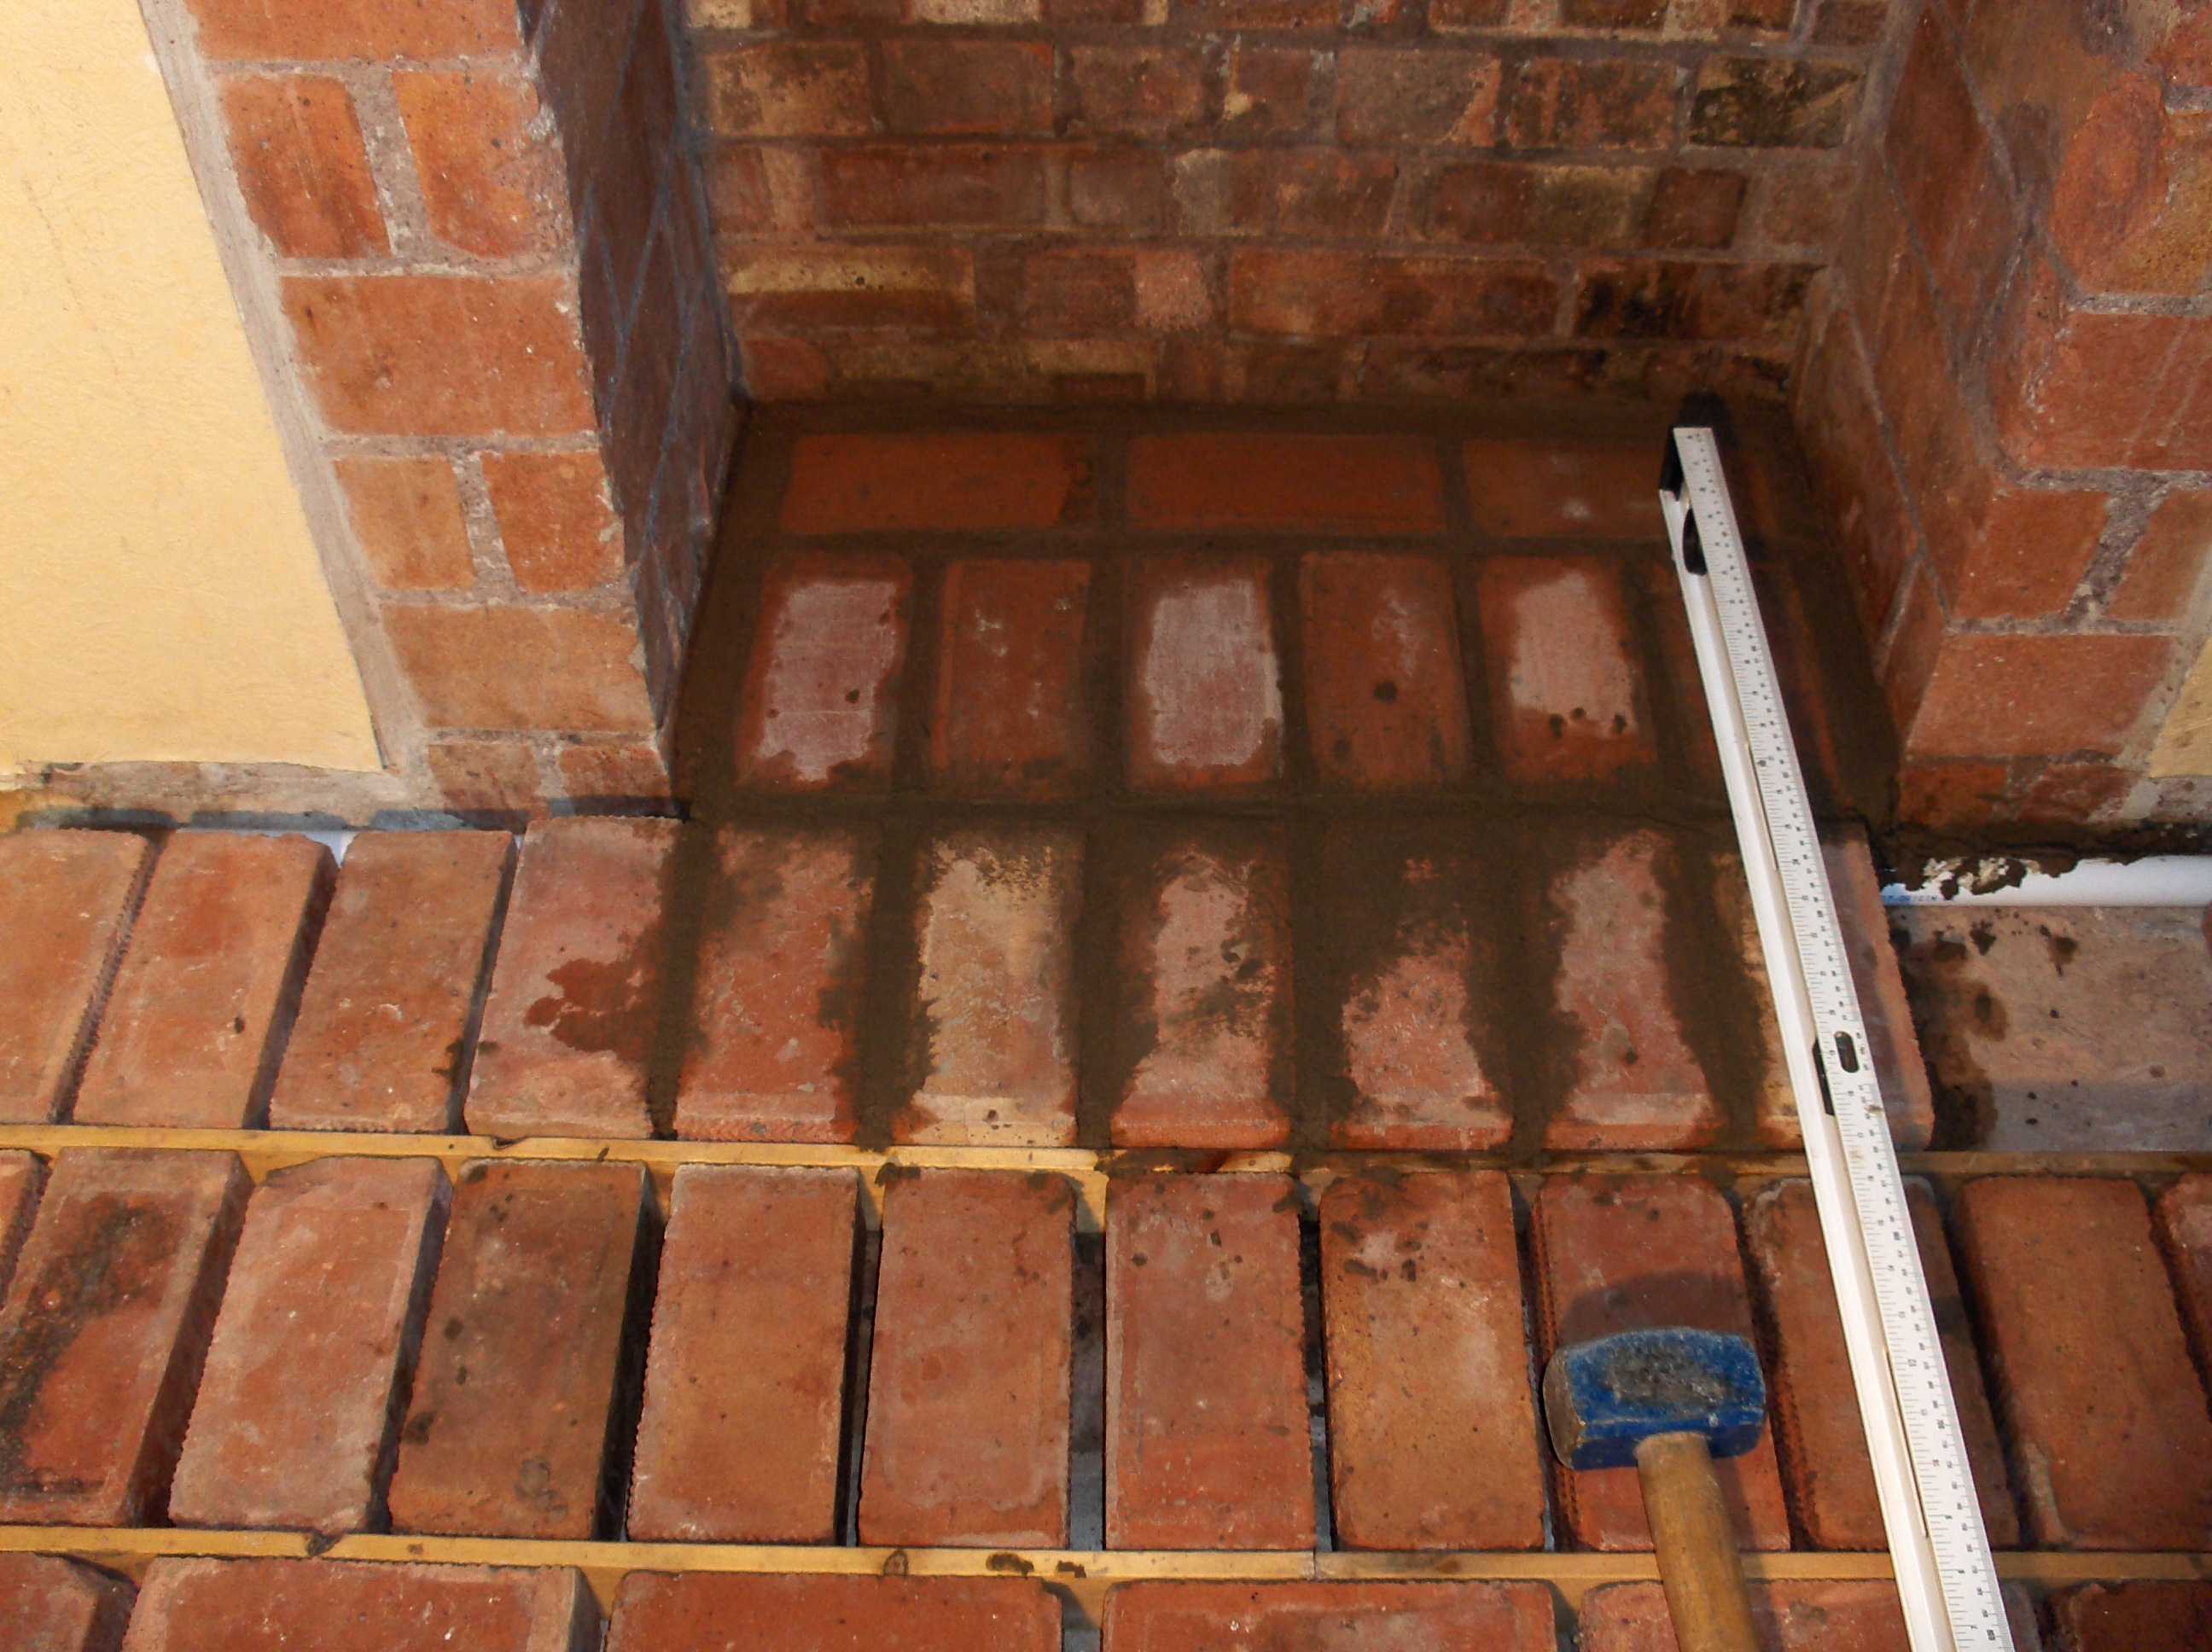
As I said i left the wood spacing and the unplaced bricks in place to help me get the lines straight. I did the back bricks first made them level to my wood datum and the just filled in the rest checking they were flat and level.
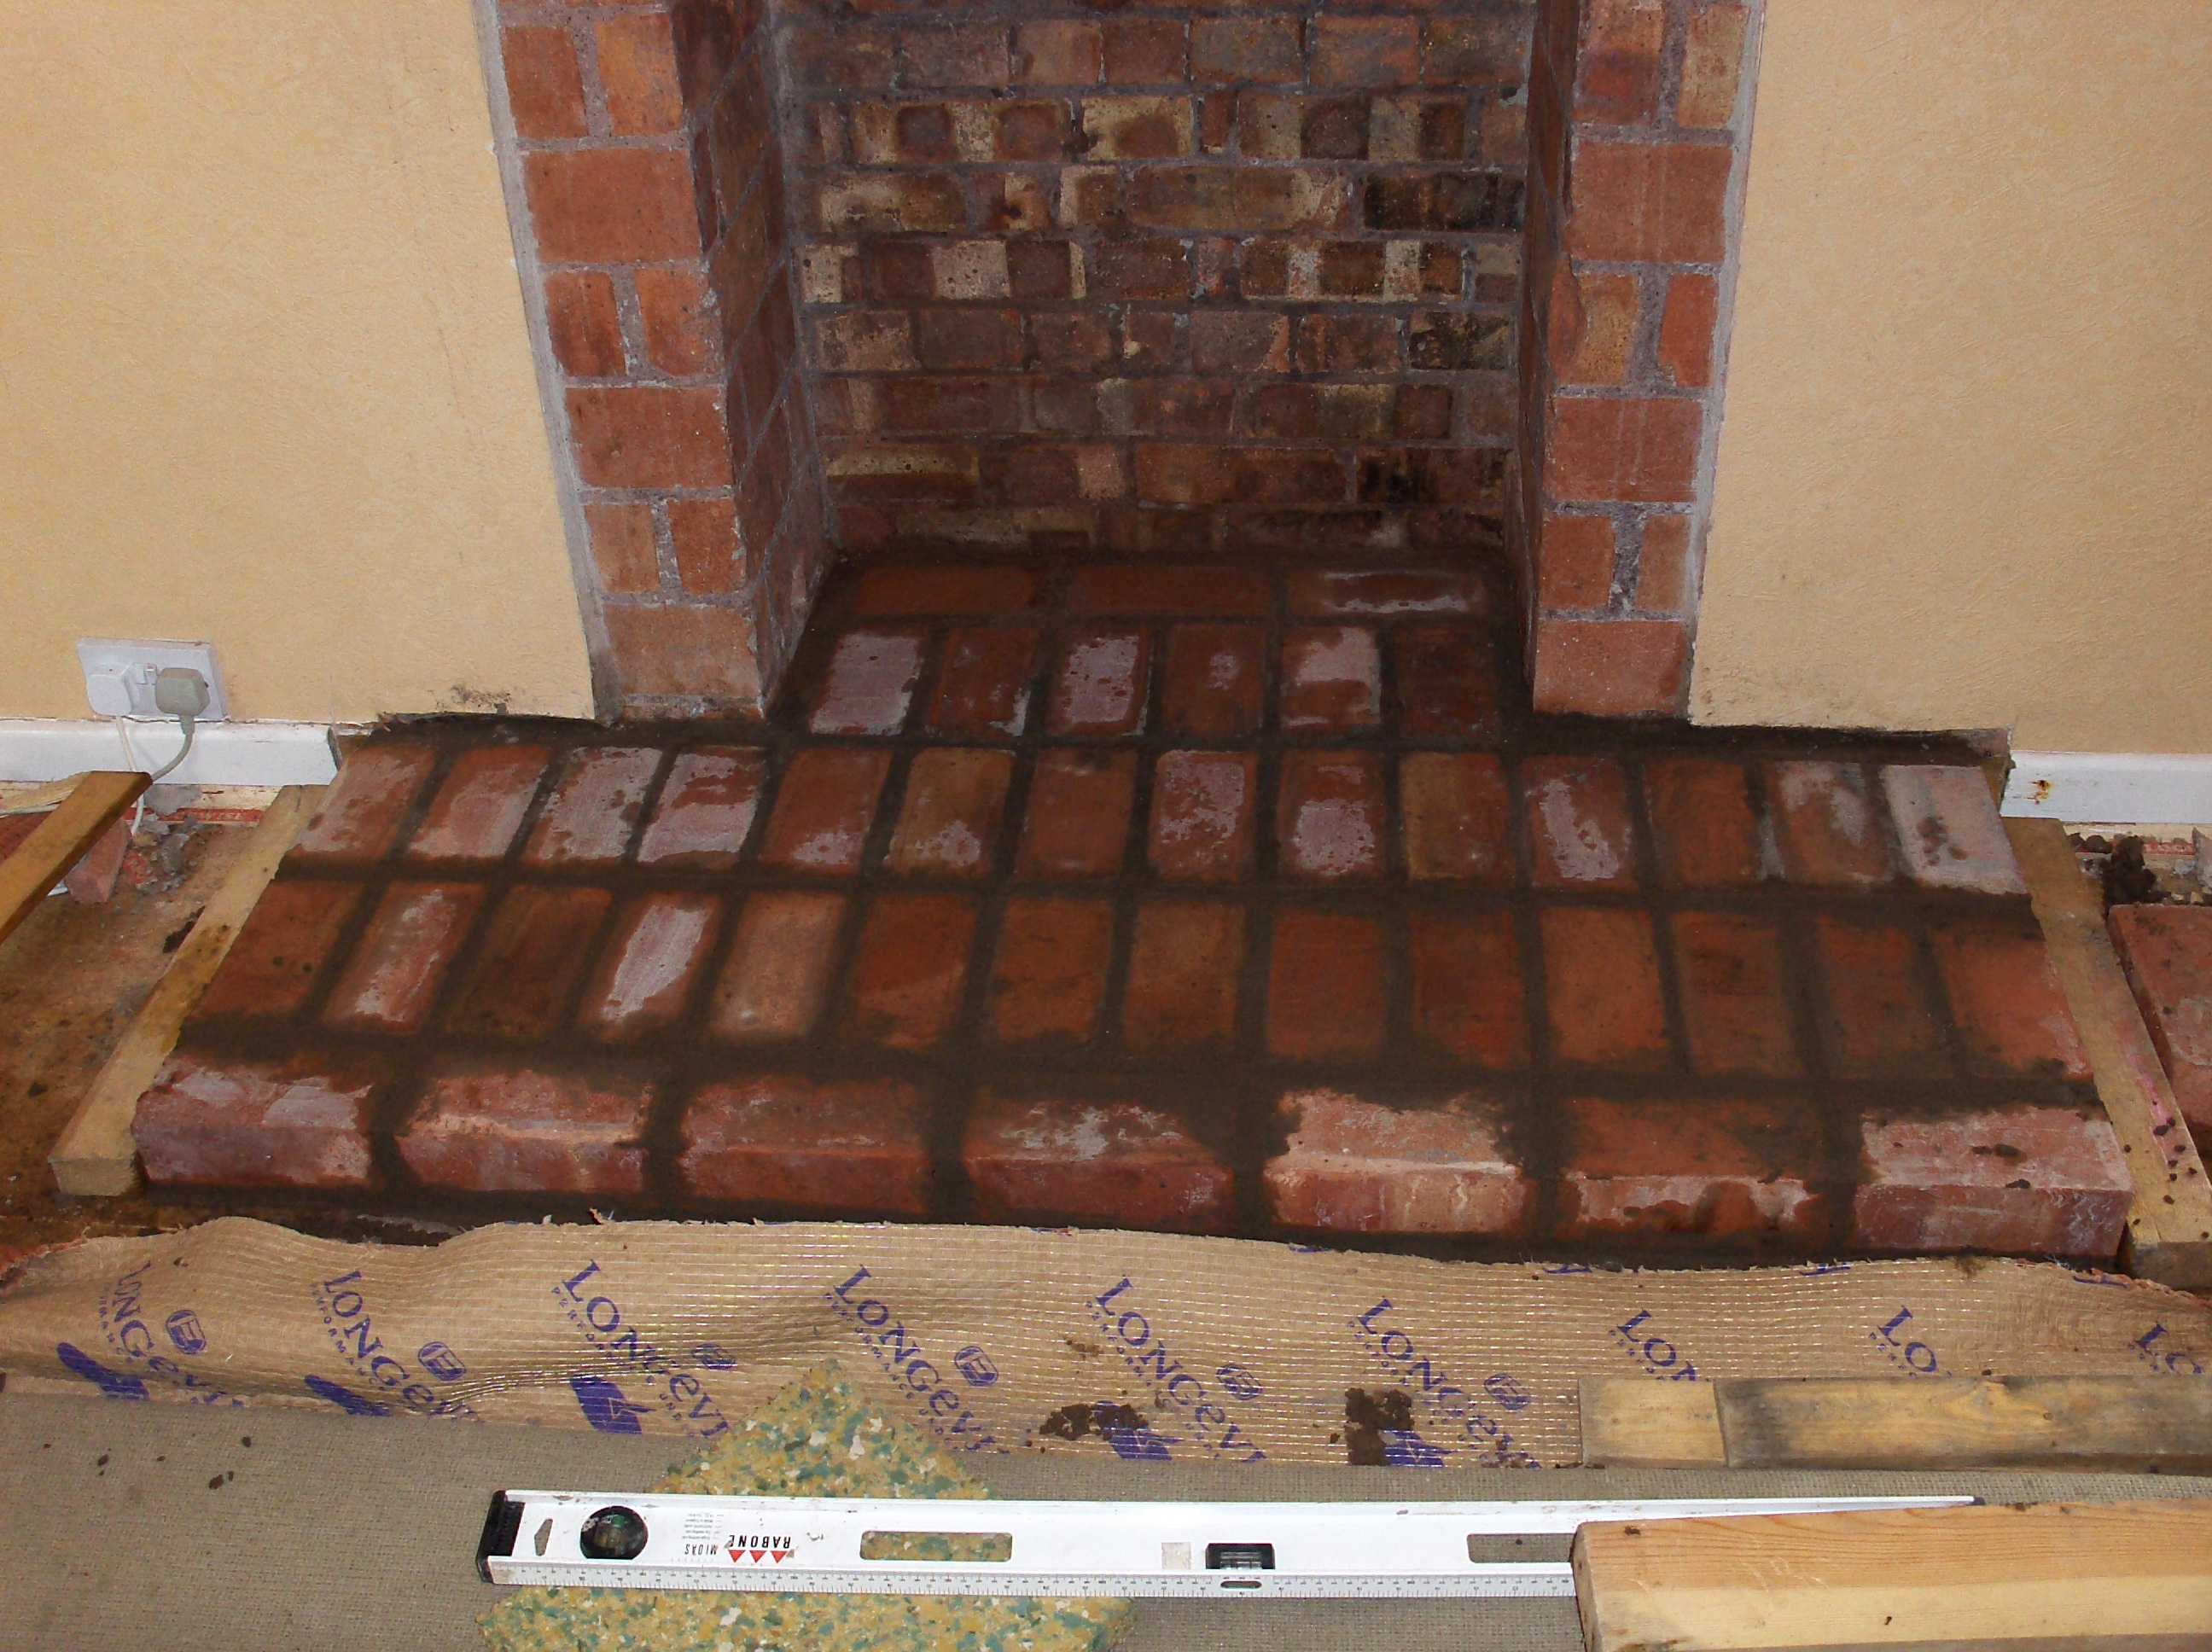
After the mortar has gone off but not really hard 1-2 hours carefully wipe the bricks off with a damp cloth to remove mortar from the brick faces. Do it now, it's a bitch if you leave it till later. I think brickies use a brush and they make it look real easy.
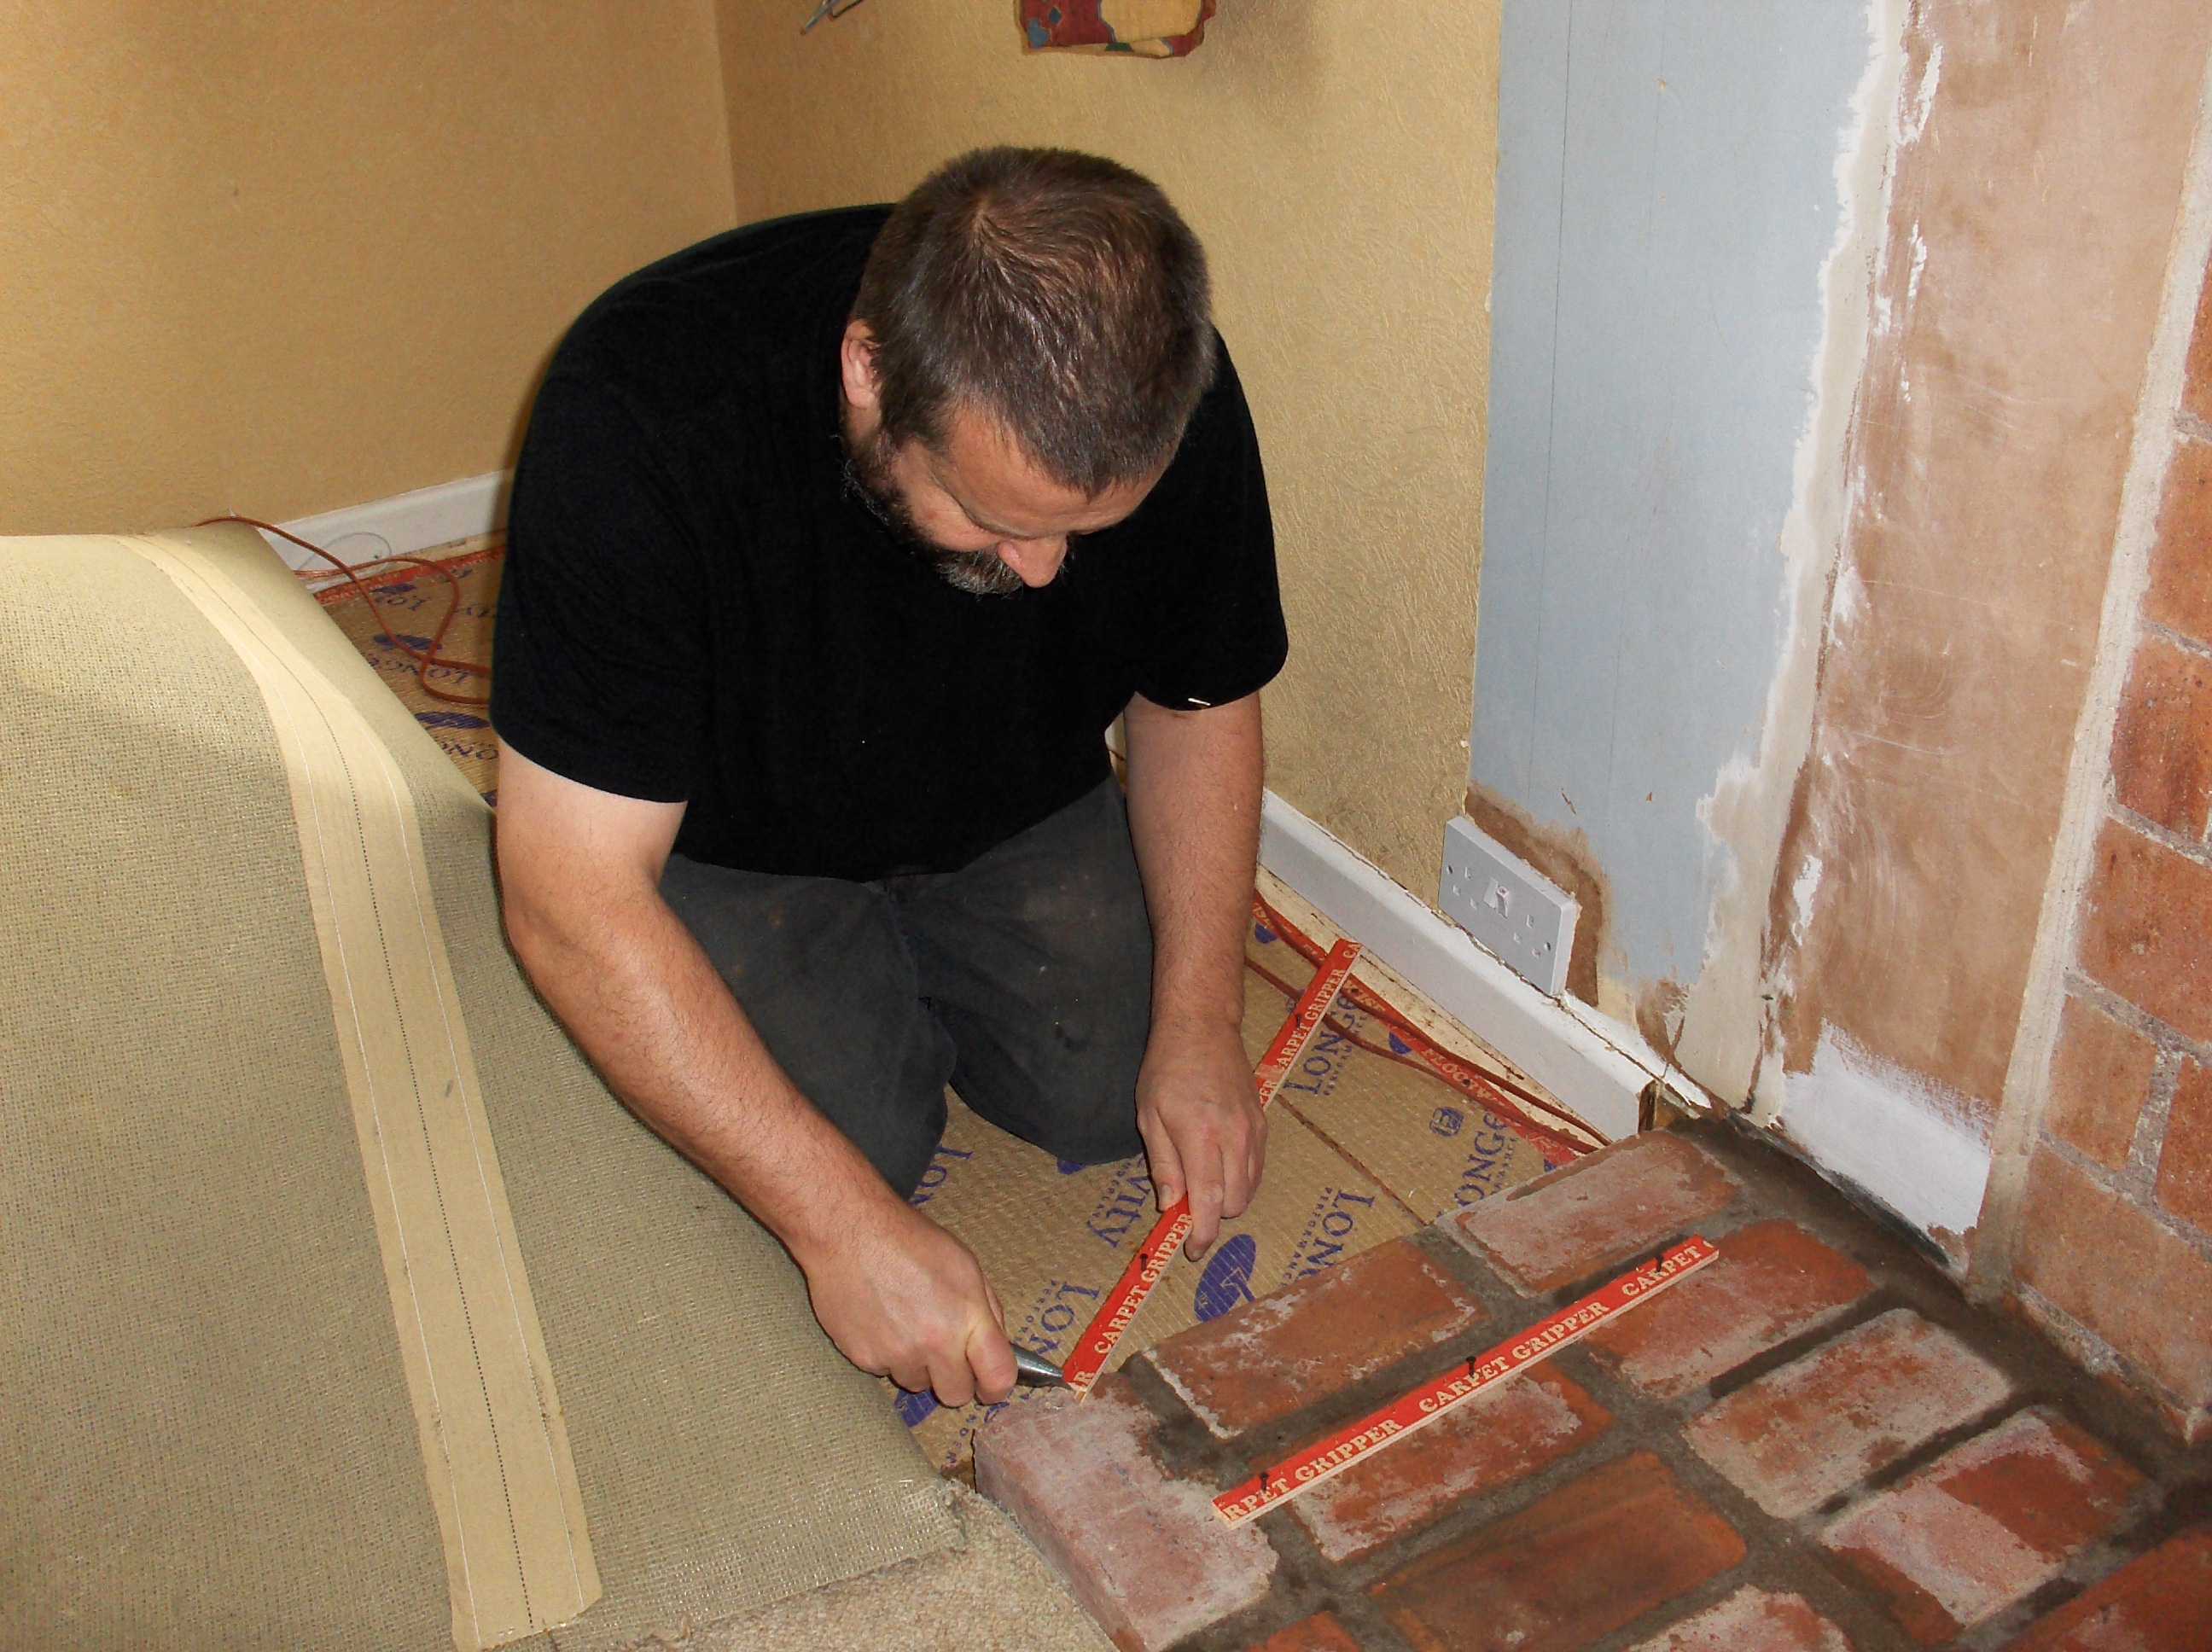
Relay the carpet to the new hearth
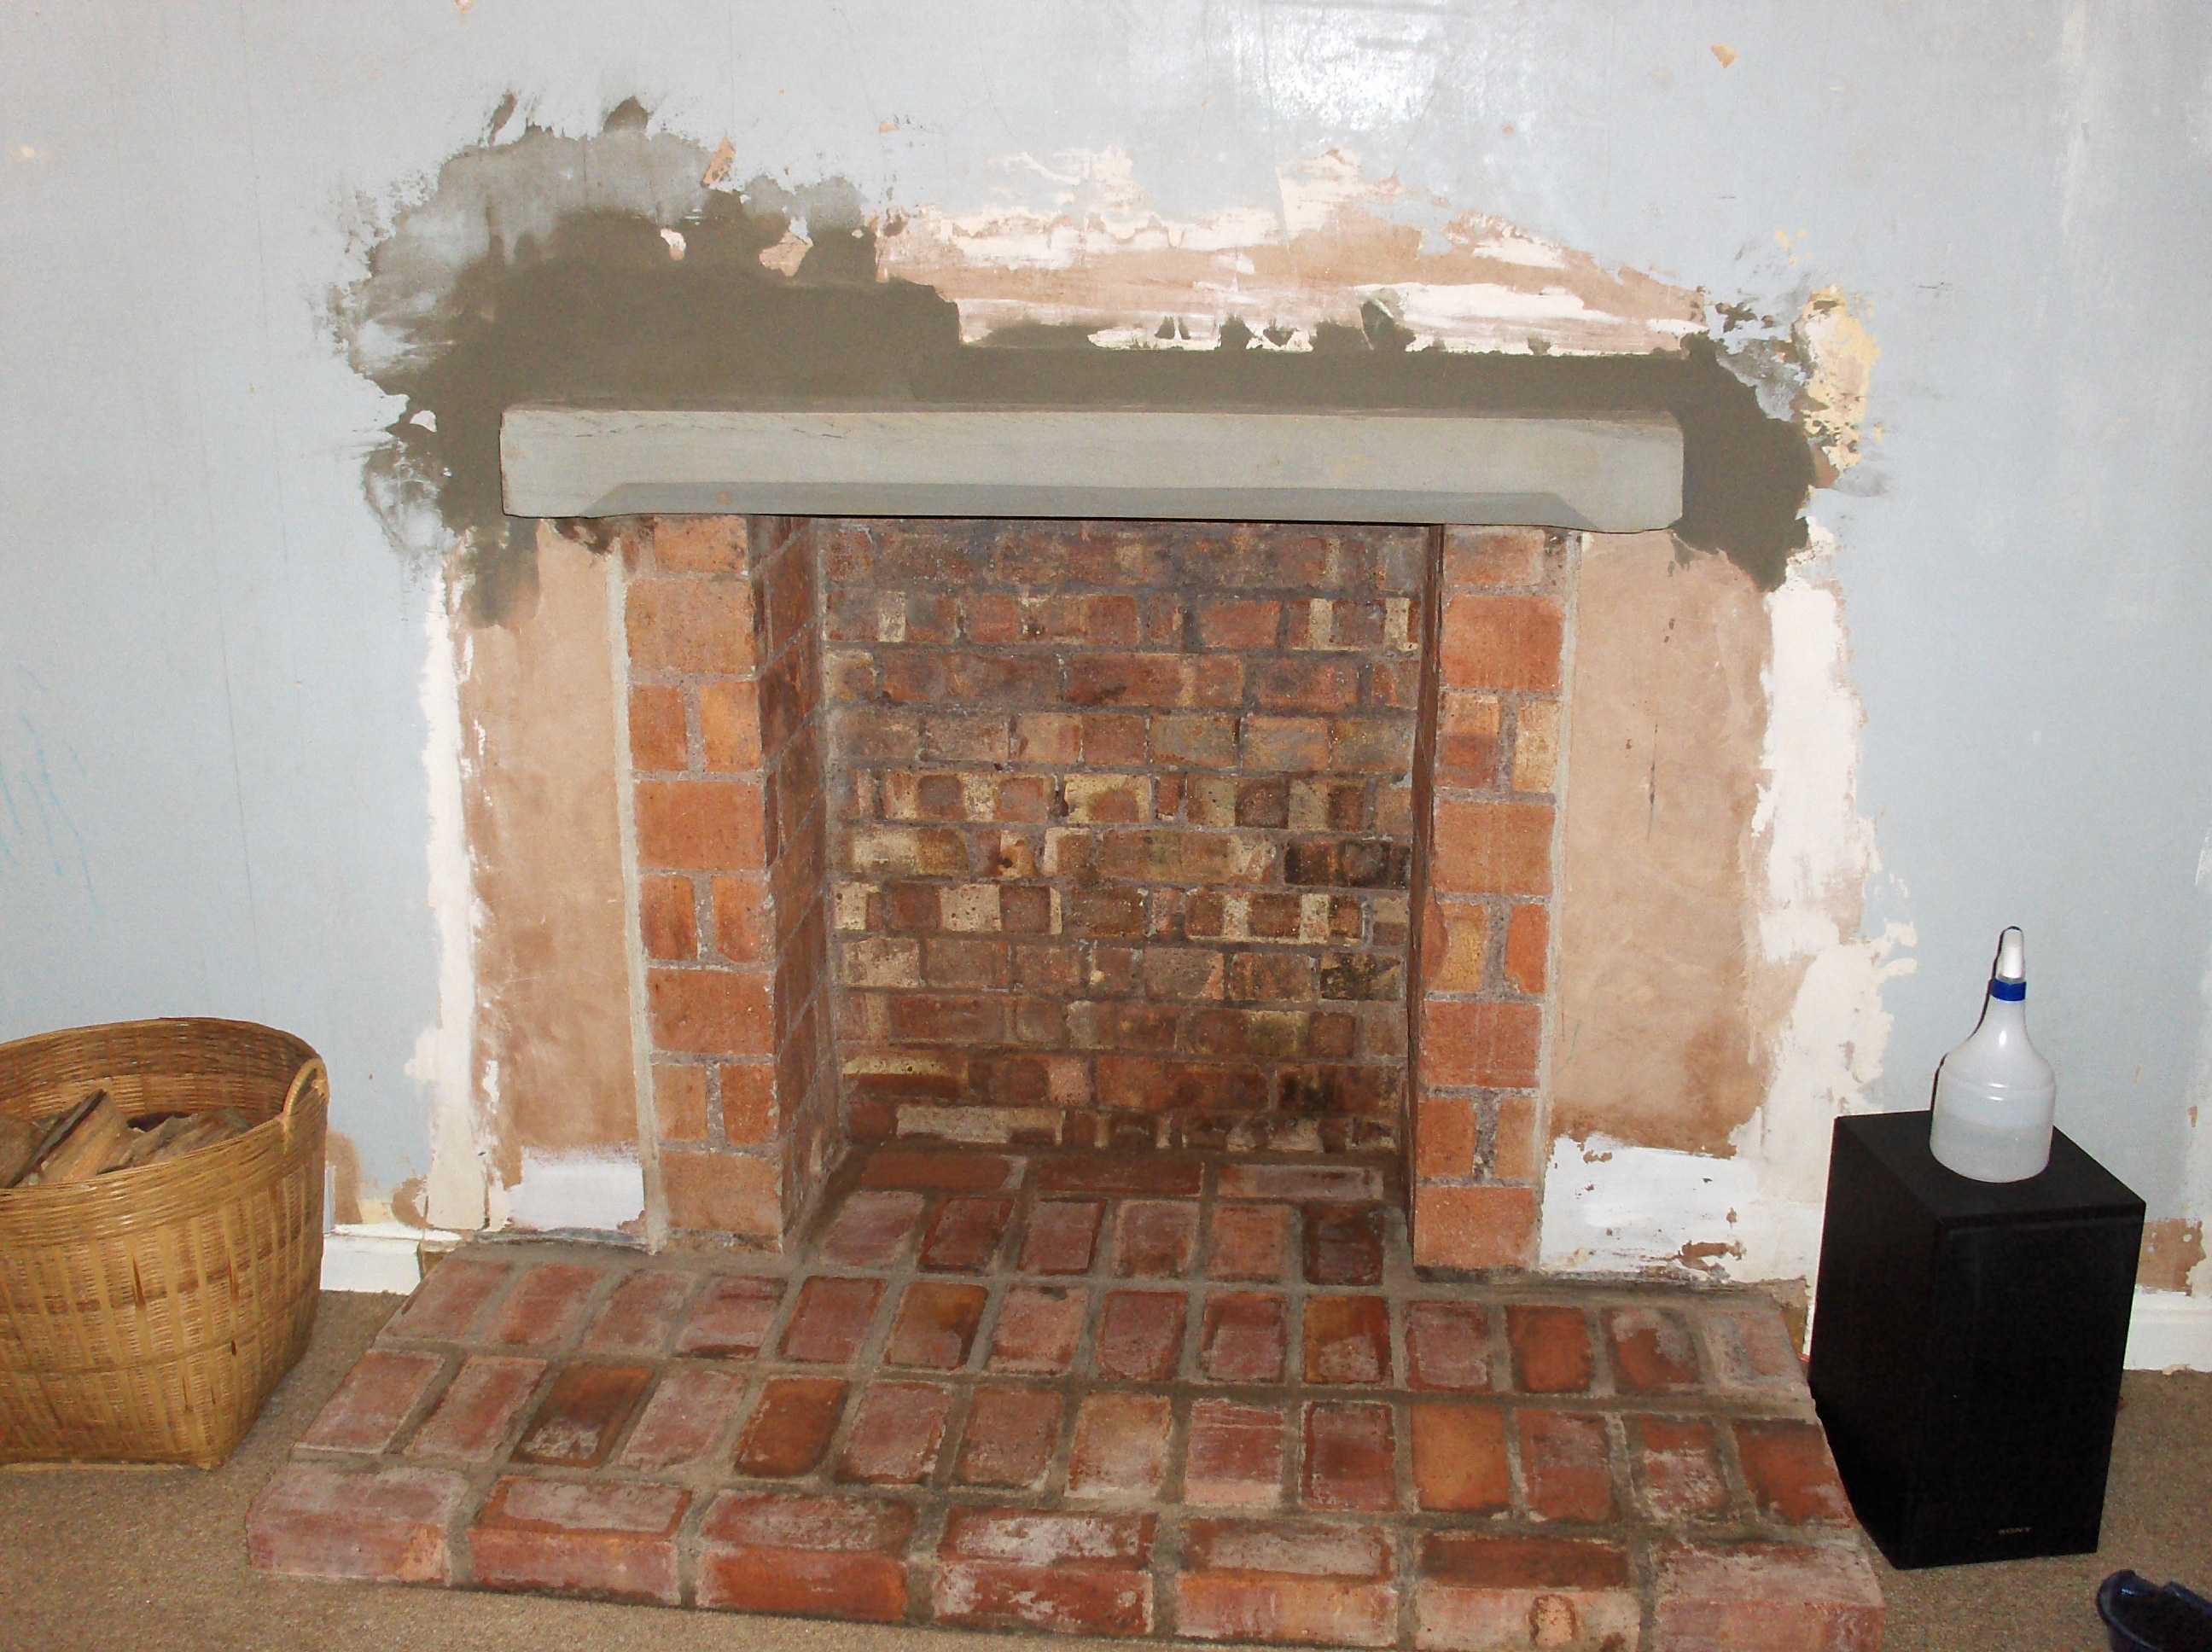
Nearly done just the plastering up and redecorating to do. I hate decorating. My daughter says she'll paint the place... Yes a winner...

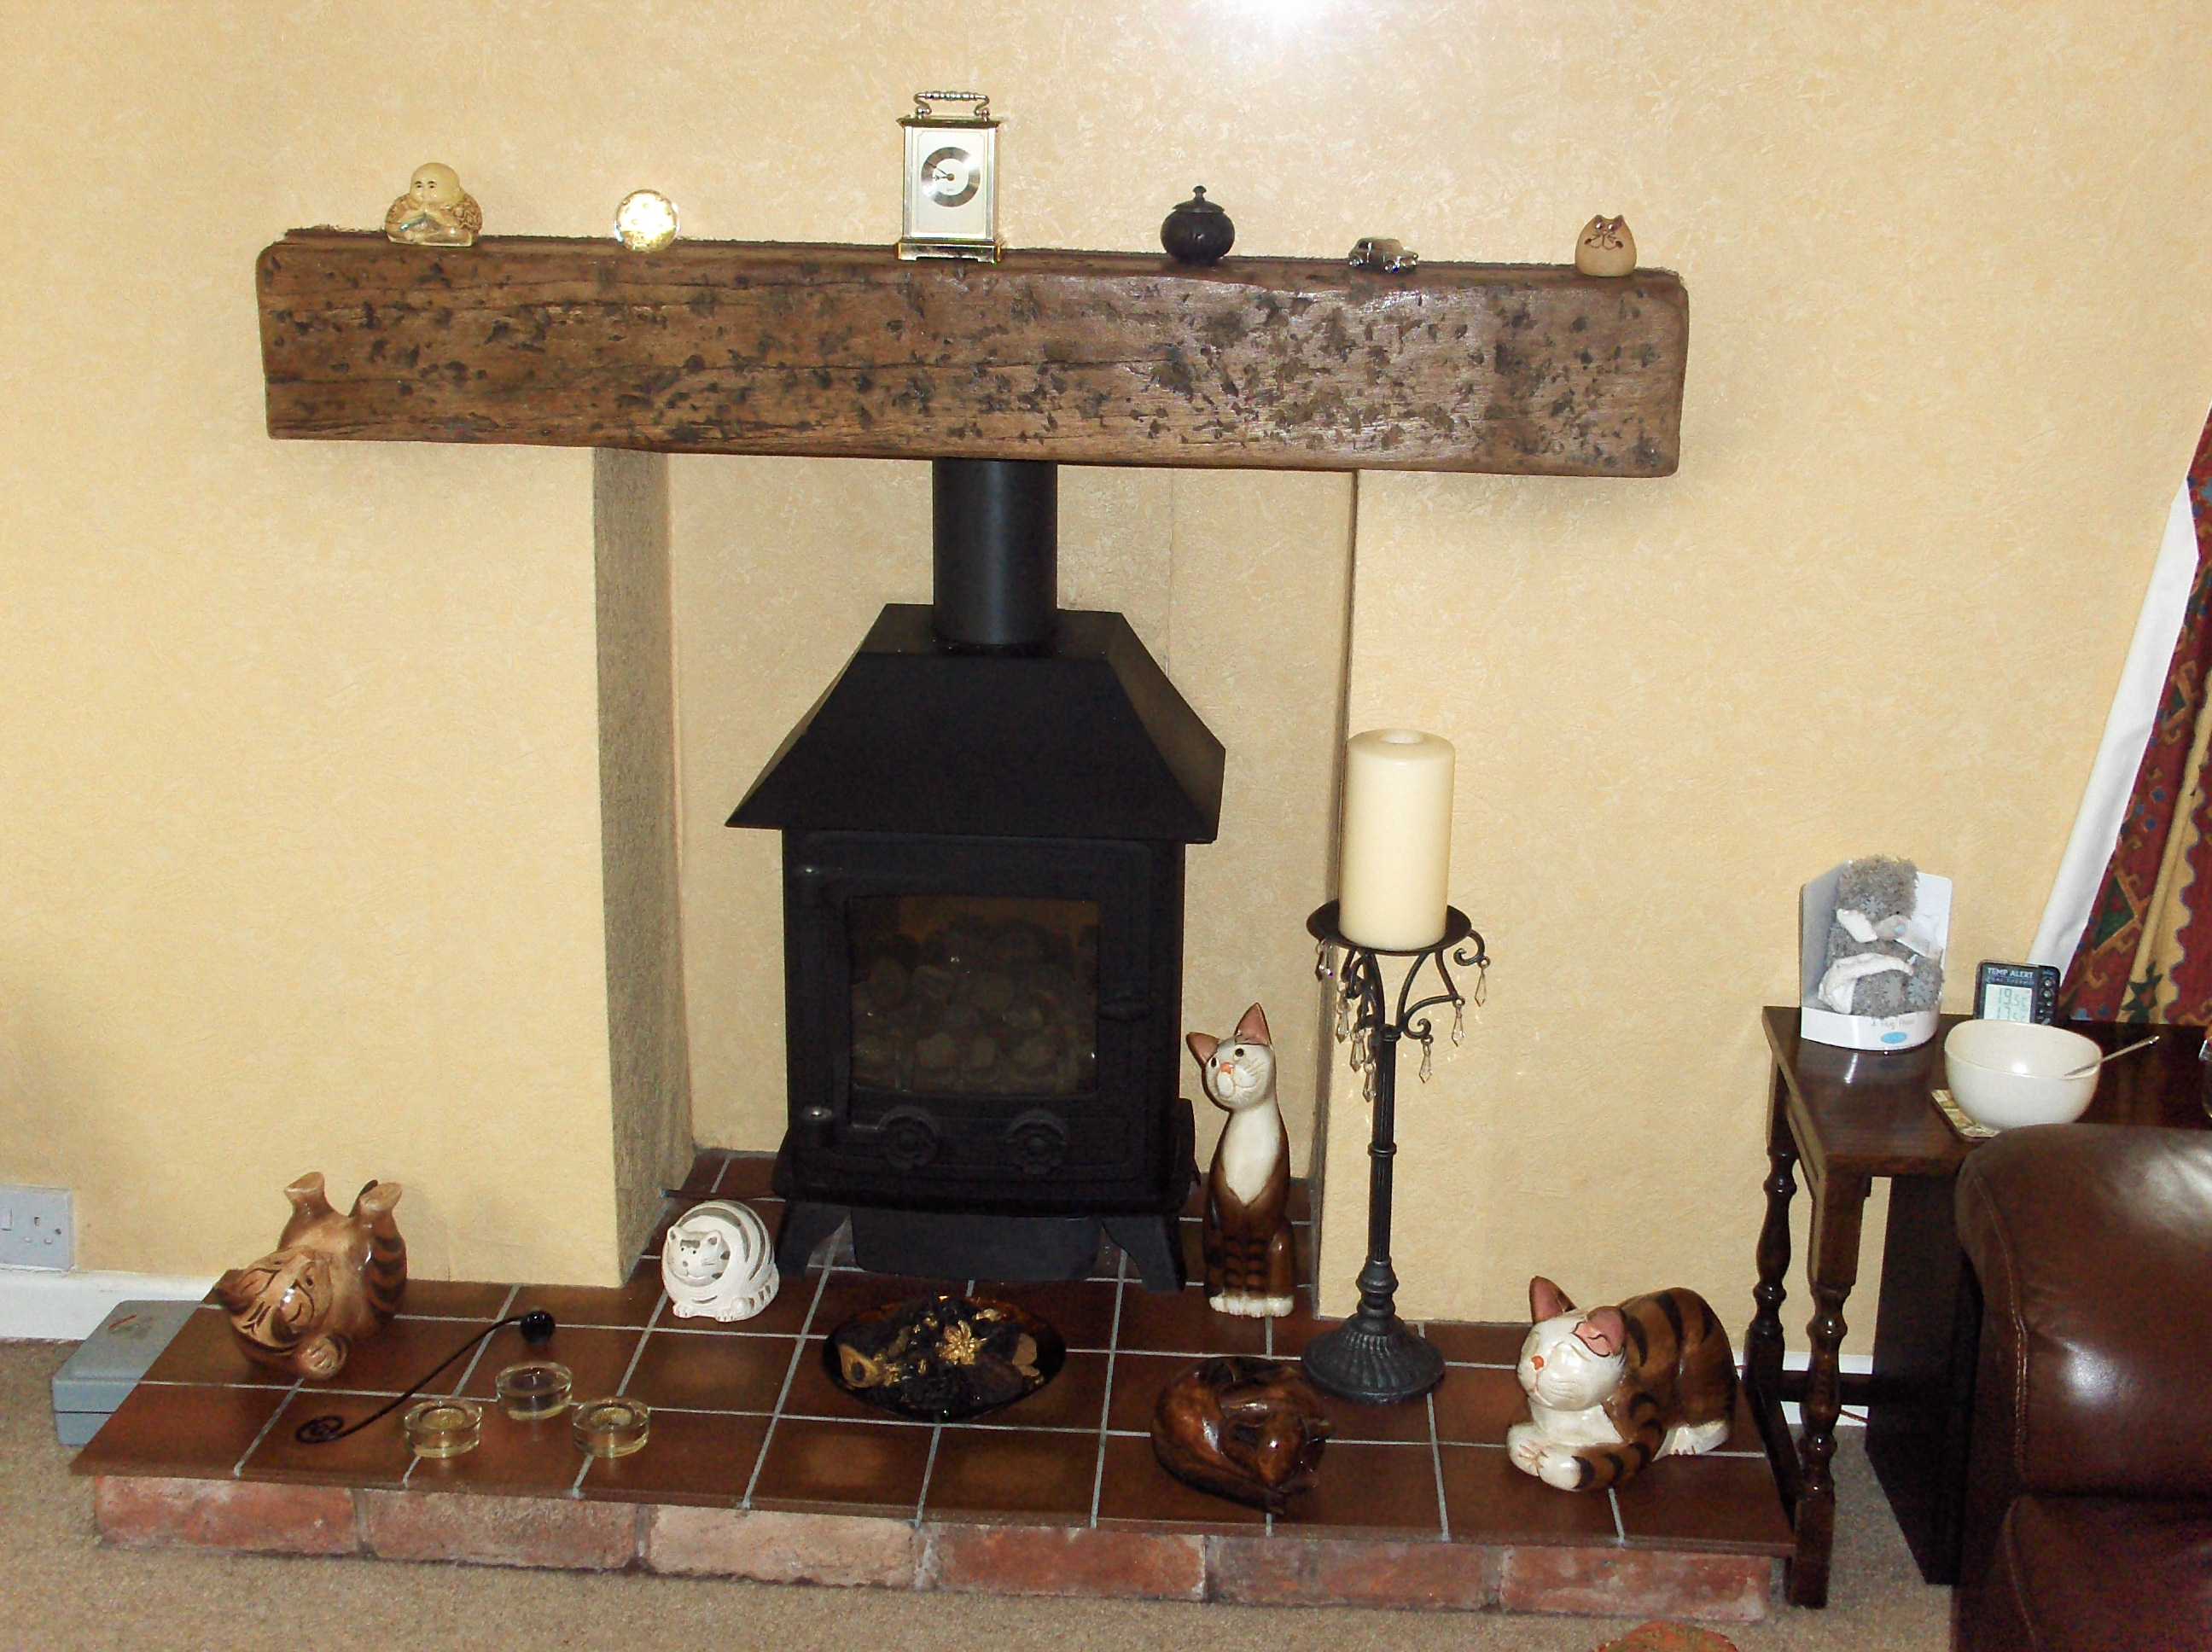
After the plastering was done and the surface prepared it was all very nicely decorated by Em
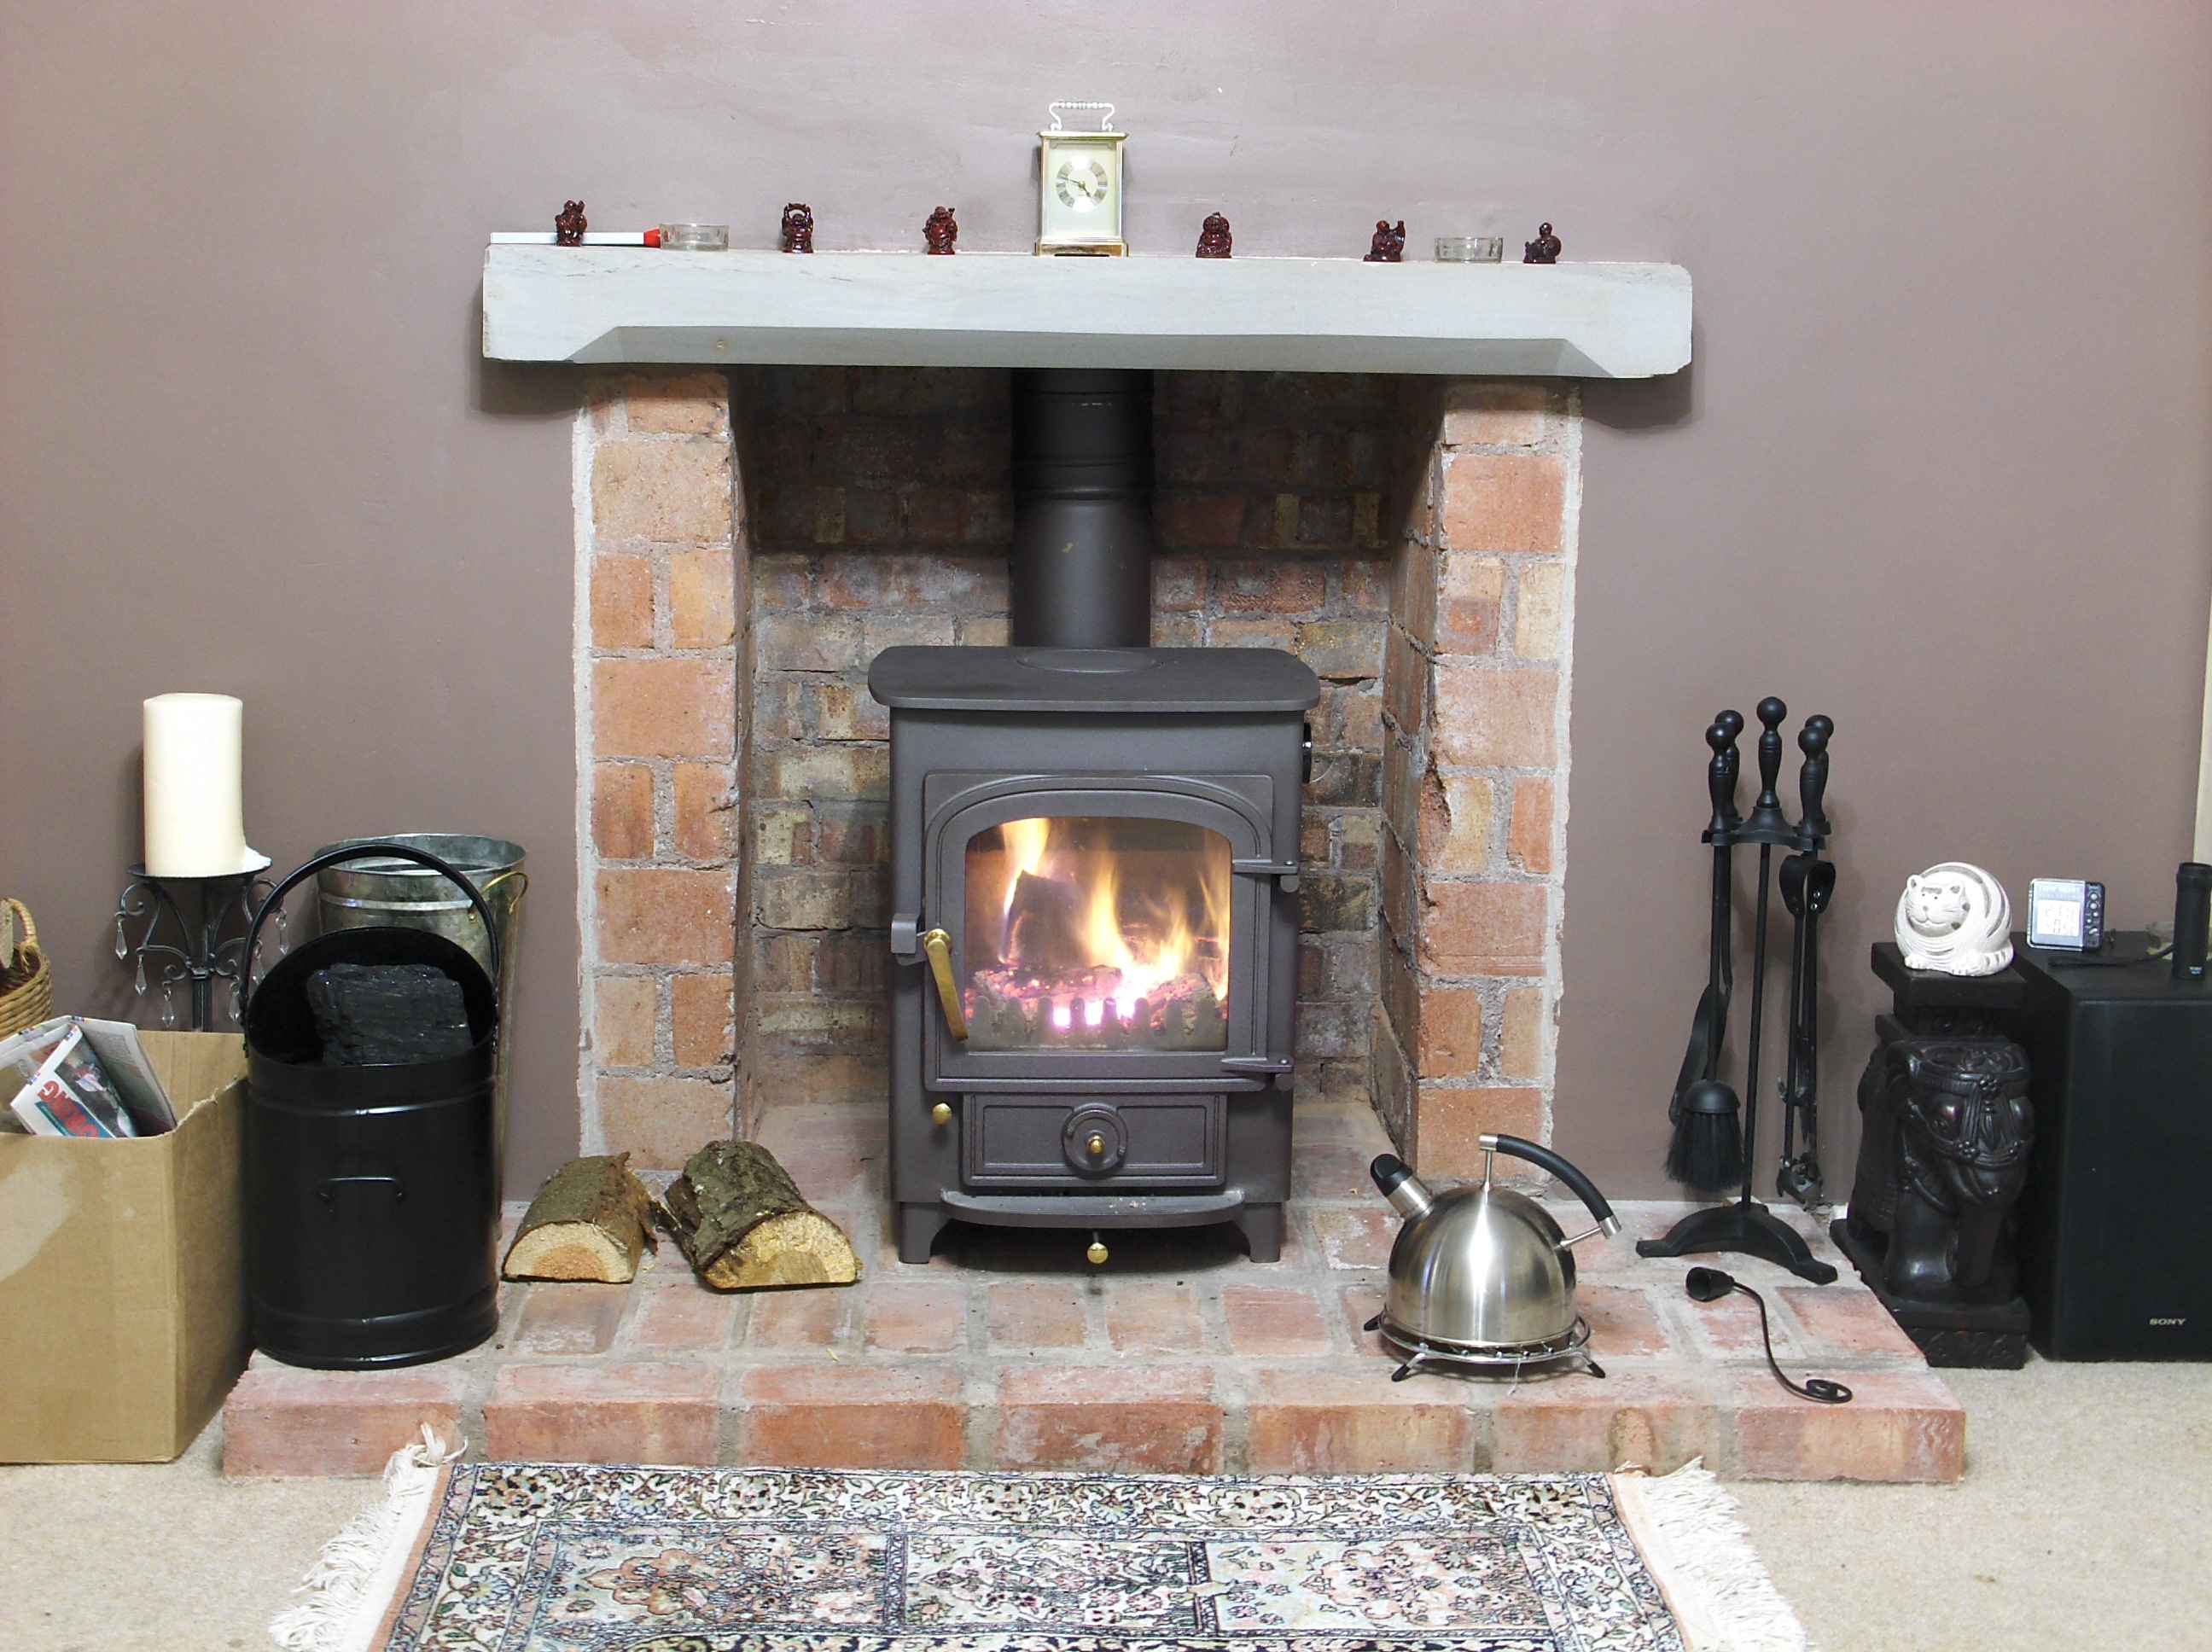
Shown here fitted and lit it's unbelievably warm even backed off...
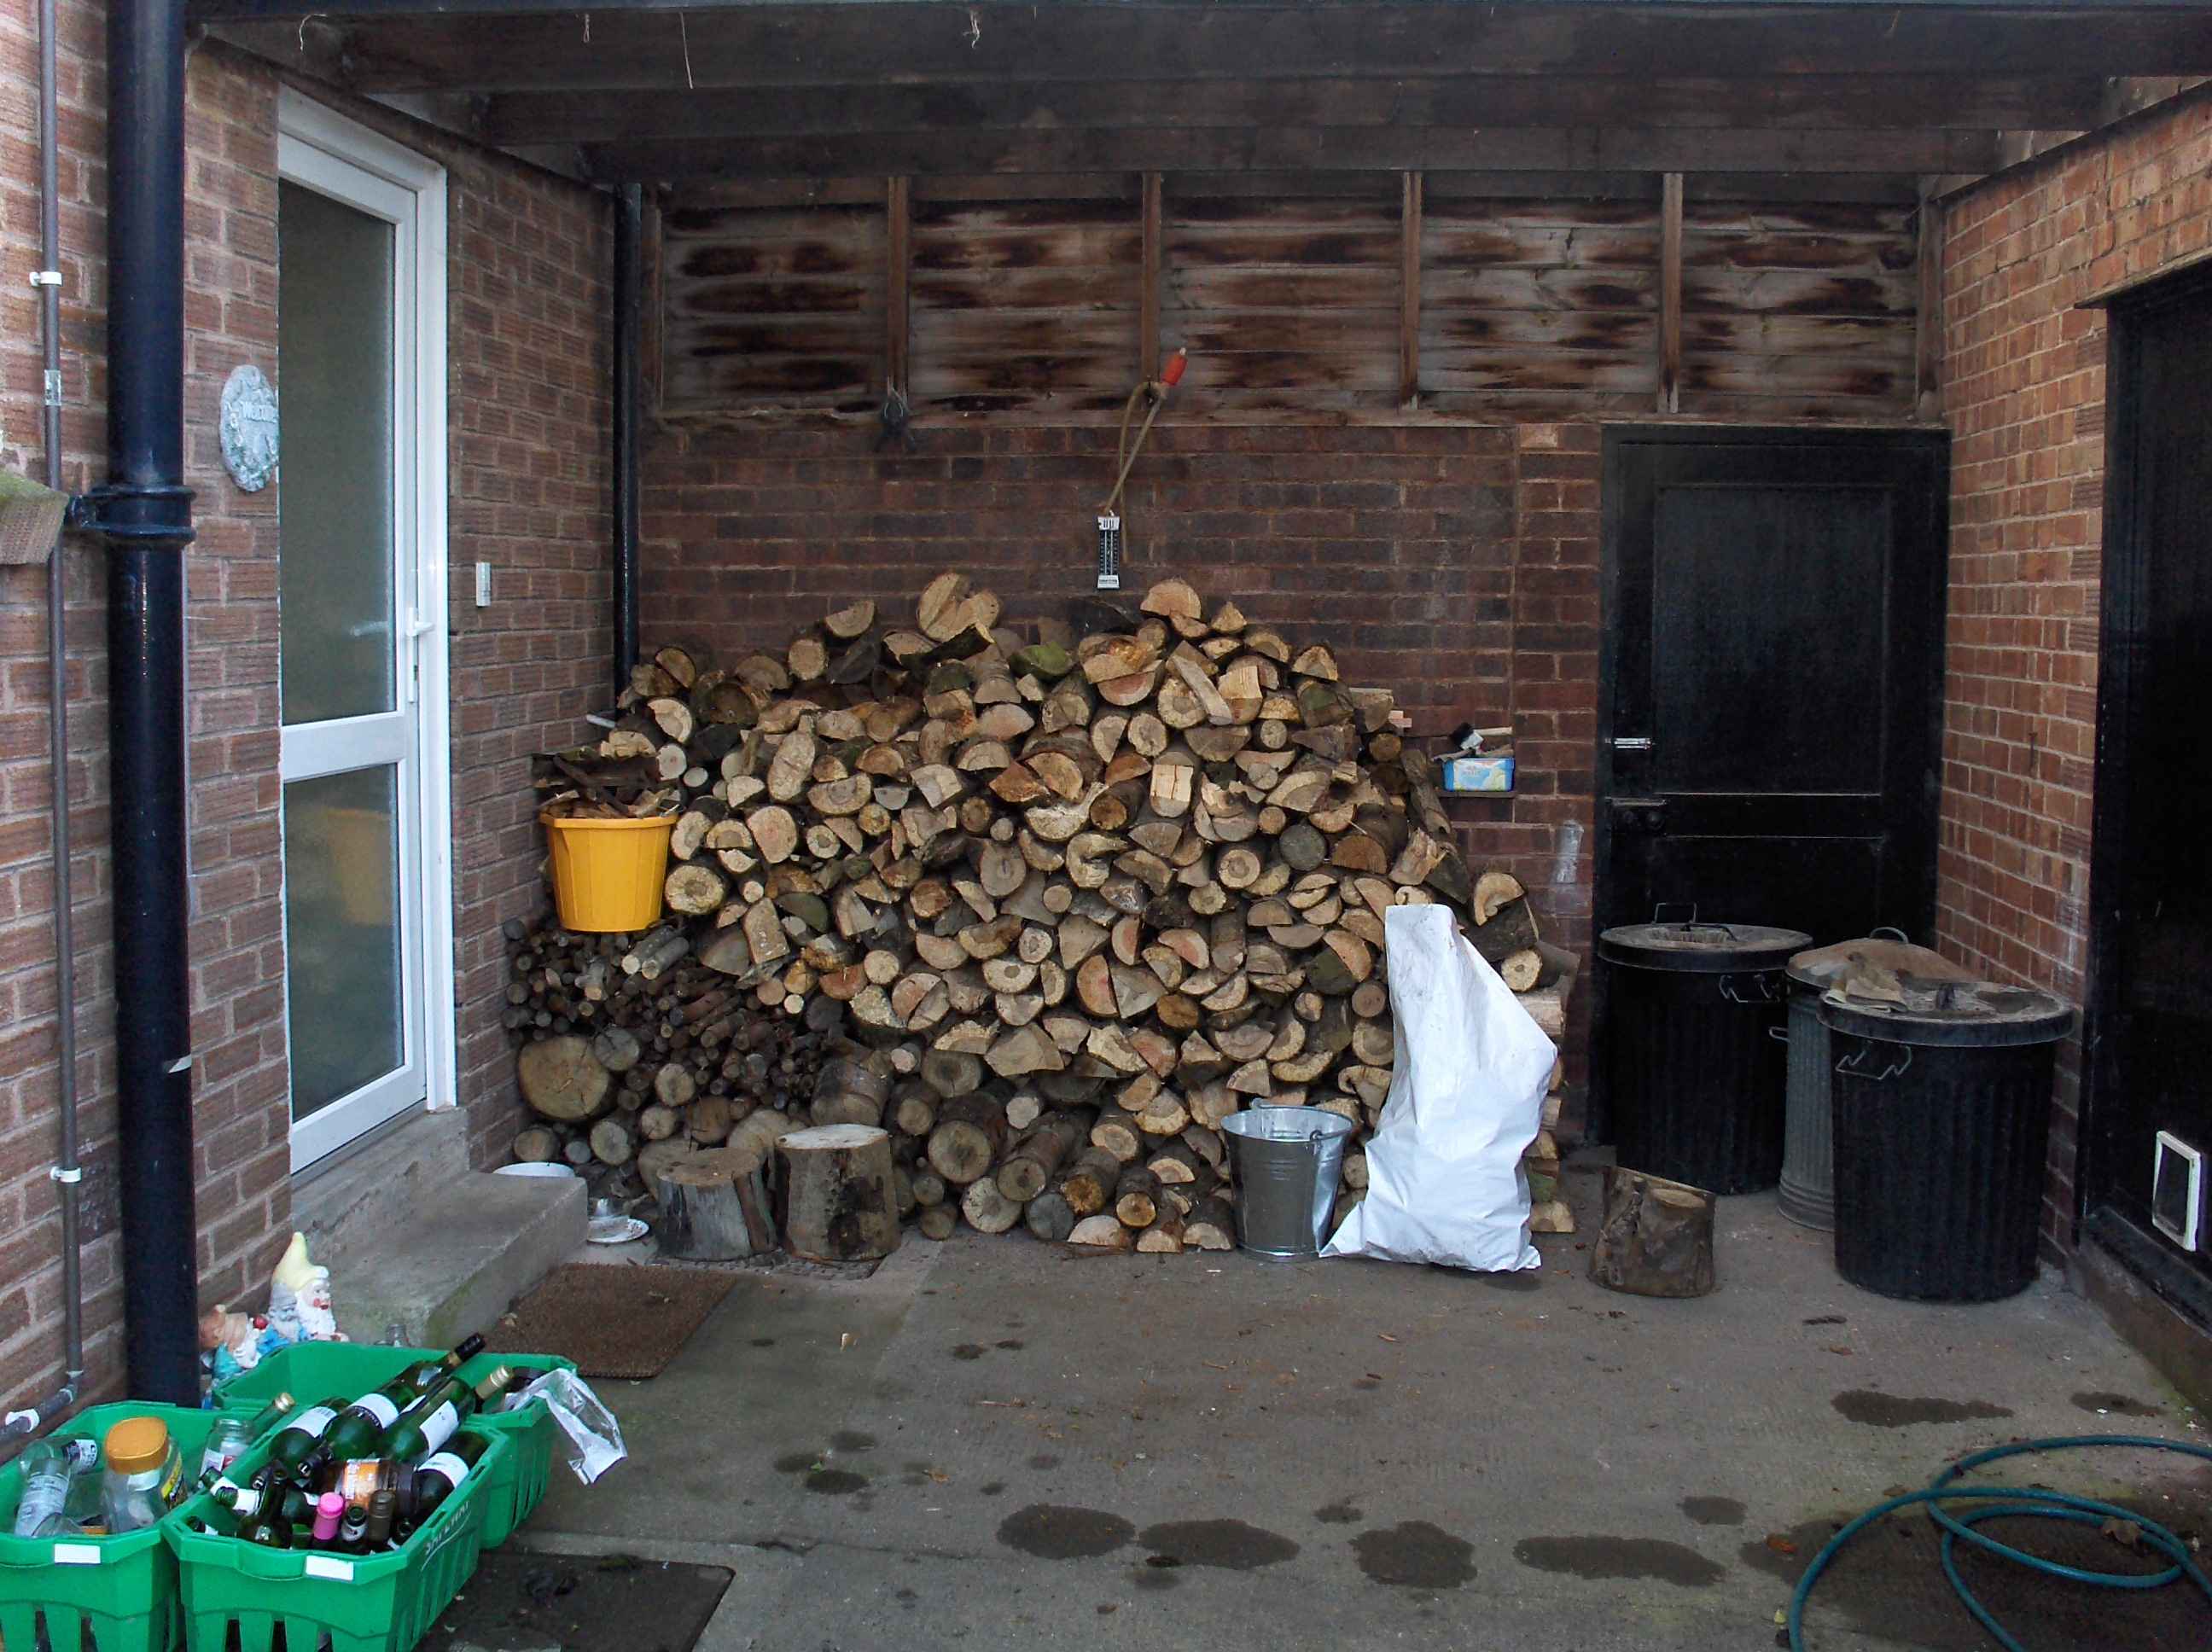
Oh Yes and you will need a pile of these...